Configuring Event Settings
81
6.
By default, motion detection
Region1
covers the whole screen.
•
To disable motion detection in part of the image, drag the mouse over the area of the
image that you want to exclude. The areas
not
covered by red boxes are
not
sensitive
to motion.
•
To change the threshold level in part of the image, select a different motion detection
region (
Region2
,
Region3
, or
Region4
), set the
Threshold
level for that region, and
then drag the mouse to define the region.
•
Each region is represented by a different color. Red=Region1, Yellow=Region2,
Blue=Region3, Green=Region4. If the grid is clear of color, then no motion detection is
set for that area. Test the motion detection areas to make sure motion is not triggered
too much when not needed, such as by wind and background movement.
•
To change the name of a region, enter a new name for it in the
Zone Name
field.
7.
Right-click to return to the
SETTING
menu.
8.
Click
Apply
to save your settings.
9.
If you want to save your settings and exit the
SETTING
menu, click
OK
.
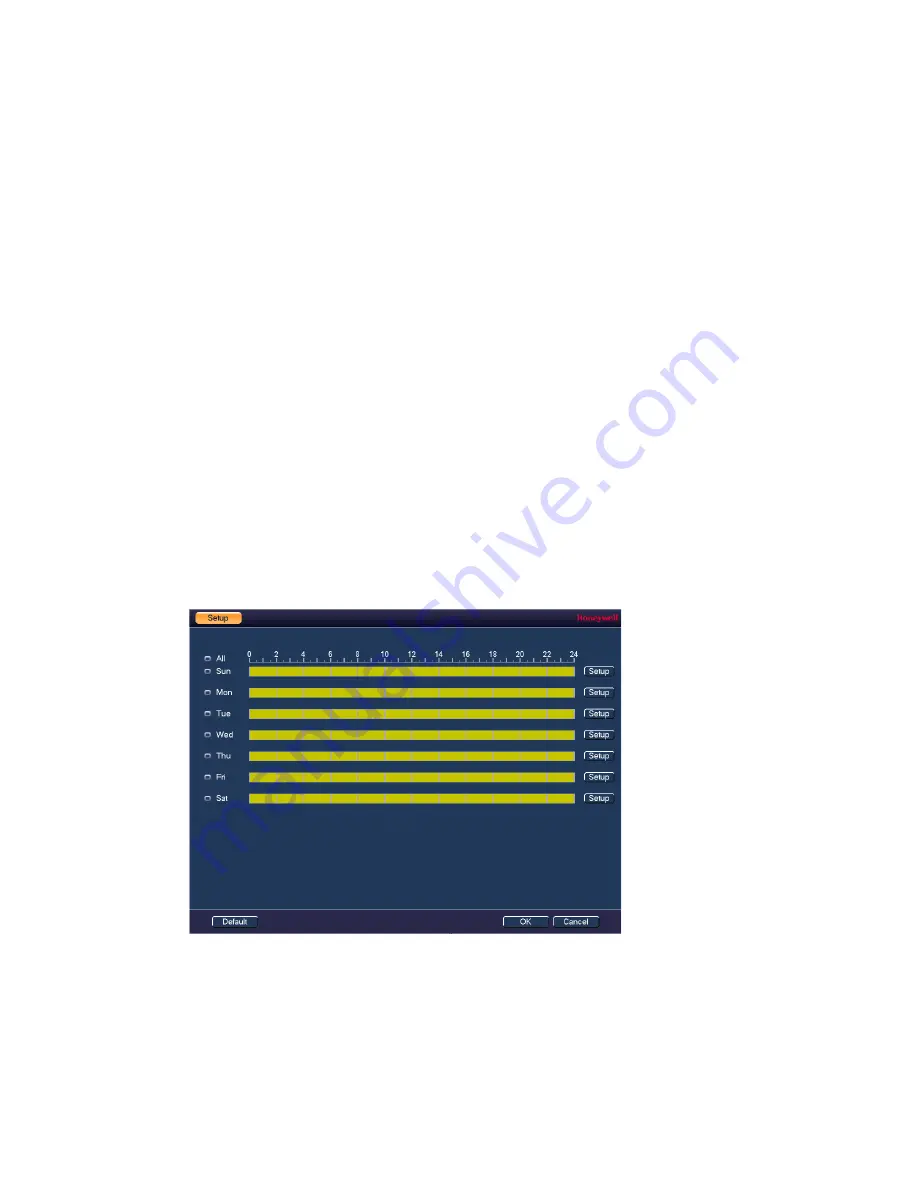
To set up motion detection periods
1.
On the
Motion Detection
tab, next to
Period
, click
Setup
. The
Setup
window opens.
Figure 8-3 Motion Detection Schedule Configuration Window
2.
By default, when motion detection is enabled, it is active all the time. To modify the
periods when motion detection is active for the selected channel, on each day’s timeline,
click the half-hour blocks when you want motion detection to be
disabled
.
3.
Alternatively, for the day of the week that you want to configure, click
Setup
. The
Period
window opens.
Summary of Contents for 2450Cm Series
Page 2: ......
Page 27: ...Getting Started 13 ...
Page 28: ...Performance Series Network Video Recorder User Guide 14 ...
Page 29: ...Getting Started 15 ...


