Assembly Instruction
Item# 317-9X
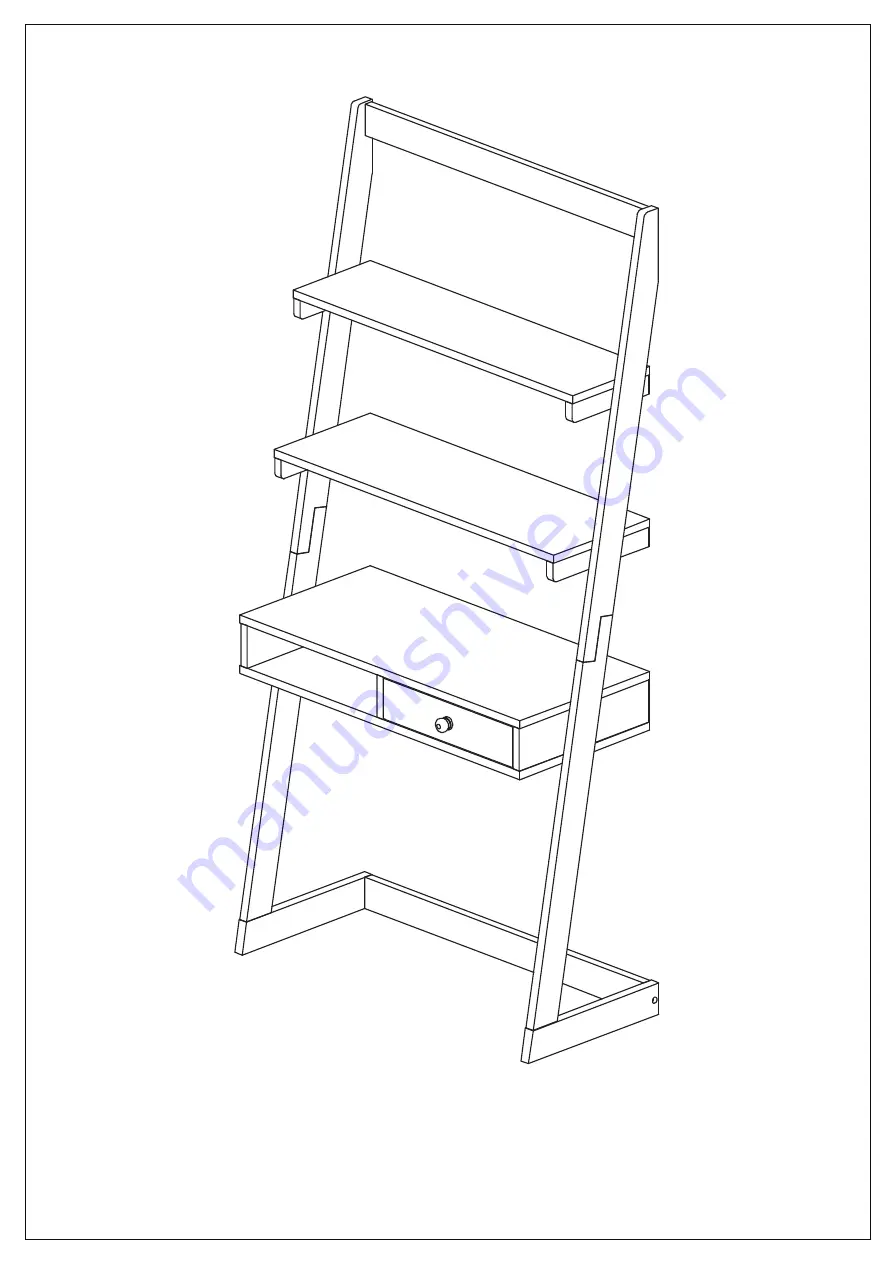
Free Standing Ladder Desk with Drawer
Page1 of 6
Page 1: ...Assembly Instruction Item 317 9X Free Standing Ladder Desk with Drawer Page1 of 6 ...
Page 2: ...b Page 2 of 6 A1 A2 B1 C1 B2 C2 C3 D E F G H Anti Tipping Screw P6 x 5 8 RF10080 Screw P6 x 1 1 4 RF10103 Metal Plate RF40214 A1 A2 B1 B2 C1 C2 C3 D E F G H Lower Left Leg Upper Left Leg Lower Right Leg Upper Right Leg Back Base Bar Left Base Bar Right Base Bar Top Crossbar Top Shelf Middle Shelf Bottom Shelf Drawer 1 pc 1 pc 1 pc 1 pc 1 pc 1 pc 1 pc 1 pc 1 pc 1 pc 1 pc 1 pc ...
Page 3: ...ch Lower Left Leg A to the Upper Left Leg A1 and Lower Right Leg B1 to Upper Right Leg B2 by using screw RF10034 as per diagram 1 Step2 Assemble the Base Bar by attaching Back C1 Left B2 and Right C3 together with screw RF10003 as per diagram 2 RF10003 x 2 Diagram 1 Diagram 2 ...
Page 4: ...Bottom Shelf G into the Right Leg Unit B for D to B using Screw RF10002 E and F to B using Screw RF10003 and G to B using Screw RF10052 as per diagram 3 Step 4 Repeat step 3 Attach Left Leg A into the unit as per diagram 4 RF10003 x 4 RF10052 RF10002 x 2 x 1 Diagram 3 Diagram 4 B A ...
Page 5: ... into the unit by using Screw RF10052 as per diagram 5 Step 6 Attach Knob WD40008 into the Drawer H by using Screw RF10002 then insert the drawer into the position as per diagram 6 Diagram 6 Diagram 5 RF10034 x 4 RF10002 x 1 WD40008 x 1 C ...
Page 6: ...o attach the shelf to the wall use Metal Plate RF40214 screws P6 x 1 1 4 RF10103 and screws P6 x 5 8 RF10080 to attach the top crossbar through the studs into the wall as per diagram 7 RF40214 RF10080 RF10103 Diagram 7 Wall Wall ...