Document No: C-61-00003-3
7.3 Installatiion of UAM Project Designer
a)
Insert the CD into the CD-ROM drive.
b)
Click “UAM Project Designer_*.*_installer.exe.
Follow the instructions to complete the installation.
7.3.1 Uninstallation UAM Project Designer
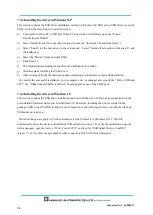
Process to uninstall the UAM Project Designer is as shown below.
a)
Select all programs from the start menu.
b)
Select “Uninstall UAM Project Designer” in the “UAM Project Designer” folder.
c)
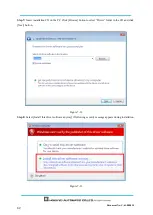
When “Are you sure you want to completely remove UAM Project Designer and all of its related
components?” message appears, click [Yes] to uninstall the program from the PC.
d)
Click [OK] when uninstalling process is complete. Restarting the PC is recommended.
Following is the alternative method to uninstall the application,
a)
Select the “Control Panel” in the start menu.
b)
Click the “Uninstall Programs”.
c)
Select “UAM Project Designer” and click [Delete].
d)
When “Ready to uninstall
UAM Project Designer” appears, click [Yes] to uninstall the program from the
PC.
Even if the system requirements are fulfilled, operation is not guaranteed in all
PCs.
Read the UAM user’s manual before configuration. User’s manual can be opened
from the help menu of UAM Project Designer.
Cover the USB connector and SD card slot with protective cap when UAM is
operating. Make sure that mist or dust does not enter the device.
Do not use the USB cable of mobile chargers. It is recommended to use a standard
USB cable and avoid the winding type
.
Log in as “Administrator” to authorize the installation of the UAM Project
Designer.
Installation cannot proceed if PC is not running in “Administrator” mode.
UAM project designer is installed at “C:
╲
Program Files Hokuyo
╲
UAM Project
Designer” by default. To install in different folder, change this location during the
installation process.
Summary of Contents for UAM-05LP
Page 1: ... Document No C 61 00003 3 ...
Page 104: ... Document No C 61 00003 3 Figure 7 33 b Function Figure7 33 c Area ...
Page 107: ... Document No C 61 00003 3 Figure 7 36 a Project report tab Figure 7 36 b Error report tab ...
Page 148: ... Document No C 61 00003 3 13 External dimension 13 1 UAM 05LP ...
Page 149: ... Document No C 61 00003 3 13 2 Base mounting bracket ...
Page 150: ... Document No C 61 00003 3 13 3 Rear mounting bracket ...
Page 151: ... Document No C 61 00003 3 13 4 Cover Protection Bracket ...
Page 152: ... Document No C 61 00003 3 14 EC Declaration of conformity ...
Page 153: ... Document No C 61 00003 3 ...

