BA_PH_245-20_EN_15-22.docx
35
12.2.1
Changing Procedure
Before changing the tool, switch off the spindle drive with the button .
1.
First remove the supplied SW8 pin spanner from the tool tray (shown in
2.
Press the emergency stop button (
4
) and leave it locked.
3.
Set brake release switch (
B
)
to “
Brake Release
” so that the spindle can be rotated manually
(
4.
Then urn the spindle manually until it engages.
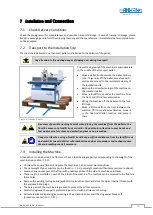
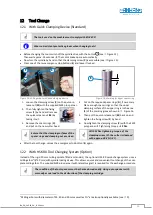
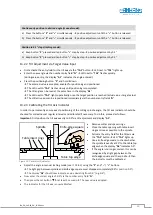
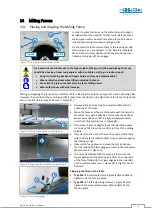
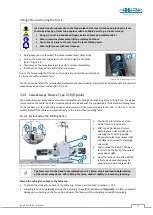
Figure 17: Remove dust protection cap
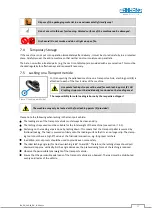
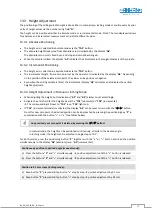
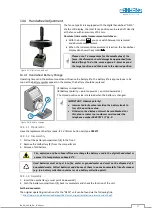
Figure 18: Loosen & remove the milling arbor with spanner
5.
There is a magnet in the handle of the clamping
key. This can be used to remove the dust protec-
tion cap from the milling arbor.
6.
Then insert the pin spanner from above and loosen
the clamping device as much as it will go.
→
The milling arbor rises a little bit.
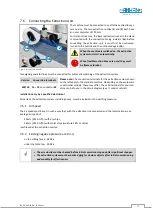
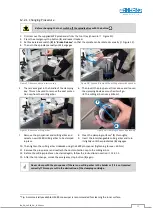
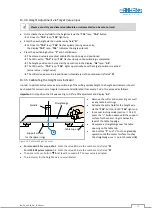
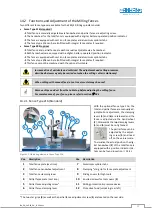
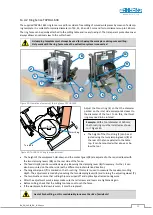
Figure 19: Remove milling arbor
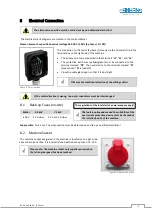
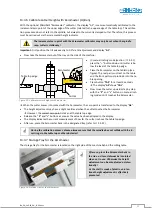
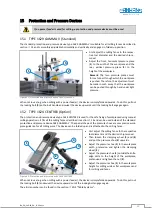
Figure 20: Clamping surfaces and locking
7.
Remove the pin spanner and milling arbor and
select a new HSK 80 milling arbor to be clamped
in place.
8.
Clean the clamping surfaces
3
(
F
) thoroughly.
9.
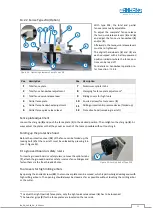
Insert the interchangeable milling arbor and turn
it slightly until the spindle lock (
A
) engages.
10.
Then tighten the milling arbor clockwise using the SW8 pin spanner (tightening torque = 60 Nm).
11.
Remove the pin spanner and reattach the dust protection cap to the milling arbor.
12.
Before the milling spindle can be started again, follow the instructions in section
13.
After the tool change, unlock the emergency stop button (
4
) again.
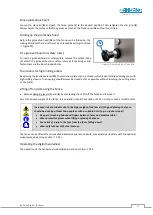
Never clamp with the pin spanner if there is no milling arbor in the holder or if it is not inserted
correctly! This may result in the destruction of the clamping cartridge.
3
Tip: A commercially available HSK 80 cone wiper is recommended for cleaning the inner surface.
A
F

