- 20 -
6.1.2 UNPACKING AND DISINFECTING
To protect against germs, the surface of the device and, where present, the humidifier must
be treated with a disinfectant immediately after unpacking.
6.1.3 CHECKING FOR EXTERNAL DAMAGE
Before starting the service works, check the device for external damage.
6.1.4 DATA BACKUP
We recommend that a backup is carried out before starting maintenance work. Connect the device
to a PC and use VENTcontrol to read out and save the device data.
Notes on the following sections of text:
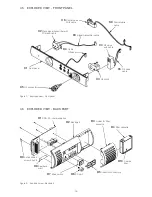
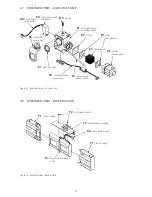
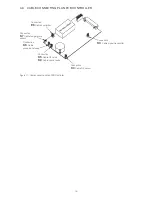
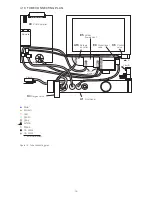
The numbers in brackets designate the position numbers according to the exploded drawings (sec-
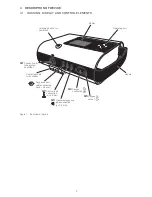
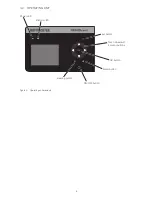
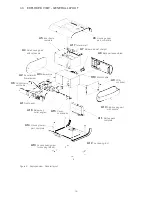
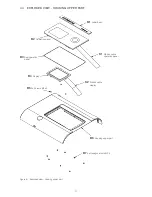
tion 4.3 on page 10 to section 4.10 on page 15), and the spare parts list (section 10.2 on page 32).
6.2 OPENING AND DISASSEMBLING THE DEVICE
During the maintenance work, check for any moisture in the device. Damp areas should be wiped
and disinfected. Before assembly, ensure that the affected areas are sufficiently dry.
1. Switch off the device using the main switch and disconnect it from the mains power, as well as
all connected components (e.g., humidifier).
2.
Remove the filter cassette holder (D3).
3. Place the device with the upper side on a soft surface.
4. If the HOFFRICHTER warranty seal is still in place, remove it.
5. Unscrew the four screws on the underside of the device using a long screwdriver (Phillips-tip
PH1 x 200).
6. Lift off the lower part of the housing (A14). Ensure that the screws do not fall out and are lost.
7.
Remove both lateral housing parts (A4 + A10).
8. Detach the battery pack (A11) from the controller PCB (A9) by pulling the battery charging PCB
(F3) away from the controller PCB.
9. Detach the controller PCB (A9) from the DC-communication PCB (D1).
10. Tilt the housing’s back part (A8) outwards and pull the motor cable off from the DC-communi-
cation PCB (D1).
11. Remove the back part (A8).
12. Dismantle the cover for the check valve (A15). Take care to avoid breaking the tabs off.


