Advanced Techniques
pg. 37
- 43 -
43
l
l
l
l
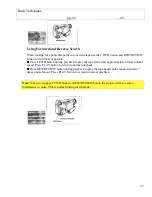
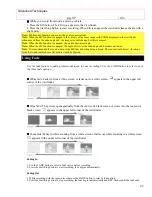
While you record from inside a moving vehicle.
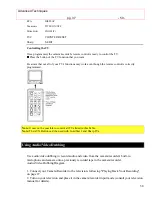
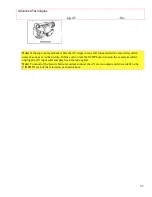
1. Press the EIS button. The EIS icon appears in the viewfinder.
2. Press the Start/Stop button to start recording. When EIS is engaged the viewfinder image shakes with a
slight delay.
Note:
EIS may not function you use a wide or teleconverter lens.
Note:
When the EIS function is engaged in the vicinity of the zoom range with ZOOM displayed in the viewfinder,
when moved from the wide-angle end, the image size will change, but this is normal.
Note:
When the EIS function is engaged, the picture becomes rough.
Note:
When the EIS function is engaged, the angle of view at the wide-angle end becomes narrower.
Note:
It is recommended that you do not use the EIS function when using a tripod. The sensor would detect vibrations
from the tripod in which case the picture would be blurred.
Using Fade
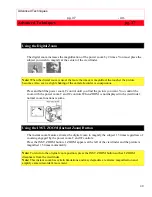
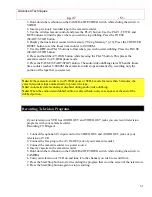
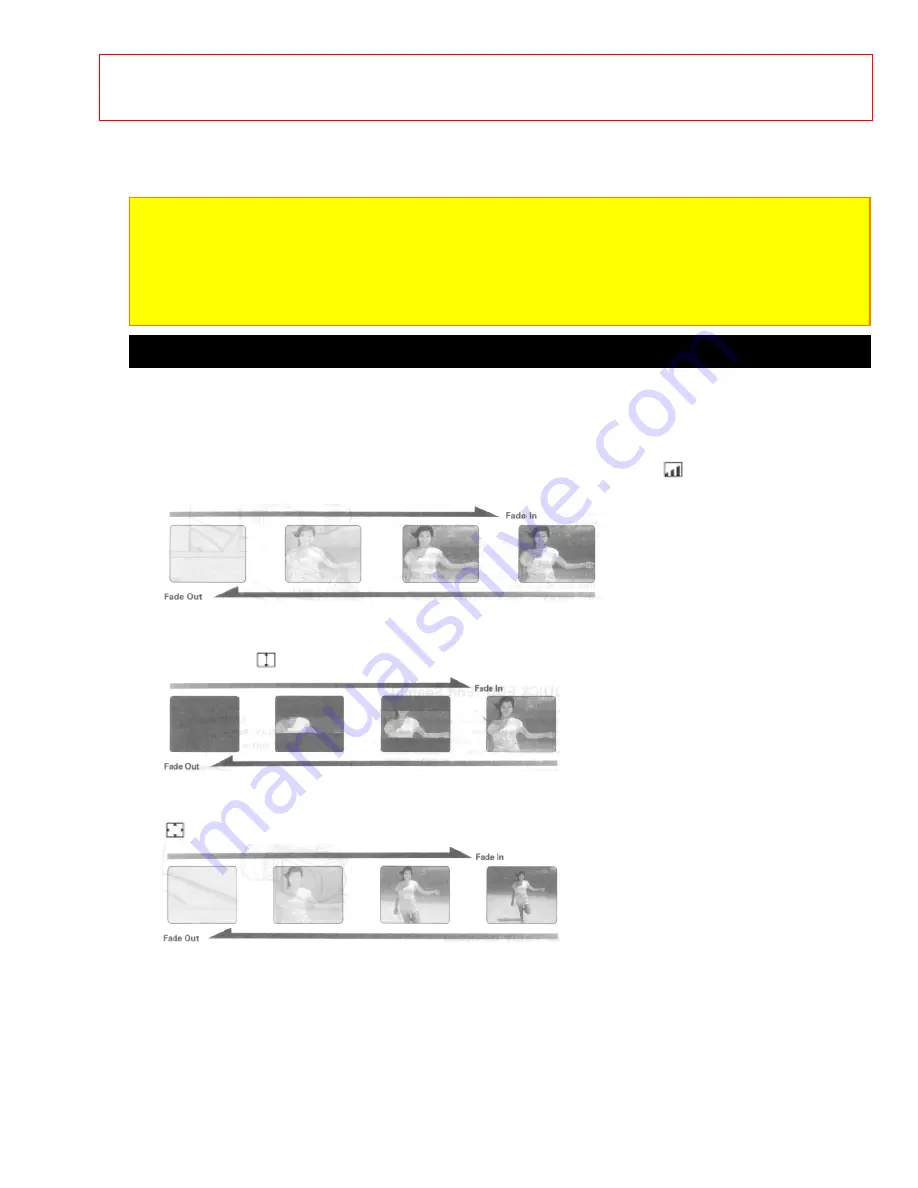
Use the fade feature to add a professional touch to your recordings. Use the FADE button to select one of
the three fade options.
l
l
l
l
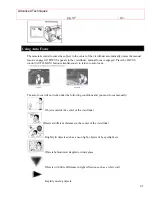
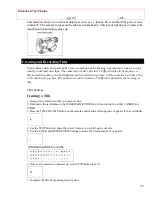
White fade: Fades in from a white screen or fades out to a white screen.
appears in the upper left
corner of the viewfinder.
l
l
l
l
Wipe fade: The picture opens gradually from the center of a black screen or closes into the center to a
black screen.
appears in the upper left corner of the viewfinder.
l
l
l
l
Zoom fade: Fades in while zooming from a white screen or fades out while zooming to a white screen.
appears in the upper left corner of the viewfinder.
Fading In
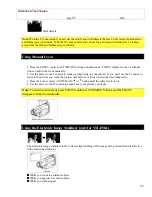
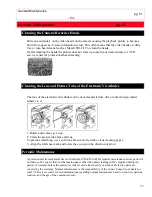
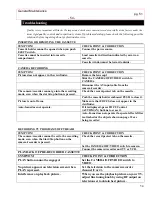
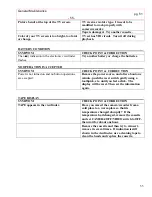
1. Use the FADE button to select a fade option before recording.
2. Press the Start/Stop button to start recording; fade begins automatically.
Fading Out
1. While recording with the camera/recorder use the FADE button to select a fade option.
2. Press the Start/Stop button to stop recording; the fade begins automatically and REC flashes until the fade ends.

