Advanced Techniques
51
attempting to put the camcorder into the record mode again.
Date Search
The date search function memorizes the start and end positions of recordings you made on a specific day so you
can easily locate those positions later as long as the cassette is left in the camcorder
.
Note:
Be sure that the date and time are set.
1. Attach a power source and slide the CAM/OFF/VIDEO switch to VIDEO.
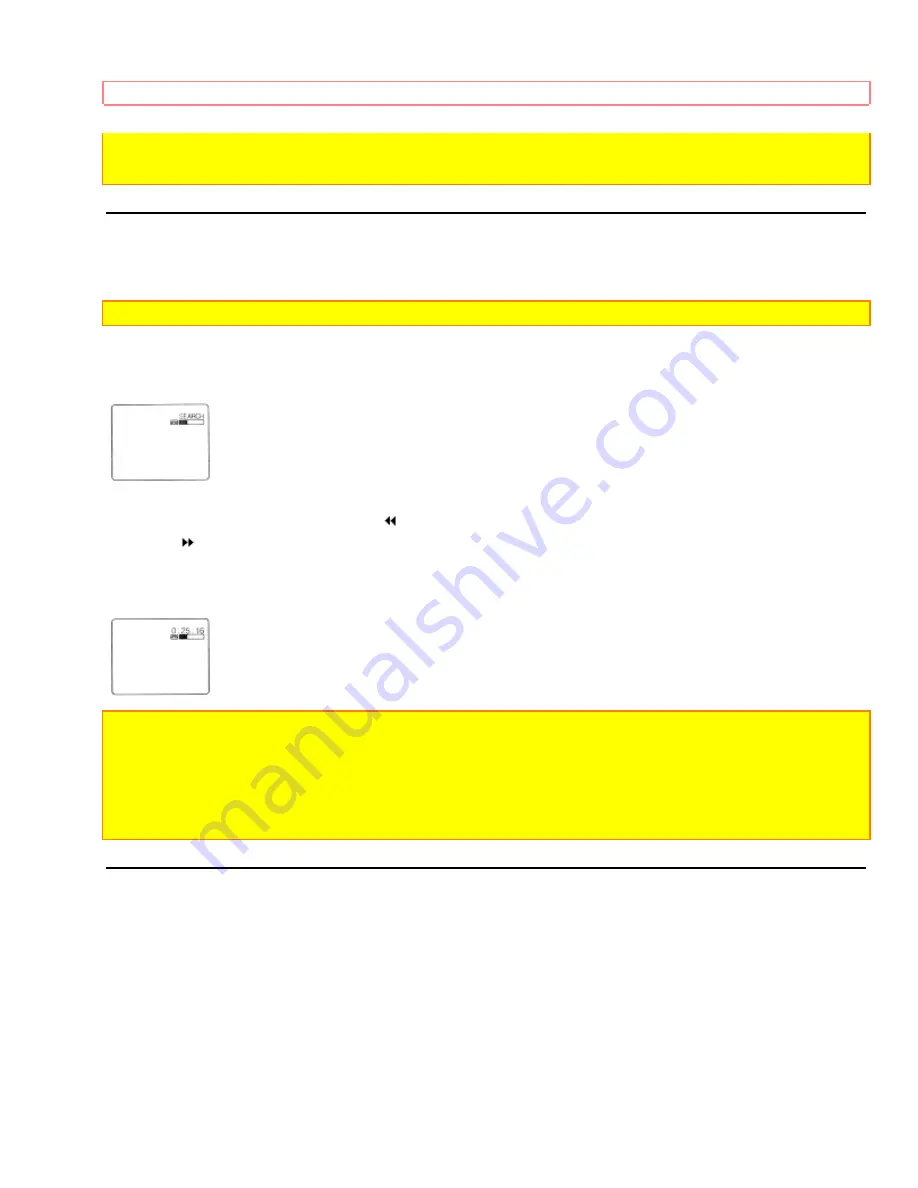
2. Press the DATE/DISP. button to display "SEARCH" in the viewfinder or on the LDC monitor.
3. Press the REW/REVIEW button to search for the start position from which you last made a recording or the
F.FWD button to recording end position. "
SEARCH" will appear while the start position is being searched for;
"SEARCH
", while the end position is being searched for.
4. When the required position is located, the camcorder enters the stop mode and "SEARCH" disappears from
the viewfinder or on the LDC monitor.
Note:
If you have ejected the cassette, this function will not operate with that cassette. (When a cassette is
inserted and the recording is started, the position is identified as the recording start position on that day.)
Note:
If the clock battery is not inserted, the date search function does not operate when the battery providing the
power to the camcorder is removed.
Note:
When the cassette was recorded by another camcorder, the date search function does not operate.
Note:
The date search function is released when you press the STOP button during date search mode.
Note:
If the recorded time is less than 30 seconds, the date search function may not operate normally.
Using Memory
The linear time counter memory stops a rewinding tape at approximately 0:00:00M. Activate the counter memory
when you insert a cassette. Since the counter has been reset, you will be able to rewind the tape to that point
after recording. This is useful when you want to start recording from the middle of a tape ore rewind the tape after
playing it back.
1. Insert a tape. The linear time counter appears.
2. Start recording or playback of a cassette.
3. Press the STOP button to stop playback, or press the start/stop recording and set the CAM/OFF/VIDEO switch
to VIDEO.
Summary of Contents for VM-E455LA
Page 40: ...Advanced Techniques ...


