105
1<
DELETING SCENES FROM PLAY LIST (EDITING PLAY LIST)
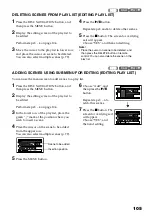
1
Press the DISC NAVIGATION button, and
then press the MENU button.
2
Display the editing screen of the play list to
be edited.
Perform steps 3 – 4 on page 104.
3
Move the cursor to the play list in lower row,
and place the cursor on scene to be deleted.
You can also select multiple scenes (p. 79).
4
Press the
A
button.
Repeat steps 3 and 4 to delete other scenes.
5
Press the
C
button: The screen for verifying
exit will appear.
Choose “YES”, and then end editing.
Note
:
•
Place the cursor on scene to be deleted, and
then press the DELETE button on remote
control: You can also delete the scene on the
play list.
1<
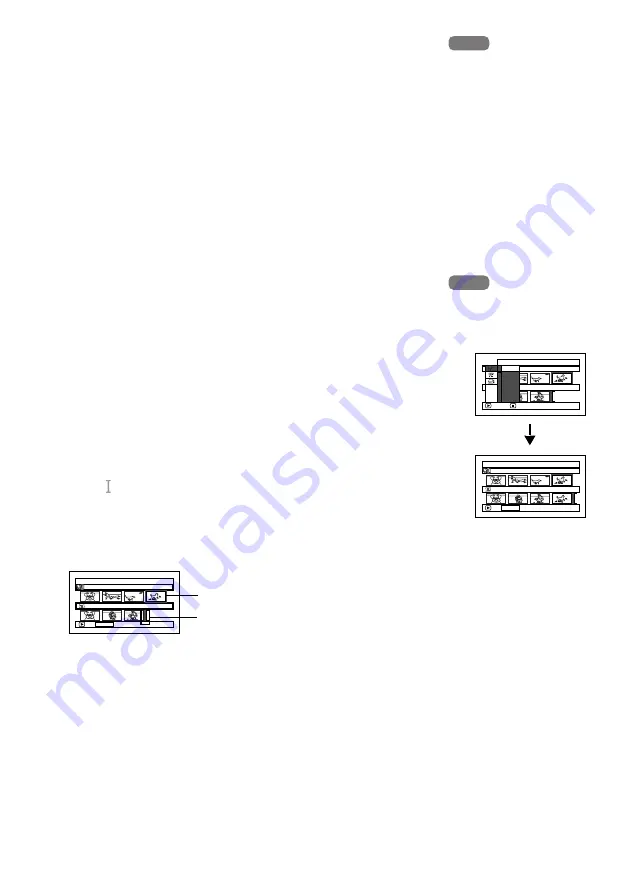
ADDING SCENES USING SUBMENU FOR EDITING (EDITING PLAY LIST)
You can use the menu screen to add scenes to a play list.
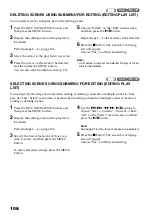
1
Press the DISC NAVIGATION button, and
then press the MENU button.
2
Display the editing screen of the play list to
be edited.
Perform steps 3 – 4 on page 104.
3
In the lower row of the play list, place the
green “ ” mark at the position where you
wish to insert a scene.
4
Place the cursor on the scene to be added
from the upper row.
You can also select multiple scenes (p. 79).
5
Press the MENU button.
6
Choose “Add”, and
then press the
A
button.
Repeat steps 3 – 6 to
add other scenes.
7
Press the
C
button: The
screen for verifying exit
will appear.
Choose “YES”, and
then end editing.
HDD
HDD
HDD
HDD
Ed i t P l a yL i s t
P l a y L i s t No . 03
A l l P r o g r ams
0 0 4 / 0 1 4
0 0 7 / 0 0 7
ADD PHOTO SELECT
Scene to be added
Insertion position
Ed i t
A l l P r o g r a ms
ENTER
RETURN
0 0 7 / 0 0 7
P l a y L i s t N o . 0 3
0 0 4 / 0 1 4
E x i t
A d d
Ed i t P l a yL i s t
P l a y L i s t No . 03
A l l P r o g r ams
0 0 4 / 0 1 4
0 0 8 / 0 0 8
ADD PHOTO SELECT

