85
Va
rio
us
R
ec
or
din
g T
ec
hn
iq
ue
s
3
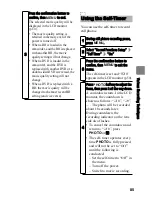
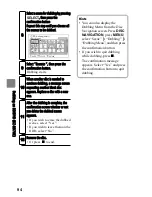
Press the confirmation button to
confirm, then
MENU
to end.
The selected movie quality will be
displayed in the LCD monitor
(p.50).
• The movie quality setting is
retained in memory even if the
power is turned off.
• When a BD is loaded in the
camcorder, and the BD is replaced
with another BD, the movie
quality setting will not change.
• When a DVD is loaded in the
camcorder, and the DVD is
replaced with another DVD or a
double-sided DVD is reversed, the
movie quality setting will not
change.
• When a DVD is replaced with a
BD, the movie quality will be
changed to the most recent BD
setting (and vice versa).
Using the Self-Timer
You can use the self-timer to record
still photos.
1
During still picture recording pause,
press
MENU
.
2
Select “Record Functions Setup”
“Self Timer”
“On”
3
Press the confirmation button to
confirm, then
MENU
to exit the
menu.
The self-timer is set and “
<
10”
appears in the LCD monitor (p.50).
4
Press
PHOTO
halfway to adjust the
focus, then press it all the way down.
A countdown starts. In the LCD
monitor, the countdown is
shown as follows: “
<
10”, “
<
9”,
…. The photo will be recorded
about 10 seconds later.
During countdown, the
recording indicator on the lens
side also flashes.
• To cancel the countdown and
return to “
<
10”, press
PHOTO
or
.
• The self-timer operates every
time
PHOTO
is fully pressed
and will not be set to “Off”
until the following is
conducted:
– Set the self-timer to “Off” in
the menu.
– Turn off the power.
– Switch to movie recording.
CARD


