Operational Instructions and Function Adjustment
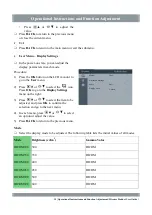
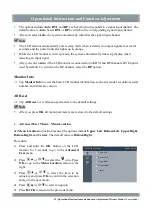
The options include
Auto
,
DVI
, and
DP
, each of which corresponds to a signal input channel. The
default value is
Auto
. Select
DVI
or
DP
to switch to the corresponding signal input channel.
After you select
Auto
, the system automatically identifies the signal input channel.
Note
The LCD monitor automatically enters sleep mode when it detects no output signals for several
seconds, and the power indicator lights on in orange.
While the LCD monitor is in sleep mode, the system automatically wakes up display when
detecting an input signal.
After you select
Auto
, if the LCD monitor is connected to both DVI and DP channels, DVI input is
used by default. To switch to the DP channel, select the
DP
option.
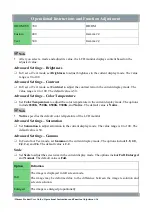
Monitor Info
Tap
Monitor
Info
to view the basic LCD monitor information, such as its model, resolution, serial
number, and firmware version.
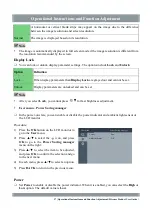
All Reset
Tap
All Reset
to set all menu parameters to the default settings.
Note
After you press
OK
, all menu parameters are restored to the default settings.
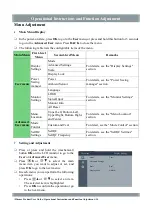
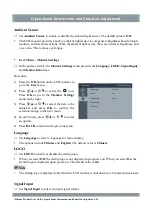
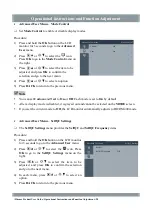
Advanced User Menu – Menu Location
Set
Menu Location
to position menus. The options include
Upper Left
,
Bottom Left
,
Upper Right
,
Bottom Right
, and
Center
. The default value is
Bottom Right
.
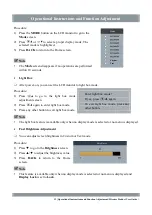
Procedure:
1)
Press and hold the
OK
button on the LCD
monitor for 3 seconds to go to the
Advanced
User
menu.
2)
Press
or
to select the
icon. Press
OK
to go to the
Menu Location
menu on the
right.
3)
Press
or
to select the item to be
adjusted, and press
OK
to confirm the selection
and go to the next menu.
4)
Press
or
to select an option.
5)
Press
BACK
to return to the previous menu.
Advanced User menu
Menu Location
Upper Left
Bottom Left
Upper Right
Bottom Right
Center
19 | Operational Instructions and Function Adjustment | Hisense Product User Guide |


