13.3 Making System Settings
369
13
Chapter 13
System
Env
ironment Sett
ings
Operating Key
Procedure
1
CURSOR
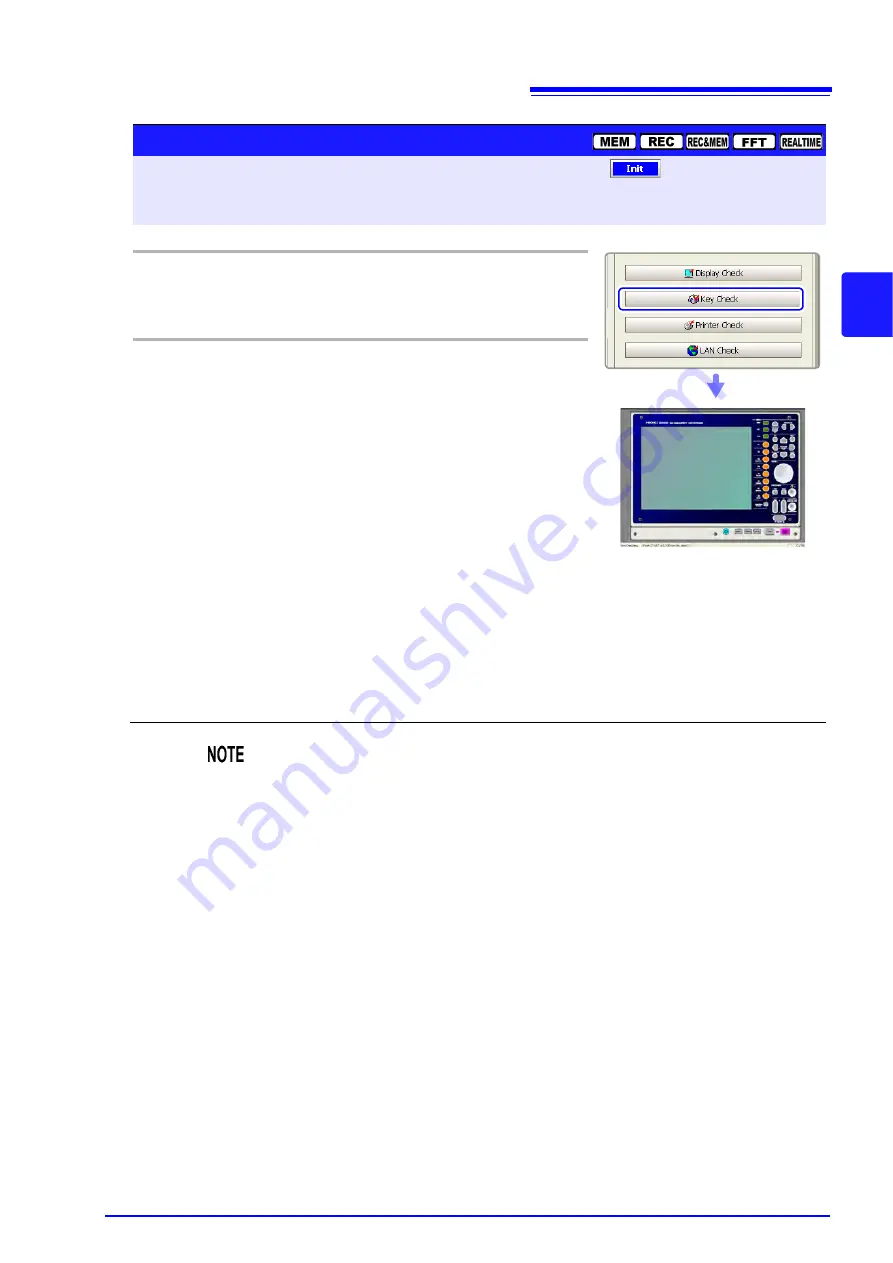
Move the cursor to the
[Key Check]
button.
F1
Select
[Execute].
Operation keys appear.
2
All operation
keys
Press each operation key once or more.
The corresponding key is painted over.
• Jog: Rotate to the left and right, one time or
more in each direction.
• Shuttle: Rotate all the way in left and right
directions.
• A/B knobs and RANGE/POSN knobs: Rotate
each knob to the left and right one or more
times. Press the inner side knobs.
The START key also functions as an LED light
check key.
The check is finished when you have operated all
the keys.
To cancel the check
Press the
START
and
STOP
keys simultaneously. The original screen reappears.
If you are using a mouse, you can click the right button and select [Exit].
Key Check
To open the screen:
Press the
DISP
key
Press the
F7
[System]
key
Select
with the
SUB MENU
keys
Init Settings screen
See
Screen Layout (p. 51)
The key check does not finish if there is a problem that prevents even one of the
keys from being recognized. If this occurs, press the
START
and
STOP
keys
simultaneously to display the original screen.
There may be a malfunction in the instrument, so request repairs. If there is a
problem with the
STOP
or
START
key, you cannot return to the original screen.
Power the instrument off and request repairs.
Summary of Contents for 8860-50
Page 2: ......
Page 12: ...Contents x...
Page 18: ...Reading this Manual 6...
Page 24: ...1 3 Interconnection and Block Diagrams 12...
Page 180: ...6 12 Making Trigger Settings on the Waveform Screen 168...
Page 246: ...8 15 Inserting and Searching for Event Marks on a Waveform 234...
Page 356: ...12 7 Print Examples 344 A B Waveform_________________________________________________...
Page 406: ...14 2 External I O 394...
Page 489: ......
Page 490: ......


