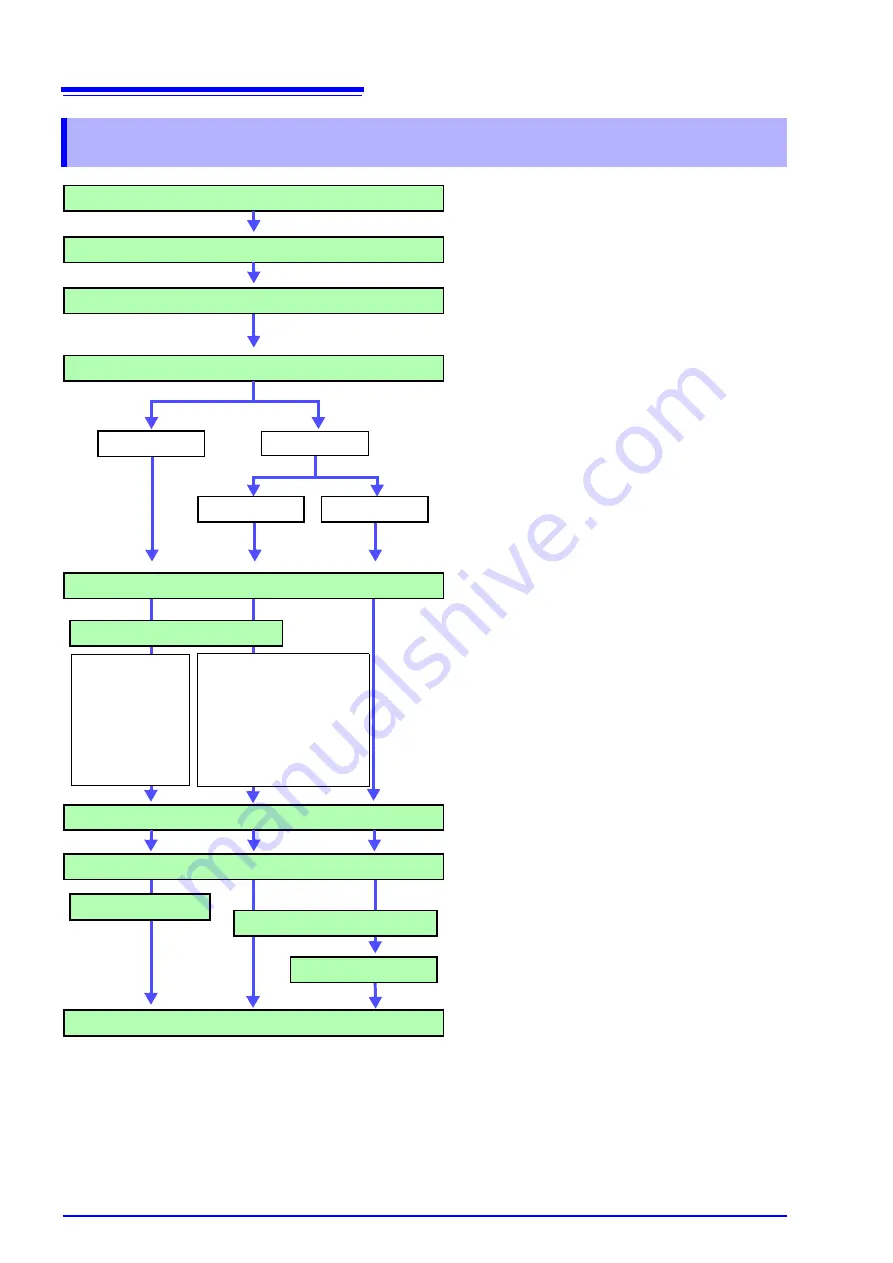
12.1 Printing Workflow
314
12.1 Printing Workflow
Load recording paper
Verify that the recording paper is loaded correctly.
How to load recording paper:
See
"3.3 Loading Recording Paper (With a Printer
Module Installed)" in the
Quick Start Manual
Turn power on
Set measurement configuration
In the various setting screens, set the measurement
conditions with the [Status], [Channel], and [Trigger]
menus.
Select the printing method
Print Settings screen
([Printer] page of the [Print] menu)
See
"Print Methods and Print Items" (p. 315)
The factory default settings are as follows.
Auto Print:
[Off]
, Manual Print:
[Selection Print]
*1.The Memory Function and FFT Function are printed after
measurement. The Recorder Function is printed at the same
time as measurement (Real-Time Print).
Auto Print is not available with the Real-Time Saving
function.
*2.When you press the PRINT key, set the printing type in the
[Print] dialog.
Select the output destination
Select whether to print with the optional internal printer
or with an external (USB) printer. (However, Real-Time
Print is available only with the internal printer.)
Set the printing type.
The items which can be printed vary depending on the
function and whether Auto or Manual Print is selected.
See
"Available Printing types" (p. 316)
Set the printer (p. 323)
Set the print density and quality (internal printer) or mar-
gins and print colors (external printer) as required.
Select the items to print (p. 327)
Print Settings screen
([Print Items] page of the [Print] menu)
Set the recording format (Printout Type), grid, and other
items to print.
Select the printing type in the [Print] dialog.
The items print are the same as for Quick Print.
During Real-Time Printing, you can pause and restart
the printing
.
For printing examples:
See
"12.7 Print Examples" (p. 339)
Quick Print
Selection Print
*2
(printing with the
PRINT key)
Auto Print
*1
Manual printing
Select the printing type
• Waveform (Whole/ A-B/
Post-/Pre-Trigger Wave-
forms)
• Report
• Lists
• Calculation results
• Screen Image
• Screen Link
• Waveform data
• Numeric value
calculation
results
Measurement
Press
key
Select the printing type
Auto Print
:
Printing starts auto-
matically after mea-
surement starts.
Quick Print
:
Printing starts when
the PRINT key is
pressed
Selection Print
:
Printing starts when
a printing type is se-
lected in the [Print]
dialog.
Summary of Contents for 8860-50
Page 2: ......
Page 12: ...Contents x...
Page 18: ...Reading this Manual 6...
Page 24: ...1 3 Interconnection and Block Diagrams 12...
Page 180: ...6 12 Making Trigger Settings on the Waveform Screen 168...
Page 246: ...8 15 Inserting and Searching for Event Marks on a Waveform 234...
Page 356: ...12 7 Print Examples 344 A B Waveform_________________________________________________...
Page 406: ...14 2 External I O 394...
Page 489: ......
Page 490: ......


