Local Device Manager
111/166
Elements on
Attachments
page:
Element
Description
Add
Opens the
Add Device Attachment
dialog for uploading an IODD in
ZIP format
Delete
Opens the
Delete
dialog for deleting files
Memory
Opens a window showing the amount of memory that the attachments
consume on your sensorEDGE device
The fields in the header allow you to filter the list for the sensors’
Name
,
Vendor
,
Ident Number
,
Revision
and
Ordering Number
.
Reset
Removes the filter
Table 24: Elements on Attachments page
Ø
You can sort the list alphabetically for
Name
and
Vendor
in ascending
or descending order by clicking the corresponding column header.
Ø
Clicking the link in the
Name
column opens the Internet page of the
device’s vendor.
Ø
Clicking on a link in the
Attachments
column opens the corresponding
file in your web browser.
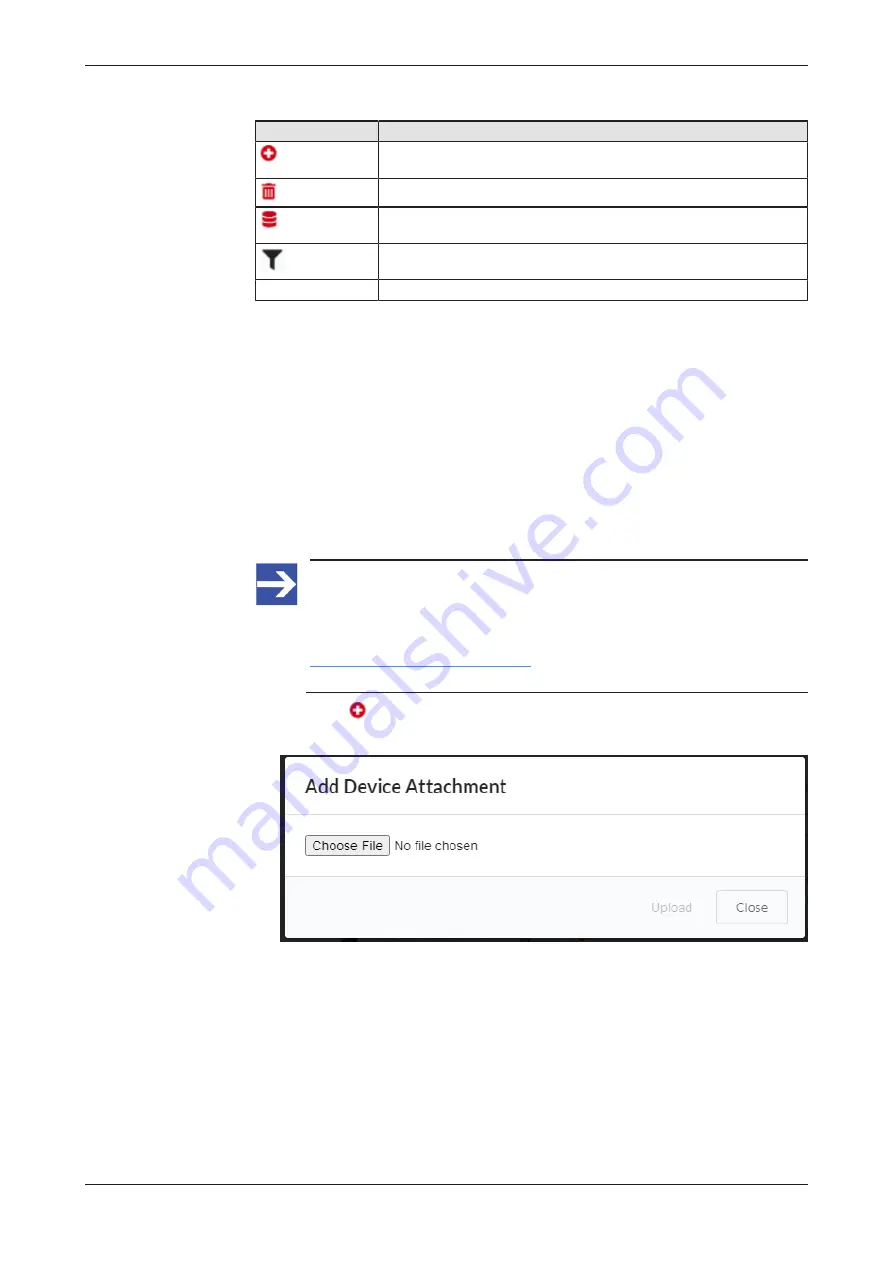
Add Device Attachment dialog
To manually upload an IODD file in ZIP format from your local PC to the
sensorEDGE device, proceed as follows:
Note:
For integrity and security reasons, you can only upload IODD files
that are contained in the official ZIP packages released by the
device’s vendor, as available e.g. on the
https://ioddfinder.io-link.com/
You cannot upload an IODD as a separate XML file.
Ø
Click the
Add
button in the header to open the
Add Device
Attachment
dialog.
Figure 94: Add Device Attachments dialog
Ø
Click
Choose File
button to open the file selection dialog of your
browser.
netFIELD sensorEDGE | User manual
DOC200601UM01EN | Revision 1 | English | 2021-09 | Released | Public
© Hilscher 2021


