


Chapter 3 Video Wall Operations
This section describes common video wall operations, such as video wall configuration and signal
displaying on the video wall. The decoding outputs of your devices are automatically spliced into
one when you drag an input signal source to the video wall on the client.
3.1 Configure a Video Wall
To control and manage the physical video wall, you need to add a virtual video wall and link the
decoding outputs of your devices with the video wall on the client.
3.1.1 Add a Video Wall
Add a virtual video wall on the client according to the physical video wall for control and
management.
Steps
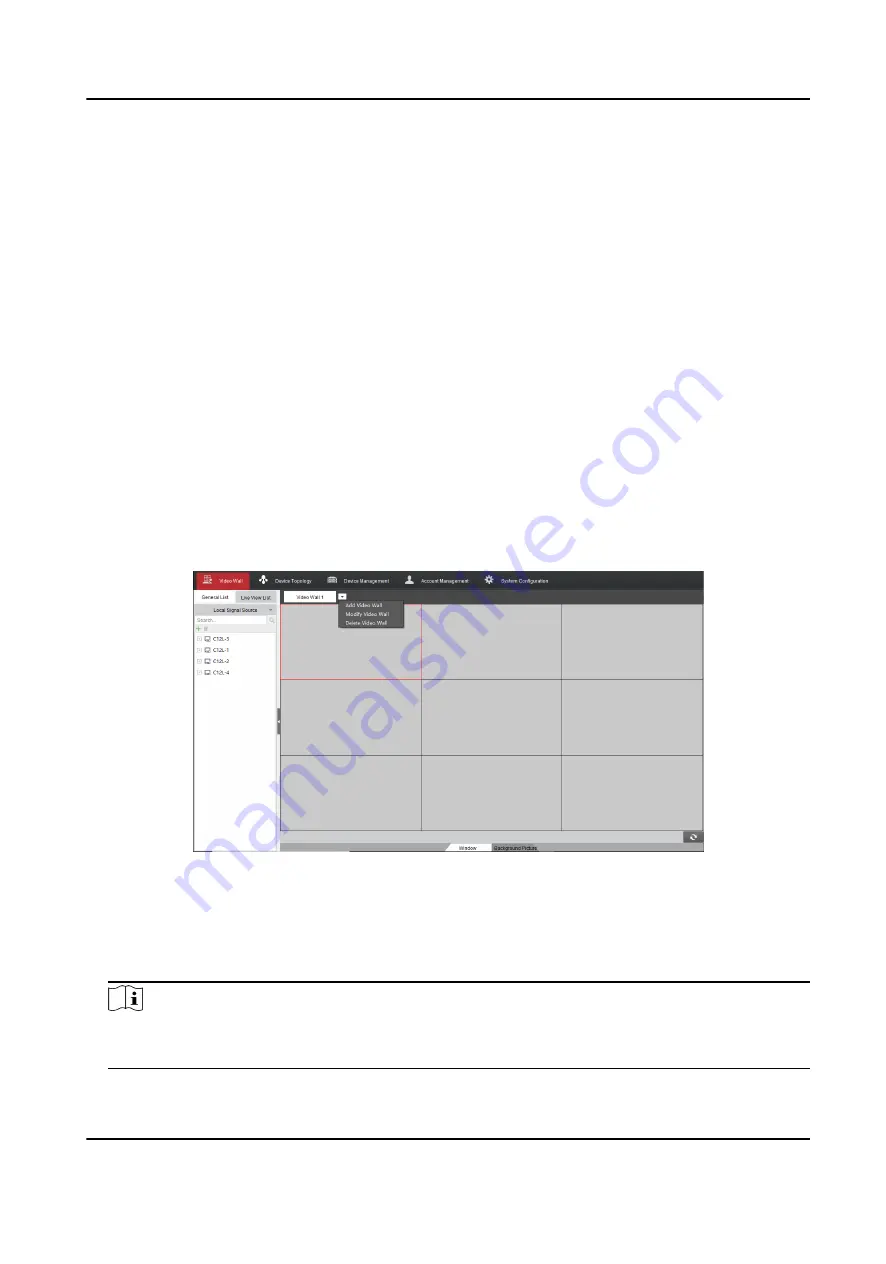
1. Click Video Wall to enter the video wall management interface.
Figure 3-1 Add a Video Wall
2. Click the drop-down button on the upper part of the video wall and select Add Video Wall. You
can also select Modify Video Wall to change the configuration of a video wall or select Delete
Video Wall to delete a video wall.
3. Enter the Video Wall Name, and set the Row and Column.
Note
• The name of the video wall must be unique.
• The maximum scale is 16 rows and 20 columns.
Video Wall Controller User Manual
19