


Network Video Recorder User Manual
186
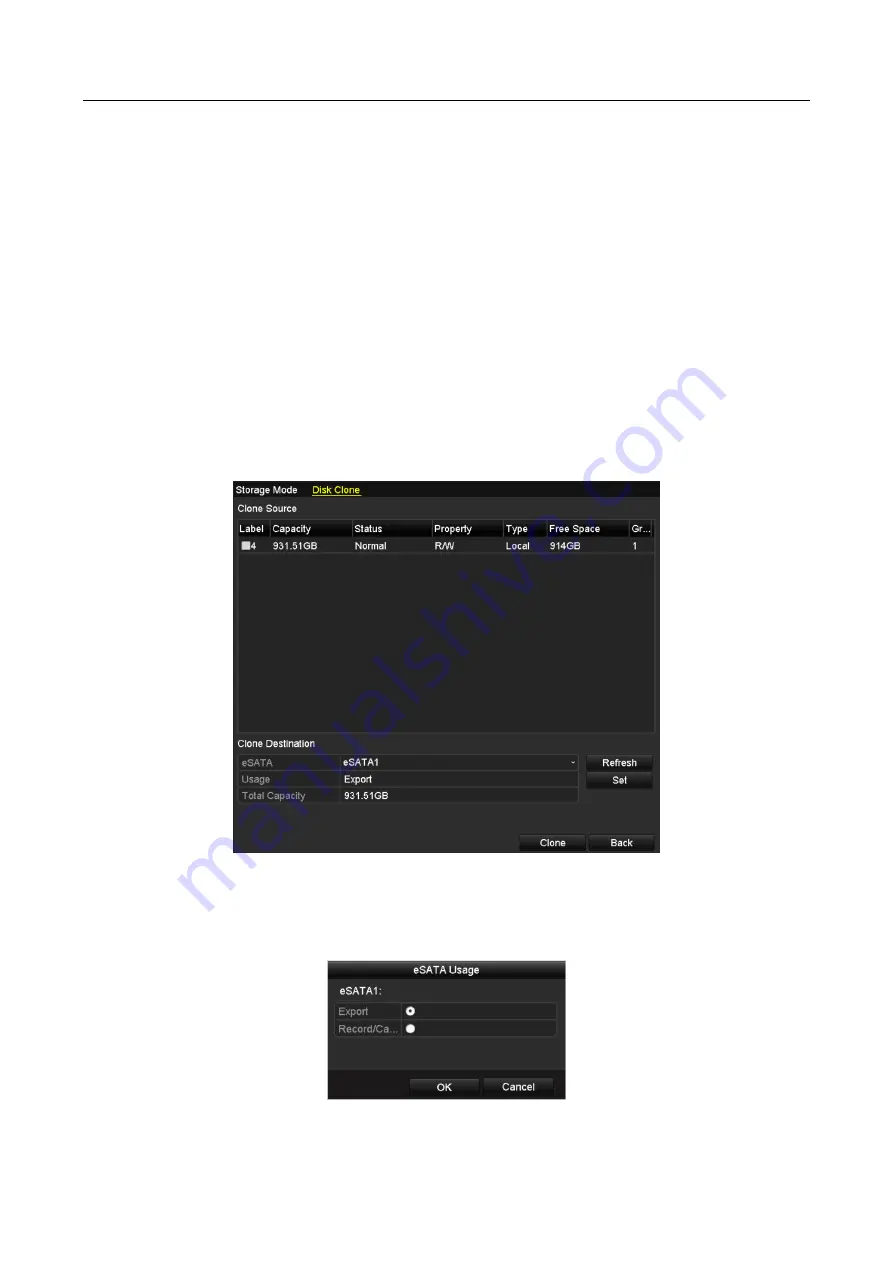
12.5 Configuring Disk Clone
Purpose:
If the S.M.A.R.T. detection result declares the HDD is abnormal, you can choose to clone all the
data on the HDD to an inserted eSATA disk manually. Refer to Chapter 12.8 HDD Detection for
details of S.M.A.R.T detection.
Before you start:
An eSATA disk should be connected to the device.
Step 1
Enter the HDD Advanced Setting interface:
Menu > HDD > Advanced
Step 2
Click the Disk Clone tab to enter the disk clone configuring interface.
Figure 12-19
Disk Clone Configuration Interface
Step 3
Make sure the usage of the eSATA disk is set as Export.
If not, click the Set button to set it. Choose Export and click the OK button.
Figure 12-20
Setting eSATA Usage


