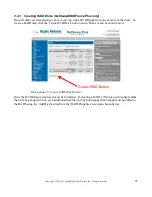
24
Copyright © 2011-2019 by Highly Reliable Systems, Inc. All rights reserved.
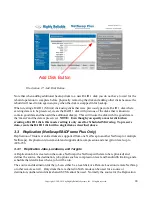
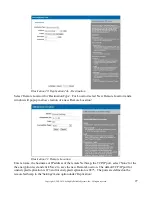
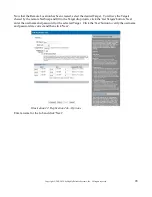
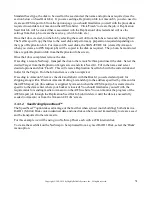
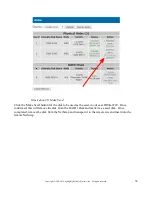
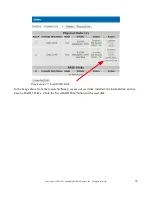
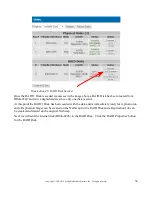
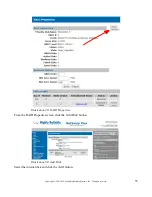
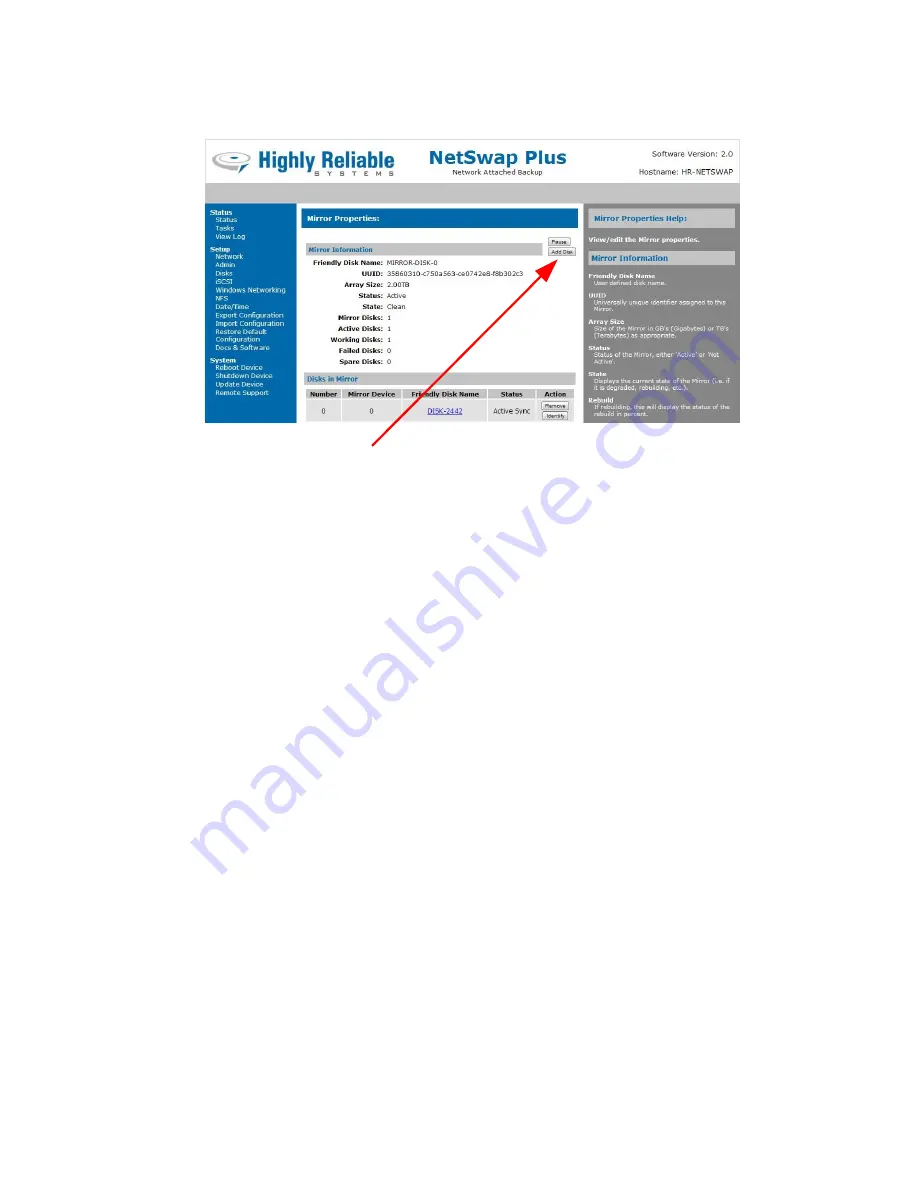
Add Disk Button
Illustration 17: Add Disk Button
Note that when adding additional backup disks to a new RAID 1 disk you do not have to wait for the
rebuild operation to complete before physically removing the disk and adding other disks because the
rebuild will need to run again anyway when the disk is swapped in for backup.
When creating a RAID 1 (Mirror) disk using disks that were previously part of a RAID 1 disk where
existing data is to be preserved, create the RAID 1 disk with just one of the disks that is known to
contain good data and then add the additional disk(s). This will insure the disk with the good data is
the 'master' and the data is preserved.
NOTE: Even though you specify a master disk when
creating a RAID 1 disk, this master setting is only used for Scheduled Mirroring. To preserve
data, create the RAID 1 disk with a single disk as described above.
3.3 Replication (NetSwap/RAIDFrame Plus Only)
Replication of folders or entire disks are supported from one NetSwap to another NetSwap (or multiple
NetSwaps). Replication is incremental and supports data compression and encryption levels up to
AES-256.
3.3.1 Replication Jobs, Locations, and Targets
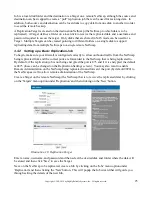
A Replication Job is created on the source NetSwap (the NetSwap with data to be replicated) and
defines the source, the destination, job options such as compression level and bandwidth limiting, and a
schedule that determines when a job will be run.
The source and destination for the job can either be a local disk or a Remote Location (remote NetSwap
or other remote server). Only disks that are shared in NAS mode can be used for a source or
destination, unshared and disks shared iSCSI cannot be used. Normally the source for the Replication

