Hearth & Home Technologies • Trim Kit Instructions • 2115-951 Rev. E • 6/19
2
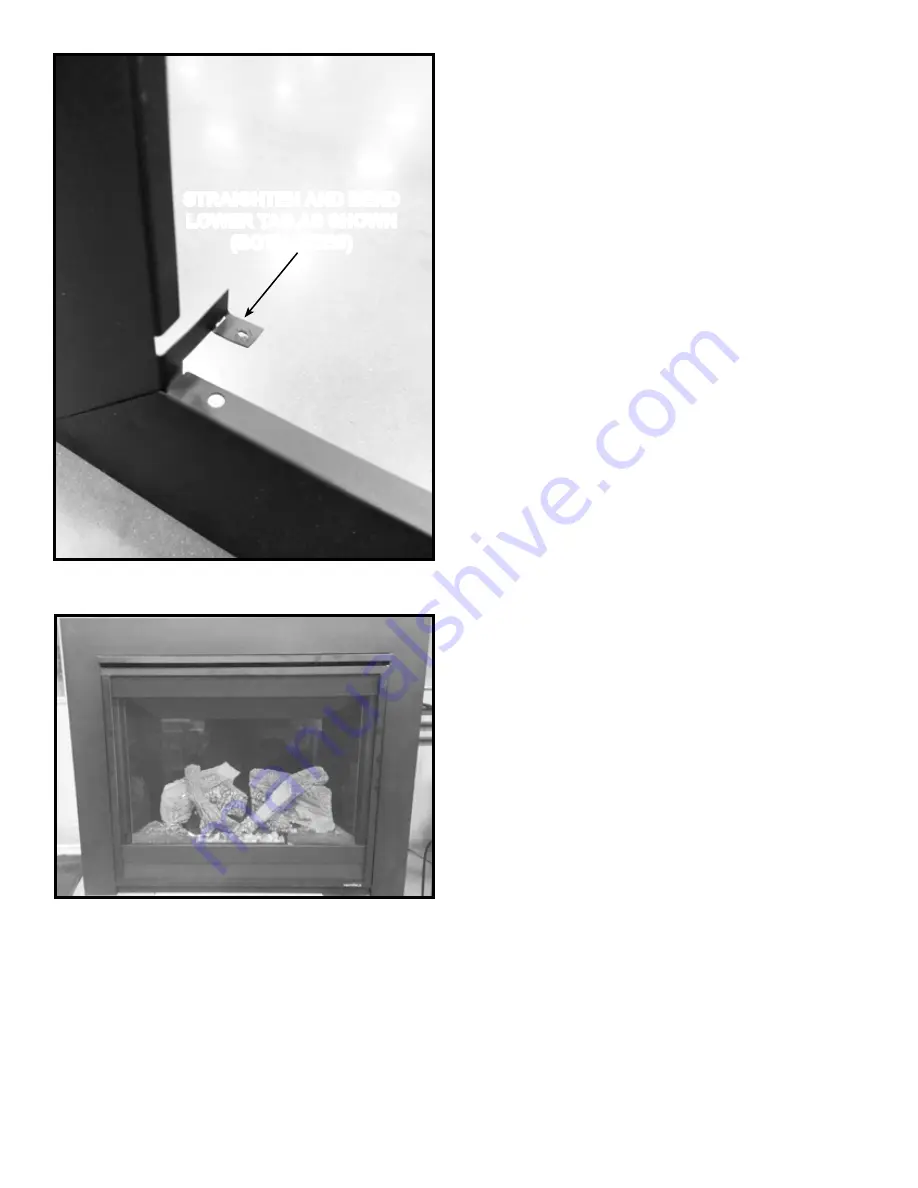
Figure 4. Trim Kit Installed
Figure 3. Lower Left Tab
STRAIGHTEN AND BEND
LOWER TAB AS SHOWN
(BOTH SIDES)
Page 1: ...s 4 Bend the tabs of the lower mounting brackets as shown in Figure 3 5 Hang trim kit on appliance by aligning upper J Hooks with top fireplace slots Secure by pressing inward and downward until trim kit sits firmly in place Fast ern lower corners with included sheet metal screws 6 If the sides of the trim pieces appear to be bent inward away from fireplace wrap sides loosen hex nuts re move assem...
Page 2: ...Hearth Home Technologies Trim Kit Instructions 2115 951 Rev E 6 19 2 Figure 4 Trim Kit Installed Figure 3 Lower Left Tab STRAIGHTEN AND BEND LOWER TAB AS SHOWN BOTH SIDES ...
Page 3: ... dimension from the bottom of the appliance to the bottom of the surround is 3 7 8 inches as shown in Figure 6 It is recommended that the appliance be installed to allow for a minimum of 4 3 8 inches from bottom of appliance to bottom of surround Please contact your Hearth Home Technologies dealer with any questions or concerns For the location of your nearest Hearth Home Technologies dealer pleas...