41
GETTING STARTED
MANAGE GENERAL SETTINGS
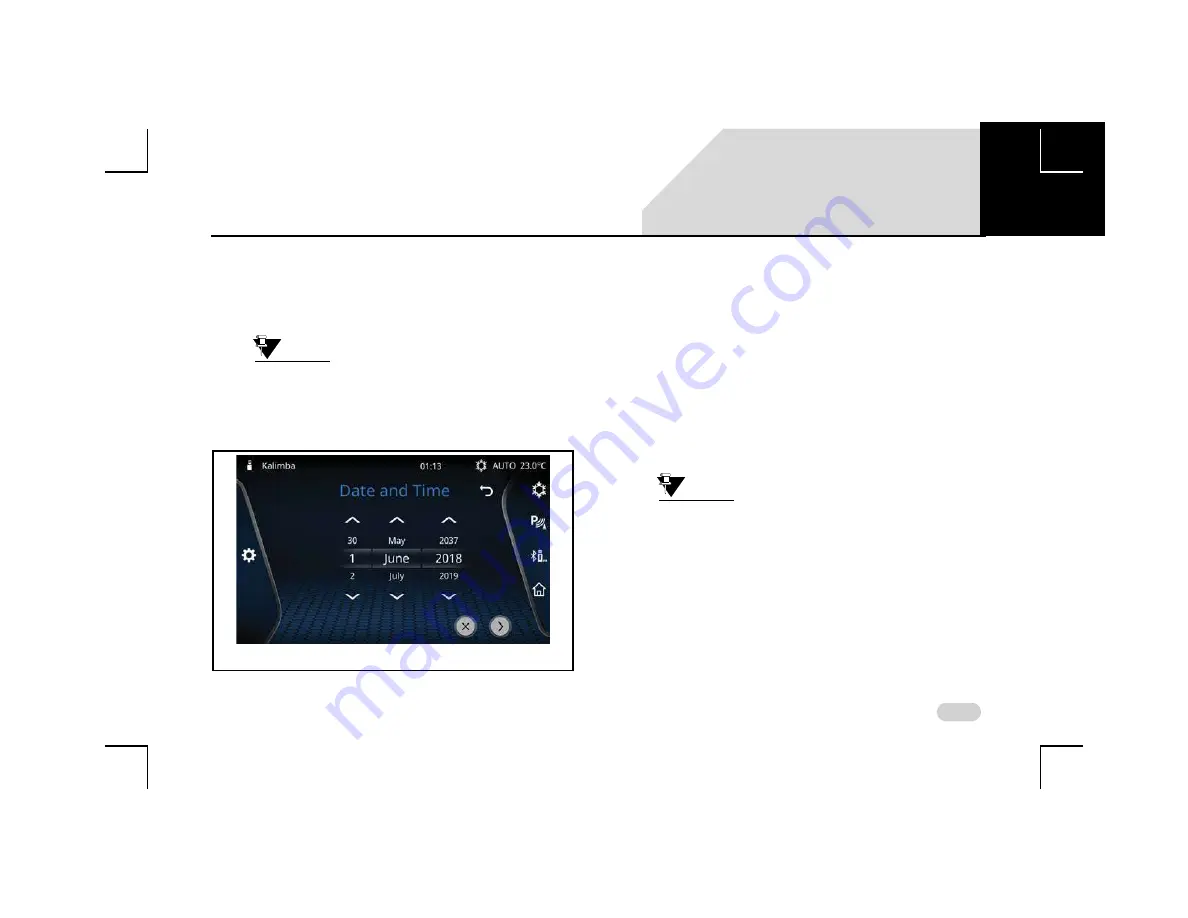
4. Highlight the year (
YYYY
) field and select the required
year value.
5. When the required date is selected, select the
Set
icon.
The selected date is set as the system date.
NOTE:
You can scroll through the values of day,
month and year in the number lists by
either using manual touch scrolling or up/
down arrows.
S
ETTING
T
IME
To set the system time:
1. In the
General Setup
options, navigate to and select
the
Set Time
option. The system displays the Set Time
screen.
2. In the Set Time screen, highlight the hour field and
select the required hour value.
3. Highlight the minutes field and select the required
minute value.
4. Highlight the time period (AM/PM) field, select the
required time period value.
NOTE:
The Time Period option will be available
only if the ‘Use 24 Hour Format’ option is
not set.
5. When the required time is selected, select the
Set
icon.
The selected time is set as the system time.
Changing the Time Format
By default, the infotainment system clock displays time in 12
Hour format. To change it to the 24 Hour format:
Figure 21: Set Date Screen
03


