Chapter 6 - Setup
6-31
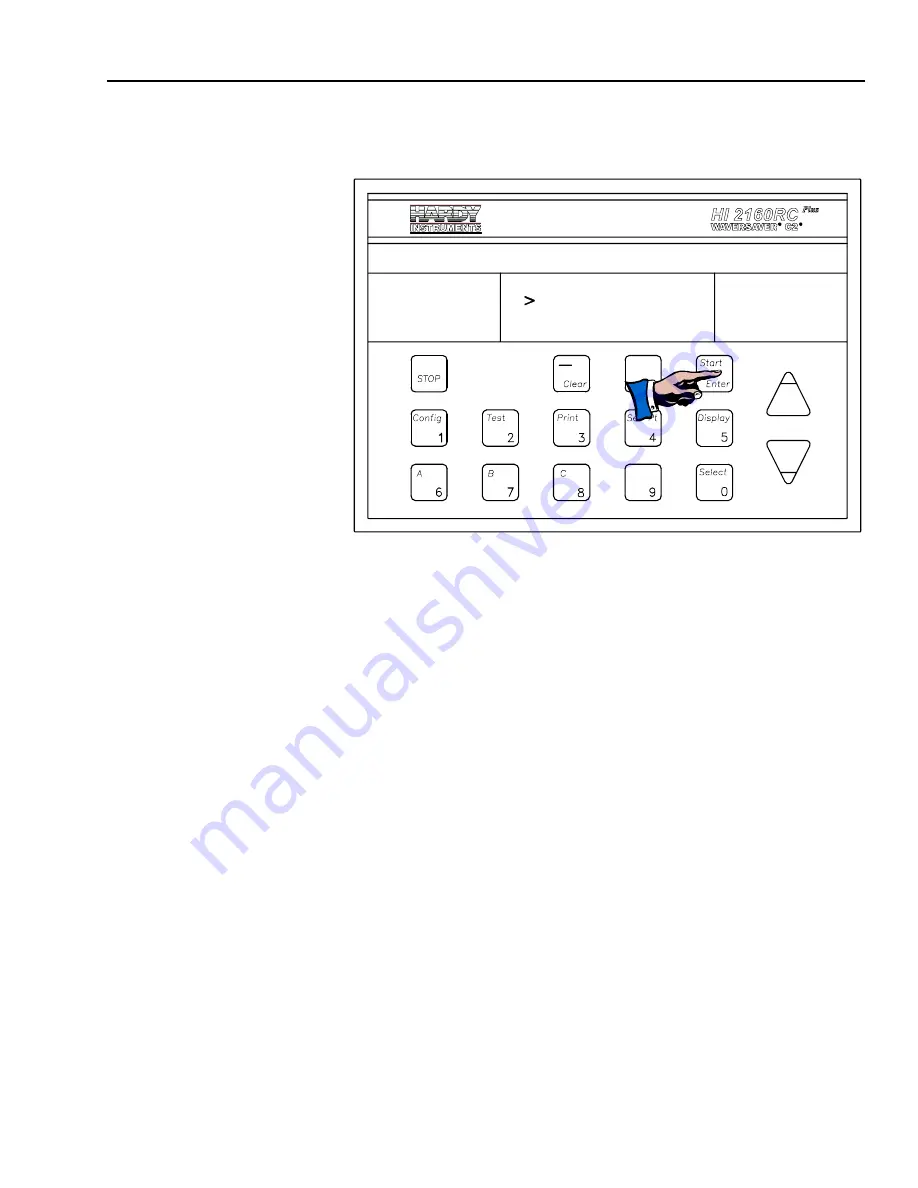
Step 2. Press the Enter button. The Time and Date Menu appears with
the cursor to the left of the Time Setting. (See Fig. 6-25)
TIME AND DATE MENU
TIM E 08 : 35: 26
DATE 06 -27-00
FIG. 6-25 TIME AND DATE MENU/SETTING TIME AND DATE
Step 3. Press the Clear button to clear the time entry.
Step 4. The Time setting is: hh/mm/ss
Step 5. Use the numeric keys to enter the time.
Step 6. Press the Enter button to accept the time setting.
Setting the Date
Step 1. Press the down arrow
↓
button until the cursor is to the left of
the Date Setting.
Step 2. Press the Clear button to clear the date entry.
Step 3. The Date setting is: mm/dd/yy
Step 4. Use the numeric keys to enter the date.
Step 5. Press the Enter button to accept the date setting.
Serial
Communications/
Serial Port #1 Sub-
Menu (For RS-232C
Specifications See
Chapter 2)
•
This Sub-Menu allows the user to setup the serial port as a Printer
Port or a Bi-Directional Port. The Serial port is an RS-232C and can
be fitted with an optional RS-422 converter. The RS-422 is recom-
mended for long distance bi-directional communication (greater
than 50 feet). For jumper setting information see Chapter 4.
•
The Default Settings are:
•
Config.
PRINTER
•
Baud Rate
1200
•
Parity
NONE
•
Stop Bits
ONE
•
Data Length
EIGHT
•
ADDRESS
0
Summary of Contents for HI 2160RC PLUS
Page 1: ...HI 2160RCPLUS Rate Controller Operation and Installation Manual ...
Page 23: ...HI 2160RCPLUS MANUAL 2 6 ...
Page 49: ...HI 2160RCPLUS MANUAL 3 26 ...
Page 67: ...HI 2160RCPLUS MANUAL 4 18 ...
Page 91: ...HI 2160RCPLUS MANUAL 5 24 ...
Page 151: ...HI 2160RCPLUS MANUAL 7 12 ...
Page 187: ...HI 2160RCPLUS MANUAL 8 36 ...
Page 207: ...HI 2160RCPLUS MANUAL 9 20 ...
Page 219: ...Data Worksheets WKSHT 6 ...


