72
Fixing of needle bar change unit
3-4-1
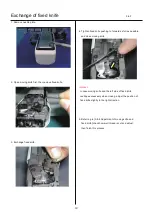
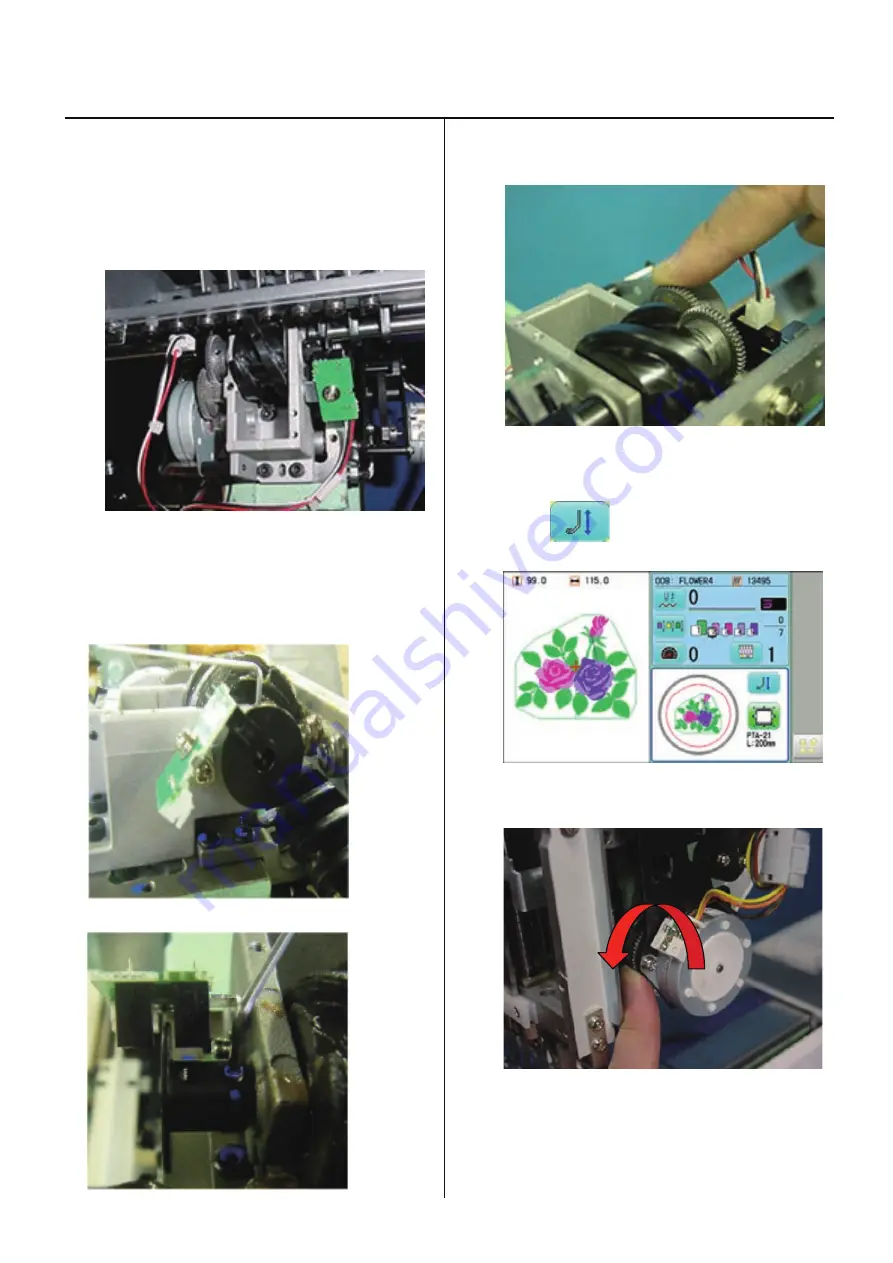
1. Place needle bar change unit assembly.
please set positioning hole on unit assembly to
positioning pin.
Insert arrow marked screws temporary. Connect cable.
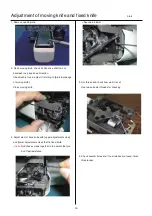
2. Turn slit collar and adjust angle that groove of slit collar
should be located same position of sensor.
Refering to 4-2-3 [Adjustment of stop position of needle
bar change unit]
Confirm that the slit does not tough the sensor.
3.
Turn drive gear B by finger and set needle bar to no.4.
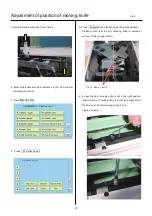
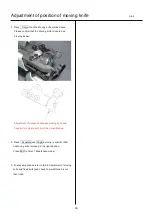
4. Bring pressure foot down. (Either way mentioned below)
(1) press
on control box.
(2) Turn gear with finger.
Summary of Contents for HCH-701-30
Page 1: ...Maintenance Manual for Embroidery Machine HCH 701 30 Version 2 4 HappyJapan Inc ...
Page 132: ...128 Electrical connection diagram 5 ...
Page 133: ...129 Electrical connection diagrams 5 ...
Page 134: ...130 List of electrical connection diagrams 5 ...
Page 137: ...130c HCD81222 LCD CE MX 基板組 ...
Page 138: ...130d HCD8116 TP switch board ass y 3 82 7 32 7 387487 2487 ...


