30
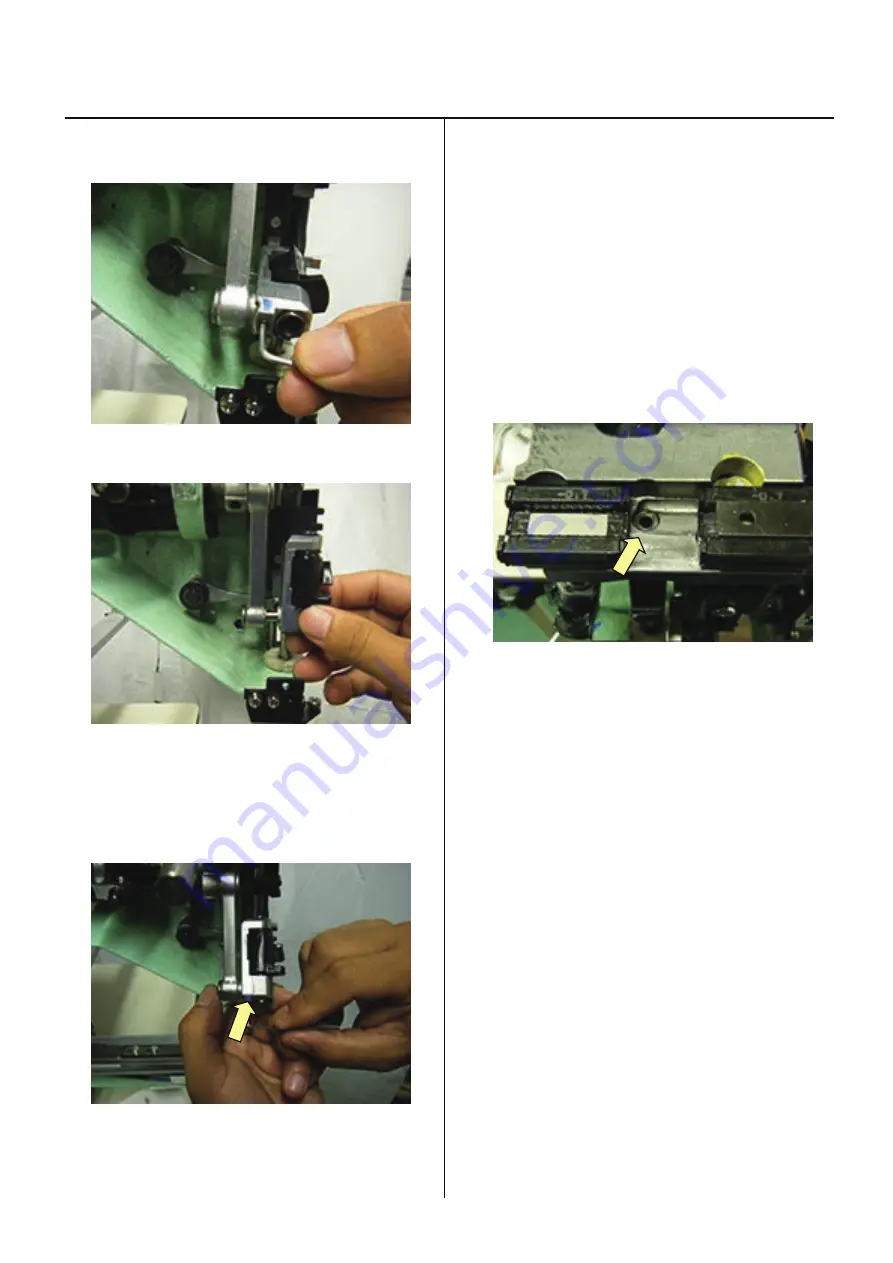
Exchange of needle bar driver
3-2-4
4.
Loosen screw on lower part of needle bar driver ass’y.
5. Remove needle bar driver ass’y.
6. Install good parts.
<Important>
Make sure that Needle bar driver ass’y rotate
smoothly and no clearance between rod and arm.
7. Put each unit back according to manual.
8. After exchange, please be sure to adjust needle height.
Please refer to [3-3-6 Adjustment of needle height].
<Attention>
Head shaft should be positioned slightly lower than
ditch for oil.
Summary of Contents for HCH-701-30
Page 1: ...Maintenance Manual for Embroidery Machine HCH 701 30 Version 2 4 HappyJapan Inc ...
Page 132: ...128 Electrical connection diagram 5 ...
Page 133: ...129 Electrical connection diagrams 5 ...
Page 134: ...130 List of electrical connection diagrams 5 ...
Page 137: ...130c HCD81222 LCD CE MX 基板組 ...
Page 138: ...130d HCD8116 TP switch board ass y 3 82 7 32 7 387487 2487 ...


