3
Install Wizard
1
Select the language
Select your preferred language.
2
Set Password
Set a password.
※
Click icon to see the password rule. Check the password setting rules.
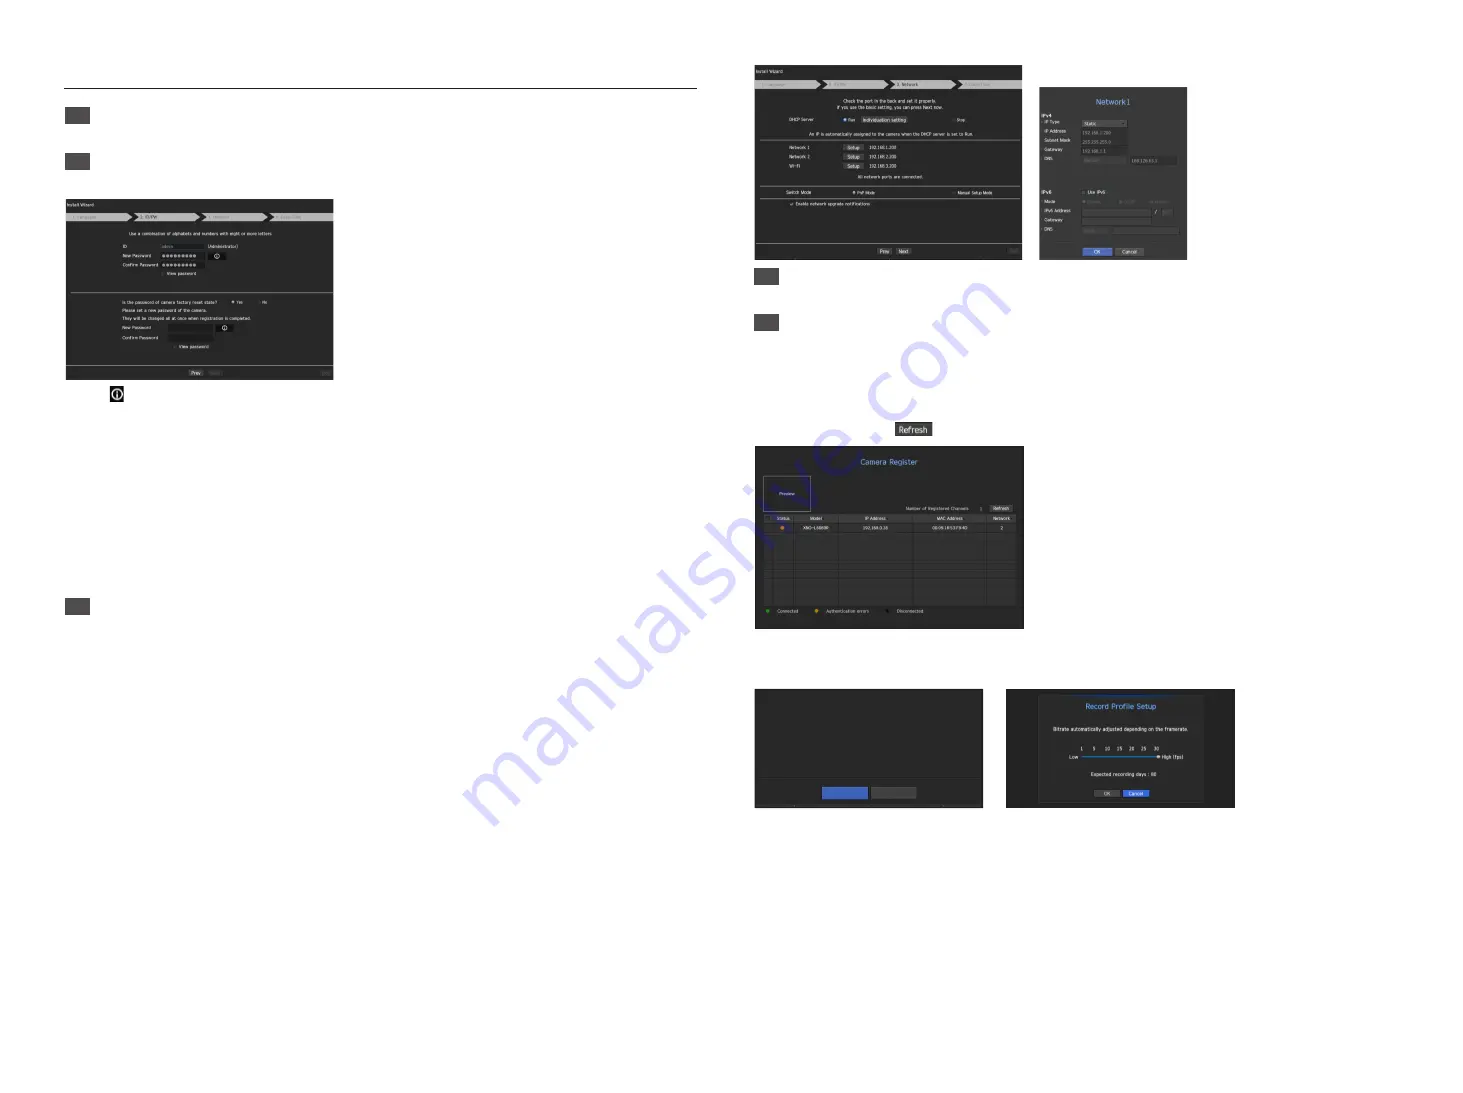
2-1. Setting Camera Password
You can change the password of the camera one step.
If the password of the camera is the default password set in the factory, enter a new password to change it. The
password will be changed, and the new password will be registered.
If the password of the camera is not the default password set in the factory, enter the current camera password.
The current camera password will be registered.
- New Password : Input a new password according to the password setting rules.
- Confirm Password : Input the new password again.
`
A camera password registered with ONVIF and RTSP cannot be changed.
3
Set up Network
• DHCP server : If the DHCP server is set to enable, an IP is automatically assigned to the camera.
• Network 1 : Connects to the camera and receives the video feed from the camera.
• Network 2 : This is a port for transmitting an image to the webviewer.
• Wi-Fi : Port for connecting to external Wi-Fi. The Wi-Fi port is used for backup.
• Network 1 / Network 2 Setup
- IP Type : Choose the network connection method.
- IP Address, Subnet Mask, Gateway, DNS
- Wi-Fi can be set after the installation wizard has been closed.
※
For more details on network settings, refer to the User manual.
► To use a simple intranet, click <
Next
>.
• Switch Mode : Set the camera registration method. This function is only available for products with PoE
support.
For products with PoE support, see “
NVR products supporting each feature
”. (Page 4)
- PnP Mode : Camera connected to the PoE port of the product will be registered automatically on each
channel in the order of the port number.
This works only when camera is in factory reset state.
- Manual Setup Mode : Automatically scans and registers camera connected to the product’s PoE and
camera with separate switch.
4
Set Date & Time
Set the time and date and click the <
Finish
> button, and the installation will be completed.
5
Camera Registration
In the setting completion window, click on the <
OK
> button to finish camera setting and launch the camera
registration screen.
5-1.
Cameras connected to the PoE port are automatically registered and displayed in the camera registration list.
Select the cameras to be registered from the list of cameras, and click the <
Register
> button.
► The camera may not be shown in the list if there is no response from the camera. You can re-import the list
by pressing the <
> button.
5-2.
When camera registration is finished, the frame rate of the set recording profile is displayed. After you click the
<
Manual Setup
> button, you can modify the frame rate value.
The number of camera registered is N.
Recording profile's framerate is changed to 30fps.
[Expected recording days : About 39 days]
Will you apply settings?
OK
Manual Setup


