


5
Hangar 9 Toledo Special Assembly Manual
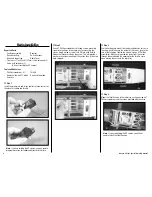
Landing gear Installation
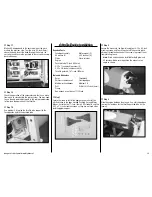
Required Parts
Fuselage assembly
#4 washer (2)
#8 washer (3)
Main landing gear
Wheel axle with nut (2)
5/32-inch wheel collar (4)
Wheel pant (right and left)
Wheel, 2
3
/
4
-inch (70mm) (2)
3mm x 5mm machine screw (4)
8-32 x 3/4-inch machine screw (3)
4-40 x 3/8-inch socket head screw (2)
Tools and Adhesives
Phillips screwdriver: #1, #2 Threadlock
Flat file
Box wrench: 7/16-inch, 1/2-inch
Hex wrench or ball driver: 3/32-inch
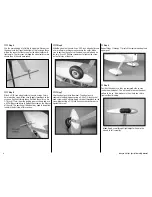
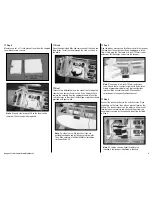
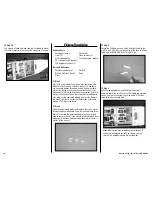
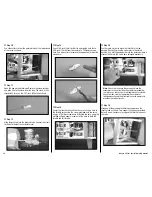
Step 1
Locate the main landing gear, wheels, wheel pants and the
bag marked landing gear. Open all the part bags and set the
parts where they can be easily accessed.
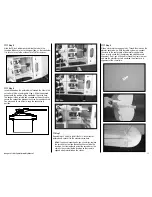
Step 2
The main landing gear is mounted to the bottom of the
fuselage using three 8-32 x 3/4-inch machine screws and
three #8 washers. Apply a drop of threadlock on each of the
screws. Use a #2 Phillips screwdriver to tighten the screws
to secure the landing gear to the bottom of the fuselage.
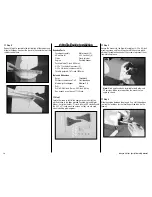
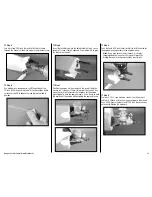
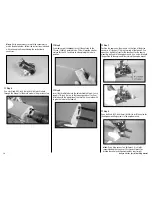
Step 3
Attach the wheel axle to the landing gear using a 7/16-inch
box wrench (axle) and 1/2-inch box wrench (nut). Make
sure the nut on the axle side aligns with the landing gear as
shown in the photo so the wheel pant can be installed.