23
Hangar 9 Toledo Special Assembly Manual
Cowling Installation
Required Parts
Fuselage assembly
#4 washer (4)\
Painted cowling
Clear cowling template
Spinner
Spinner backplate
Fuel tubing, 1/4-inch (6mm) (4)
#4 x 1/2-inch sheet metal screw (2)
4-40 x 1/2-inch socket head screw (4)
Tools and Adhesives
Hobby scissors
Phillips screwdriver: #1
Metric propeller reamer
Rotary tool with sanding drum
Ball driver or hex wrench: 3/32-inch
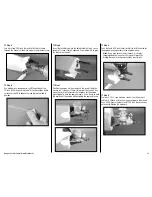
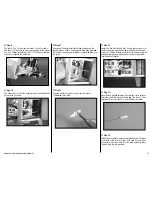
Step 1
Locate the items necessary to install the cowling and
spinner. You will also need the painted cowling and clear
cowling as well.
note
: If you are using an electric motor, you can skip
directly to Step 6 and mount the cowl as there is no
cutting necessary for an electric motor.
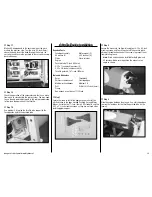
Step 2
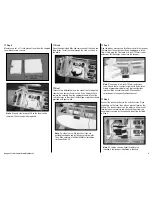
Use cardstock to make template indicating the needle valve,
engine head and muffler, as well as any other items that may
protrude through the cowling.
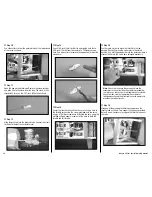
Step 3
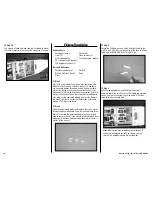
Remove the engine from the firewall and position the clear
cowling on the front of the fuselage. Use the templates and a
felt-tipped pen to transfer the locations to the clear cowling.
Step 4
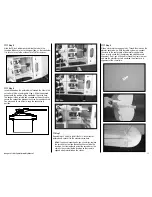
Install the engine back on the fuselage. Check the fit of
the clear cowling over the engine and make any necessary
adjustments to the clear cowling fits without hitting any of
the engine components.
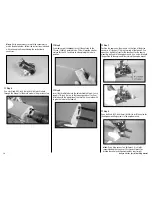
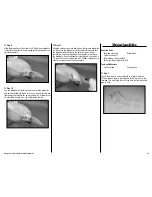
Step 5
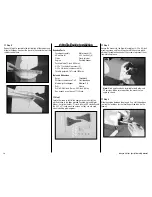
After the clear cowl has been trimmed and fit, you can slide
it over the painted cowl and transfer the outlines to the
painted cowl. Check the fit of the painted cowling on the
fuselage.

