


Chapter 8
Page 181
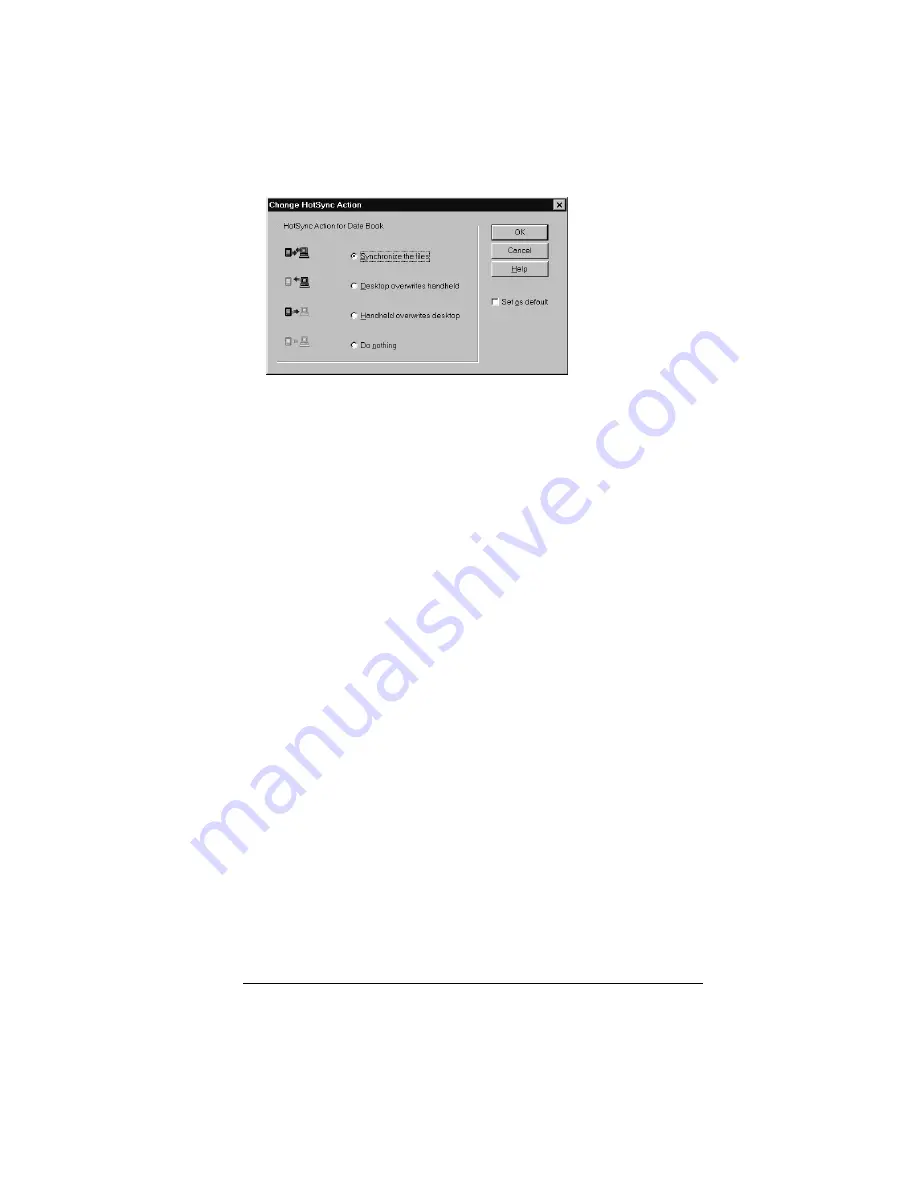
6. Click the direction in which you want to write data, or click Do
Nothing to skip data transfer for an application.
Note:
Changing the HotSync setting from the default affects
only the
next
HotSync operation. Thereafter, the HotSync
Actions revert to their default settings. To use a new
setting on an ongoing basis, select the Set As Default box.
Thereafter, whatever you selected as the default setting is
used when you click the Default button in the Custom
dialog.
7. Click OK.
8. Repeat steps 4 through 7 to change conduit settings for other
applications.
9. Click Done to activate your settings.
Summary of Contents for Visor Visor Deluxe Handheld
Page 1: ...Visor Handheld User Guide...
Page 10: ...Page 2...
Page 64: ...Page 56 Overview of Basic Applications...
Page 86: ...Page 78 Common Tasks...
Page 156: ...Page 148 Application Specific Tasks...
Page 184: ...Page 176 Communicating Using Your Handheld...
Page 224: ...Page 216 Setting Preferences for Your Handheld...
Page 230: ...Page 222 Maintaining Your Handheld...
Page 242: ...Page 234 Troubleshooting Tips...
Page 254: ...Page 246 Creating a Custom Expense Report...
Page 282: ......


