


Chapter 6
Page 111
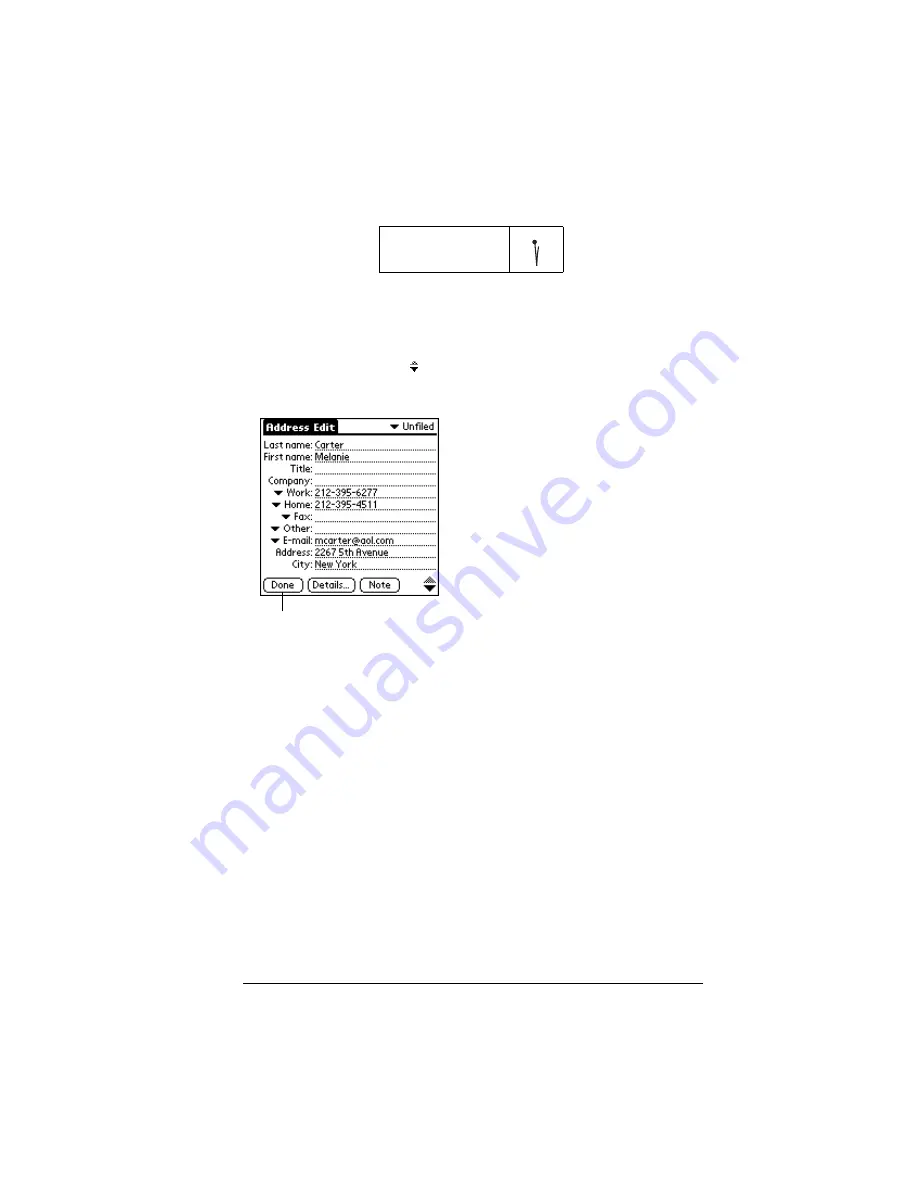
4. Use the Next Field Graffiti stroke to move to the First Name field.
Tip:
You can also move to any field by tapping it directly.
5. Enter the person's first name in the First Name field.
6. Enter the other information that you want to include in this entry.
7. Tap the scroll arrows to move to the next page of information.
8. After you finish entering information, tap Done.
Tip:
To create an entry that always appears at the top of the
Address List, begin the Last name or Company field with a
symbol, as in *If Found Call*. This entry can contain contact
information in case you lose your handheld.
Selecting types of phone numbers
You can select the types of phone numbers or e-mail addresses that
you associate with an Address Book entry. Any changes you make
apply only to the current entry.
To select other types of phone numbers in an entry:
1. Tap the entry that you want to change.
2. Tap Edit.
Next Field
Tap Done
Summary of Contents for Visor Visor Deluxe Handheld
Page 1: ...Visor Handheld User Guide...
Page 10: ...Page 2...
Page 64: ...Page 56 Overview of Basic Applications...
Page 86: ...Page 78 Common Tasks...
Page 156: ...Page 148 Application Specific Tasks...
Page 184: ...Page 176 Communicating Using Your Handheld...
Page 224: ...Page 216 Setting Preferences for Your Handheld...
Page 230: ...Page 222 Maintaining Your Handheld...
Page 242: ...Page 234 Troubleshooting Tips...
Page 254: ...Page 246 Creating a Custom Expense Report...
Page 282: ......


