Item # xxx-xxx
USE AND CARE GUIDE
Questions, problems, missing parts? Before returning to the store call
Hampton Bay Customer Service
8 a.m. - 6 p.m., EST, Monday-Friday
1-877-527-0313
HAMPTONBAY.COM
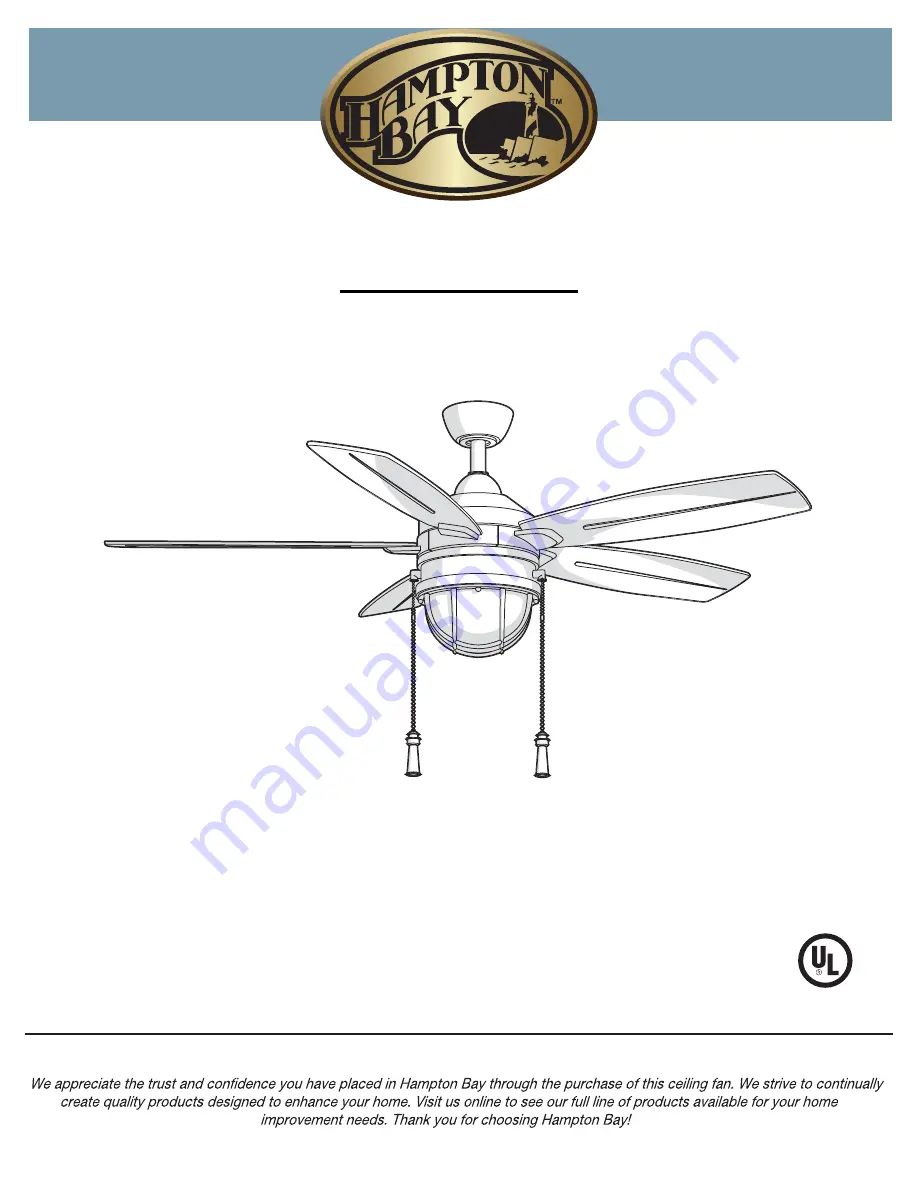
SEAPORT 52 INCH CEILING FAN
Model # AL634-WH
THANK YOU
THANK YOU


