


24
Logging in to the AP
IMPORTANT:
The AP is typically installed on a high position. As a best practice, log in to and configure the AP
before the installation.
This section applies only when the AP acts as a fat AP. When the AP acts as a fat AP, you can log in
to the AP through the console port, or through Telnet or Web to configure it. Login through the
console port is the prerequisite to configuring other login methods. Before you log in to the fat AP
through Telnet or Web, obtain the IP address of the AP first.
Logging in through the console port
Prepare the following items before logging in through the console port:
•
An 8-core console cable, with a crimped RJ-45 connector at one end, and a DB-9 connector at
the other end.
•
A configuration terminal with a serial port, such as a laptop or PC.
Setting up the configuration environment
CAUTION:
The serial ports on PCs do not support hot swapping. To connect a PC to an operating device, first
connect the PC end. To disconnect a PC from an operating device, first disconnect the device end.
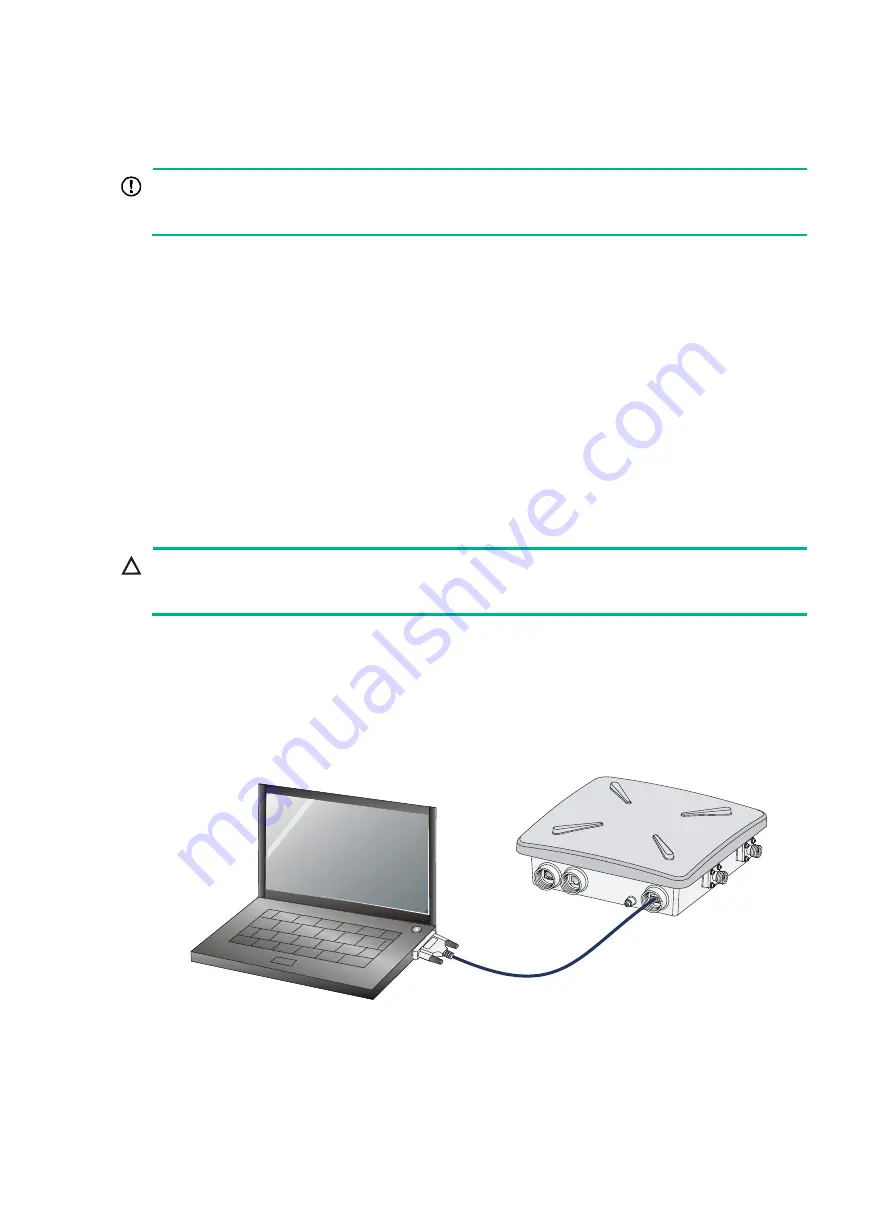
Connecting the console cable
1.
Connect the DB-9 connector to the serial port of the PC.
2.
Connect the RJ-45 connector to the console port of the AP.
Figure 24 Connecting the console cable
Logging in through the console port
Power on the AP, and you can see the following information: