Ocus® User Guide version 9.0
10
Hermiankatu 6-8G, 33720 Tampere, Finland
©2021 Grundium. All rights reserved.
Image 4
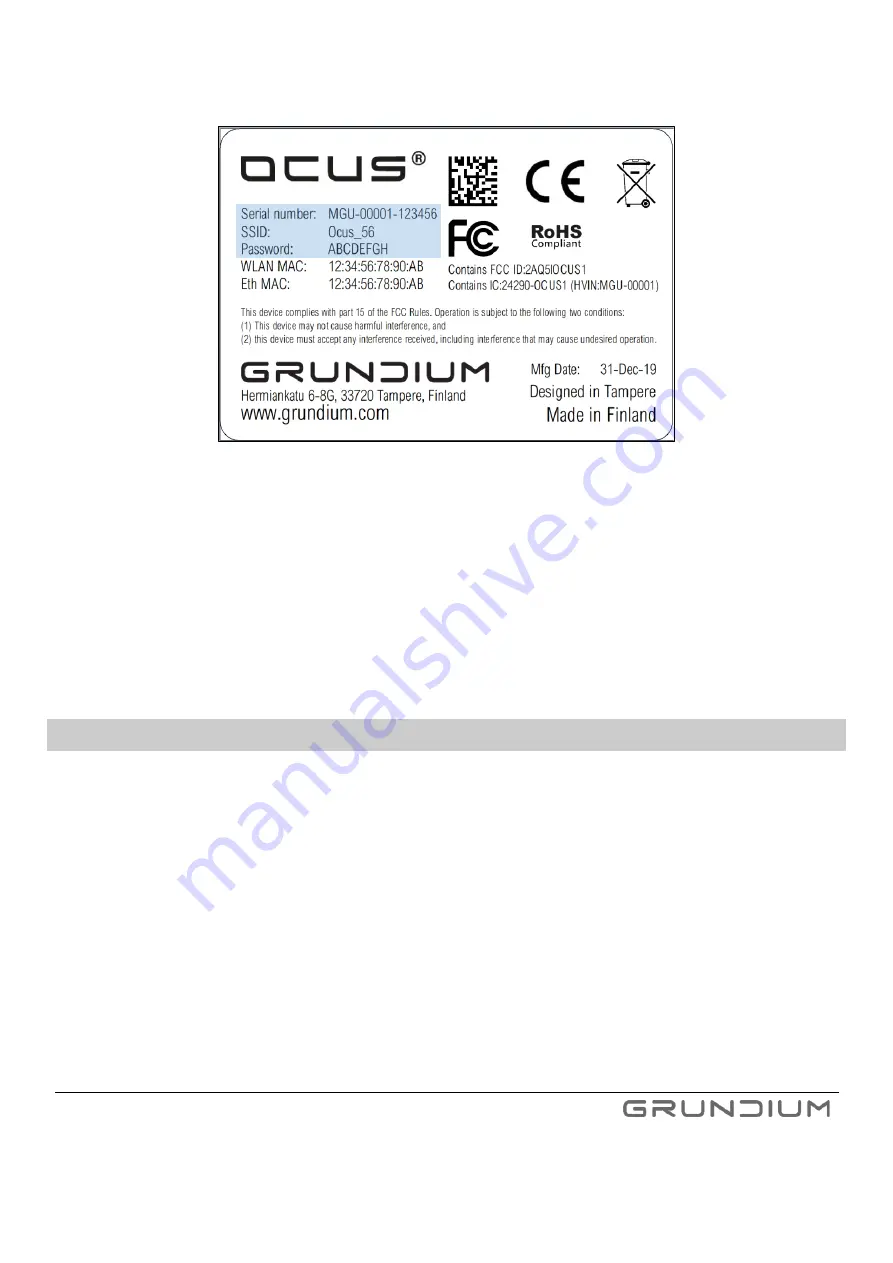
Label example with a serial number, SSID and a password
Note:
For the first use, the scanner requires that the network has a DHCP server providing IP address. If the use of
static IP is required, this can be done after the first time use in device settings.
Note:
If the network you use has a firewall, make sure that the scanner is allowed to use the outgoing connection to
the Internet (TCP ports 80 & 443 for use within same network and TCP port 471 for use from remote network). If the
firewall uses a MAC filter, you can find the MAC address of the scanner on the label at the bottom of the scanner.
Also, traffic between devices in the network must be allowed.
7.1
FIRST USE WITH A NETWORK CABLE CONNECTION
1.
Attach the power cable to the scanner and plug the cable in a wall outlet. The power button shows a
breathing green light.
2.
Connect one end of the network cable to the scanner and the other end to the Ethernet connector for
your network, which has connection to the Internet.
3.
Press the power button. The power button flashes red. Once the scanner is switched on and connected
to the Internet, the power button shows a steady green or yellow light. If the light turns purple, the
scanner could not connect to the Internet. In case this happens, you can do the initial setup using
WLAN/Wi-Fi (see chapter 7.2).
4.
Open the browser in your computer or tablet and type the following in the browser’s address field:
www.grundium.net
5.
If you already have a user account to Grundium, login with your account details and move directly to
step 9.
Summary of Contents for OCUS MGU-00001
Page 1: ...USER GUIDE MGU 00001 ...


