English (GB)
51
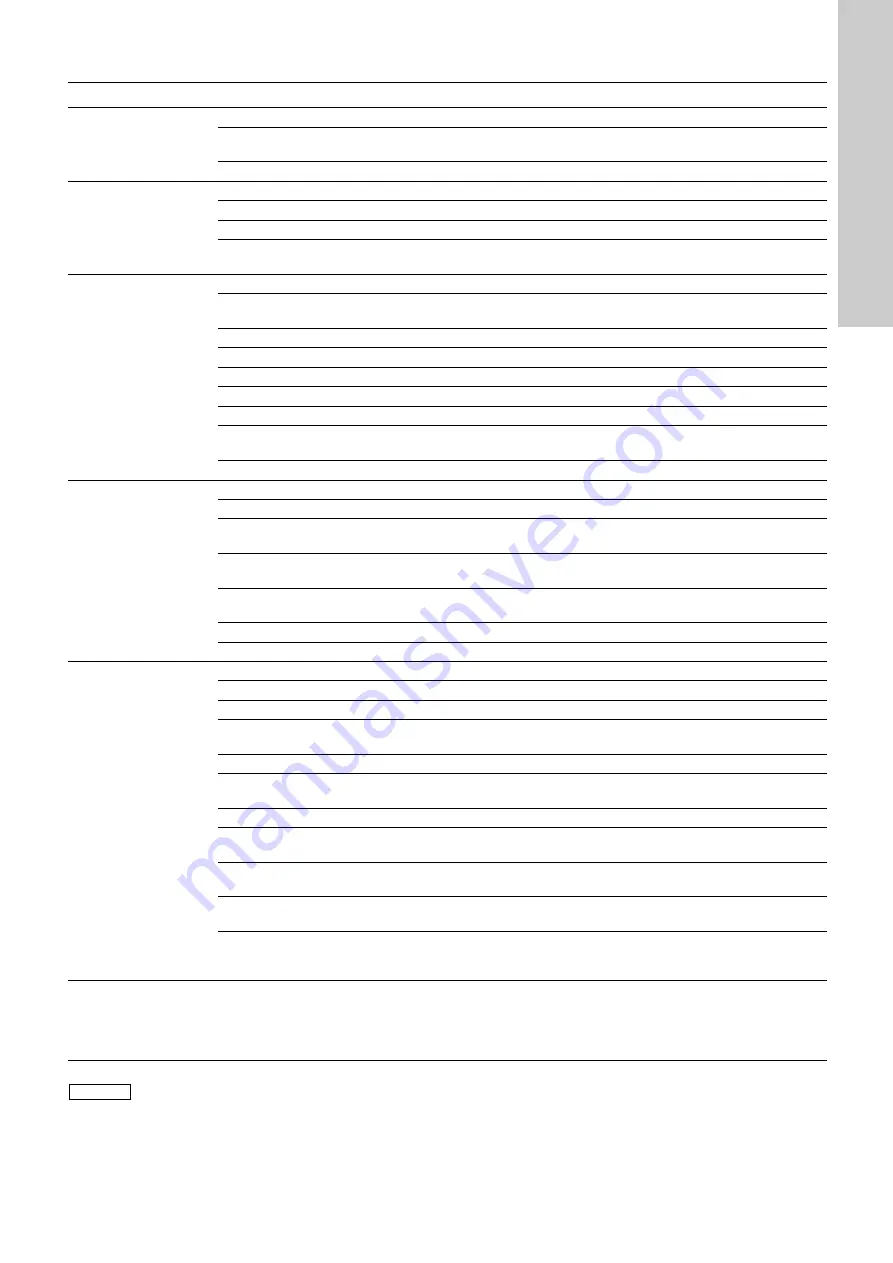
11. Fault finding chart
12. Disposal
This product or parts of it must be disposed of in an
environmentally sound way. Use appropriate waste collection
services. If this is not possible, contact the nearest Grundfos
company or service workshop.
Fault
Cause
Remedy
1. Dosing pump does
not run.
a) Not connected to the mains.
Connect the power supply cable.
b) Incorrect mains voltage.
Switch off the pump. Check voltage and motor. If the
motor is faulty, return the pump for repair.
c) Electrical failure.
Return the pump for repair.
2. Pump does not suck
in or dose.
a) Crystalline deposits in the valves.
Clean the valves.
b) Empty dosing tank.
Fill dosing tank.
c) Air in the suction line and dosing head.
Fill dosing head and suction line.
d) Valves not correctly assembled.
Assemble the valve inner parts in the right order and
check or possibly correct the flow direction.
3. Dosing pump does
not suck in.
a) Leaking suction line.
Replace or seal the suction line.
b) Cross-section of the suction line too small or
suction line too long.
Check with Grundfos specification.
c) Clogged suction line.
Rinse or replace the suction line.
d) Foot valve covered by sediment.
Suspend the suction line from a higher position.
e) Buckled suction line.
Install the suction line correctly. Check for damage.
f)
Crystalline deposits in the valves.
Clean the valves.
g) Diaphragm broken or diaphragm tappet torn out. Replace the diaphragm.
h) Excess counter-pressure.
Depressurise the system on the discharge side of the
pump.
i)
Empty dosing tank.
Fill the dosing tank.
4. Dosing pump does
not dose.
a) Viscosity or density of medium too high.
Check the installation.
b) Crystalline deposits in the valves.
Clean the valves.
c) Valves not correctly assembled.
Assemble the inner valve parts in the right order and
check or possibly correct the flow direction.
d) Injection unit blocked.
Check and possibly correct the flow direction, or
remove the obstruction.
e) Incorrect installation of lines and peripheral
equipment.
Check the lines for free passage and correct
installation.
f)
Empty dosing tank.
Fill the dosing tank.
g) Sealing elements not chemically resistant.
Replace sealing elements.
5. Dosing flow of the
pump is inaccurate.
a) Degassing medium.
Check the installation.
b) Parts of the valves covered in dirt or incrusted.
Clean the valves.
c) Incorrect dosing flow display.
Calibrate.
d) Counter-pressure fluctuations.
Install a pressure-loading valve and a pulsation
damper, if necessary.
e) Suction lift fluctuations.
Keep the suction level constant.
f)
Siphon effect (inlet pressure higher than
counter-pressure).
Install a pressure-loading valve.
g) Leaking or porous suction line or discharge line. Replace the suction line or discharge line.
h) Parts in contact with the medium are not
resistant to it.
Replace with resistant materials.
i)
Dosing diaphragm worn (incipient tears).
Replace the diaphragm. Also observe the
maintenance instructions.
j)
Variation of the dosing medium (density,
viscosity).
Check the concentration. Use an agitator, if necessary.
k) Overflow.
Install or check suction and pressure pulsation
damper, recalculate installation, install a
pressure-loading valve.
6. Liquid leaks out of
the hole in the
intermediate flange
between the pump
and the dosing head.
a) A diaphragm leakage has occurred.
Replace the diaphragm.
Note
For further error signals for the control unit, refer to
the relevant section.
Summary of Contents for DDI 150-4
Page 2: ...2 ...
Page 630: ...630 ...


