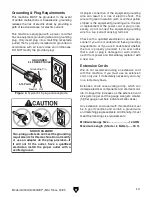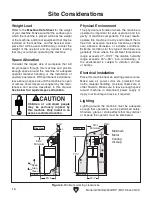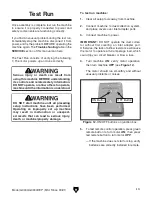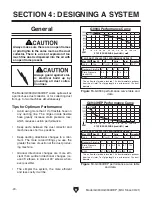
Model G0944/G0944HEP (Mfd. Since 03/21)
-17-
Assembly
To assemble and mount dust collector:
1. Using wall bracket as template, mark mount-
ing hole locations a minimum of 85
1
⁄
2
" from
floor and at least 7" away from adjacent wall
(see
Figure 7).
— If mounting to a wood-framed wall (with or
without drywall), bracket must be mount-
ed directly to support board wide enough
to span and mount between two wall
studs. Mount support to wall studs with
lag screws, then mount bracket to support
with appropriate fasteners (see
Figure 8).
— If mounting to a concrete or masonry wall,
attach bracket using lag shield anchors
with lag screws or anchor studs (see
Figure 9).
Wall
Wall
Floor
Note: Drawing
Not to Scale.
7"
Minimum
85
1
/
2
"
Minimum
Wall Stud
Support
Board
Wall
Bracket
Lag Screws
The machine must be fully assembled before it
can be operated. Before beginning the assembly
process, refer to
Needed for Setup and gather
all listed items. To ensure the assembly process
goes smoothly, first clean any parts that are cov-
ered or coated in heavy-duty rust preventative (if
applicable).
Figure 7. Wall bracket position.
Figure 8. Wall bracket secured to support board
on wall studs.
Figure 9. Typical fasteners for mounting dust
collector bracket to masonry or concrete.
Anchor Stud
Lag Shield Anchor
and Lag Screw
Summary of Contents for G0944
Page 36: ......


