Operator and bystanders
MUST wear ANSI-approved
eye protection rated for
10,600 nm (10.6 µm) wave-
length CLASS 4 infrared
lasers when machine is
operating. NEVER look
directly into laser beam
or stare at laser contact
point, or severe eye injury
or blindness will occur!
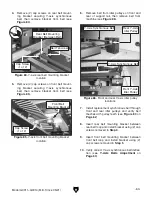
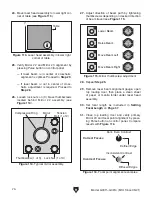
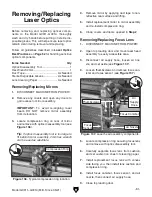
Laser Tube
Mirror #1
Laser Beam Path
Laser Head
Assembly
Mirror #2
Mirror #3
Focus Lens
Focal Point
Figure 103. Primary laser beam path through
cabinet.
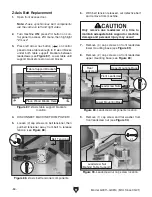
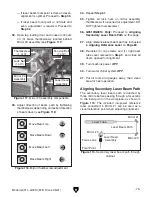
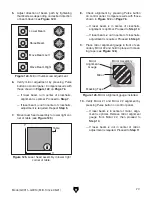
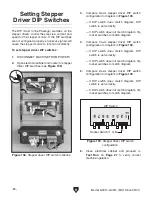
Figure 104. Example of "Max-Power" screen.
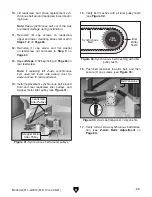
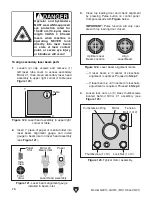
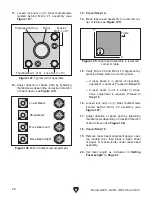
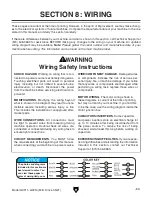
Figure 105. Example of "Min-Power" screen.
Model G0911–G0914 (Mfd. Since 05/21)
-71-
Aligning Laser
Beam Path
The primary laser beam path is directed by three
mirrors before passing through a focus lens to
the focal point on the workpiece, as shown in
Figure 103. The included low-power reference
laser connected to Mirror #1 can be used as a
visual reference point when adjusting alignment.
Proper alignment of the laser beam path is critical
to power efficiency, cutting/engraving quality, and
laser tube service-life.
Items Needed
Qty
Class 4 Laser Eye Protection (per person) ........ 1
Laser Beam Alignment Gauge ........................... 1
Mirror Alignment Gauge ..................................... 1
Hex Wrenches 2.5, 3mm ..............................1 Ea.
Manila Folder ...................................... As Needed
Sheet of Paper ................................... As Needed
Masking Tape ..................................... As Needed
Aligning Primary Laser Beam Path
1. Prepare machine for operation according to
SECTION 3: SETUP on Page 18.
2. Open top loading door and main laser tube
access door.
3.
Loosen (4) cap screws and remove (1) right
laser tube cover
to access primary Mirror #1.
4. Turn machine and water chiller system ON.
Allow machine to complete boot cycle.
5. Press Max-Power button. Max-Power setting
screen will open (see
Figure 104).
6.
Press Z/U button to highlight "MaxPower1",
and use arrow navigation buttons to set maxi-
mum power to 75%, then press Enter.
7. G0913/G0914 Only:
Press Z/U button to
highlight "MaxPower2", and use arrow navi-
gation buttons to set maximum power to
75%, then press Enter.
8. Press Min-Power button. Min-Power setting
screen will open (see
Figure 105).
Summary of Contents for G0911
Page 100: ......

