Validation & Calibration
Page
57
of 82
4. Inject the content of the syringe into the PAH calibration chamber.
Ensure that no air is mixed with the validation liquid. Look into the
chamber to check and remove any air bubbles with the tip of the syringe
needle.
5. Place the cleaned PAH sensor in the calibration chamber in an upright
position. Press the “Start Validation” button.
6. Wait for the display to update the validation result. If the validation is
successful, a calibration is not required. If the validation fails, refer to
7. Drain the validation liquid from the calibration chamber and wipe the
calibration chamber dry using a clean cloth. Clean the PAH sensor.
7.4.5 PAH calibration procedure
The Calibration is used to correct PAH reading offsets discovered after
validation.
Storing a Calibration Point
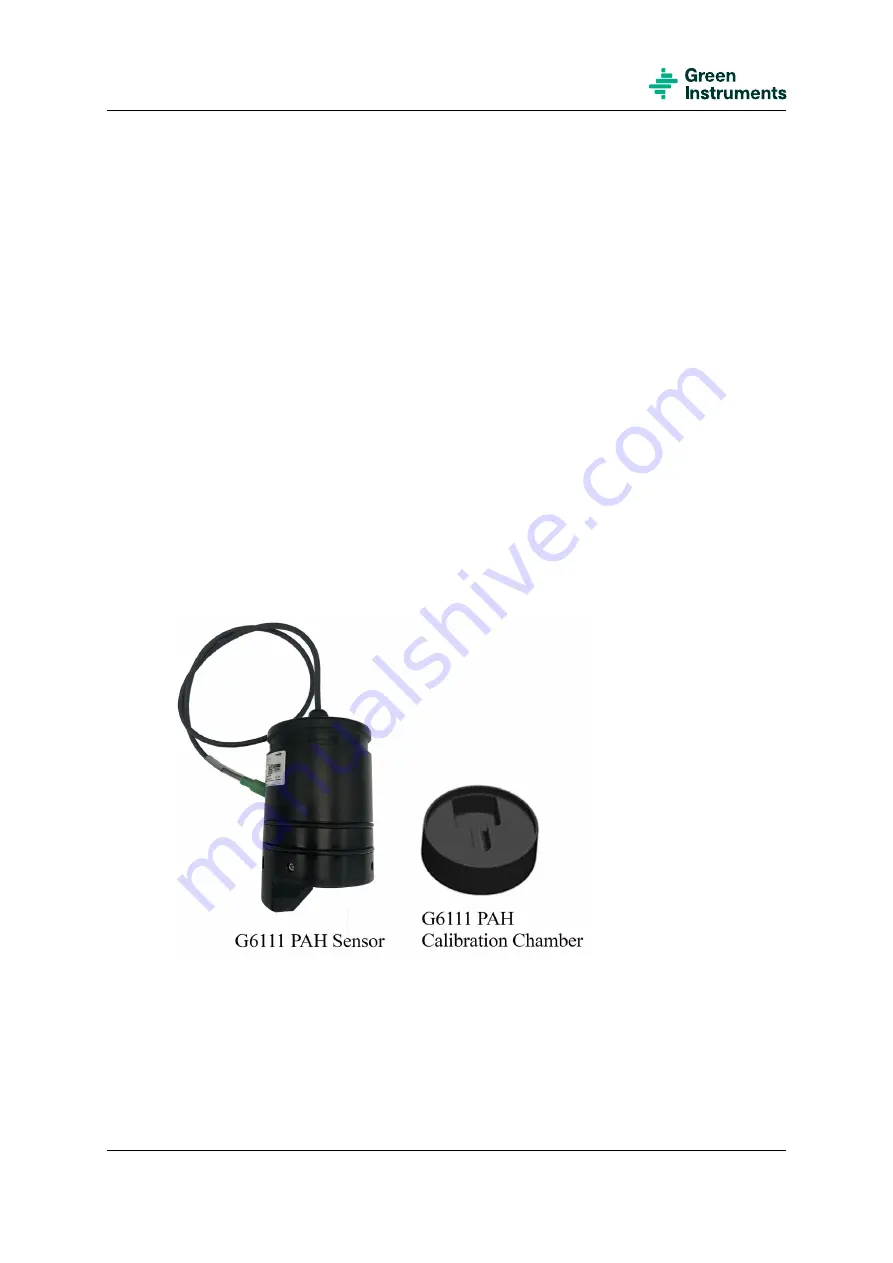
Figure 7.14: G6111 PAH sensor & PAH calibration chamber
Perform PAH sensor check as described in section 7.4.3
Go to “Settings” menu. Login. Select “G6111 PAH”. Select “Calibration”.
Follow the instructions on the screen or steps 1-9 below.


