7
BEFORE YOU BEGIN
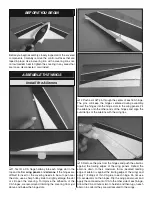
Before you begin assembly, closely inspect all of the covered
components. Carefully remove the control surfaces that are
taped in place. Use a covering iron with a covering iron sock
on low/medium heat to tighten the covering in any areas that
are loose, disconnected, or wrinkled.
ASSEMBLE THE WINGS
Install the Ailerons
❏
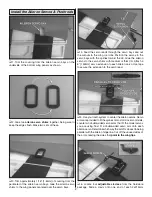
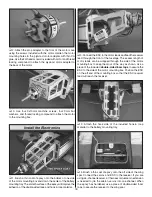
1. Test fi t a CA hinge halfway into each hinge slot in the
top and bottom
wing panels
and
ailerons
. If the hinges are
diffi cult to insert or the covering needs to be cut open over
the slots, use a sharp hobby knife to slightly enlarge the slot
or slit open the covering. To improve the adhesion of the
CA hinges, we recommend trimming the covering from just
above and below the hinge slots.
❏
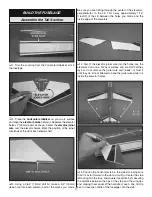
2. Push a small T-pin through the center of each CA hinge.
The pins will keep the hinges centered during assembly.
Insert the hinges into the hinge slots in the wing panels. Fit
the ailerons onto the other ends of the hinges and align the
outside tips of the ailerons with the wing tips.
❏
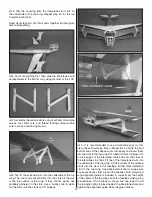
3. Remove the pins from the hinges and push the ailerons
against the trailing edges of the wing panels. Defl ect the
ailerons down to their maximum throw (beveled leading
edge of aileron is against the trailing edge of the wing) and
apply 7-8 drops of thin CA glue to each hinge. Do not use
CA accelerator on the hinges. Flip the wing panels over and
apply the same amount of CA to the other side of each hinge.
Allow the CA a minute or two to harden and then tug on each
aileron to confi rm they are well secured to the wings.


