19
❏
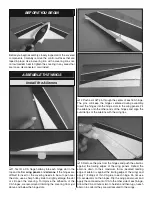
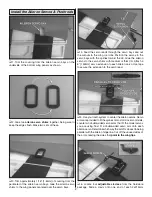
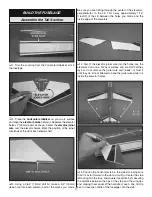
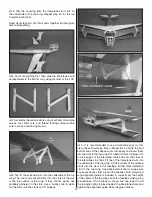
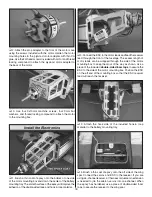
5. Make a battery strap out of the supplied hook and loop
material 8" [200mm] long by overlapping two pieces and
cutting it to length. Feed it through the battery tray in the
location shown. The battery strap can be glued to the battery
tray with medium CA to keep it in place.
❏
6. Use your radio system to confi rm that the motor rotates
in the correct direction (do not install the propeller). If the
motor rotates backwards, unplug two of the three motor
leads and swap their positions.
Install the Cowl
❏
1. Lightly sand the magnet fi rst, then put a light coating of
medium CA glue into the magnet holes in the fi rewall and install
a magnet into each hole. Do not use excess CA as it will pool
in the bottom of the holes and prevent the magnets from being
glued in fl ush with the fi rewall. Be sure the magnets are fully
seated before the glue hardens. A plastic or wooden tool handle
is useful for lightly tapping the magnets in place. Apply a skin
coating of thin CA glue onto the face of the magnets overlapping
onto the wood around them to help secure them in place. Allow
the thin CA glue to harden
without using accelerator
.
❏
2. Glue the magnet back pieces over the holes in the
cowl ring
. Glue a magnet into each hole in the cowl ring with
medium CA glue.
Be sure that the magnets are glued into
the cowl ring in the correct orientation so that the cowl
ring will be magnetically drawn to the magnets in the
fi rewall.
As you did with the fi rewall, apply a skin coating of
thin CA over the magnets in the cowl ring.
❏
3. Prepare the inside of the
cowl
by lightly scuffi ng it with 220-
grit sandpaper. When satisfi ed, clean the inside with alcohol.
❏
4. Magnetically attach the cowl ring onto the fi rewall.


