3-3
3.3 Handling Documents According to their Material and Thickness
The following problems may occur, depending on the thickness and surface condition of the
document being scanned.
• The document cannot be loaded.
• Scanning of the document stops half-way through.
• The document slips (resulting in displaced images).
• The end of the document is not scanned.
Such problems may be avoided by taking the following corrective measures.
• Lower the scanning speed.
• Support the document at the front and the back of the scanner.
3.4 Distance Correction
Corrections to the distance can be achieved using the driver software. The “Adjust” button on the
TWAIN driver’s “Settings” tab can be used to perform distance correction and adjust the scanning
precision.
The adjustment function must be performed when a scanned drawing needs to approximate the
accuracy of the original drawing closely. (This is for making fine adjustments to the accuracy of the
scanned drawing to suit the quality of the paper being used.) It is not normally necessary to perform
this adjustment.
Adjustment method
Perform the distance correction process according to the type of document to be scanned.
Distance correction can be set in a range of
±
1%, which remains effective until the scanner’s
power is turned off. The practice of distance correction necessitates that you measure a
vertical line drawn on the document before following the procedure described below.
(1) Choose a document that has one or more vertical lines drawn on it and scan it at a
resolution of 600 dpi in Portrait (vertical) orientation.
(2) Use a ruler or similar implement to measure the length of the selected vertical line in the
document and classify it as “x” (distance on the document).
(3) Load the saved file into an application capable of measuring and calculating the line
length in the image.
(4) Measure the length of the same line in the image data, and call it value “y” (Distance
Measured After Scanning).
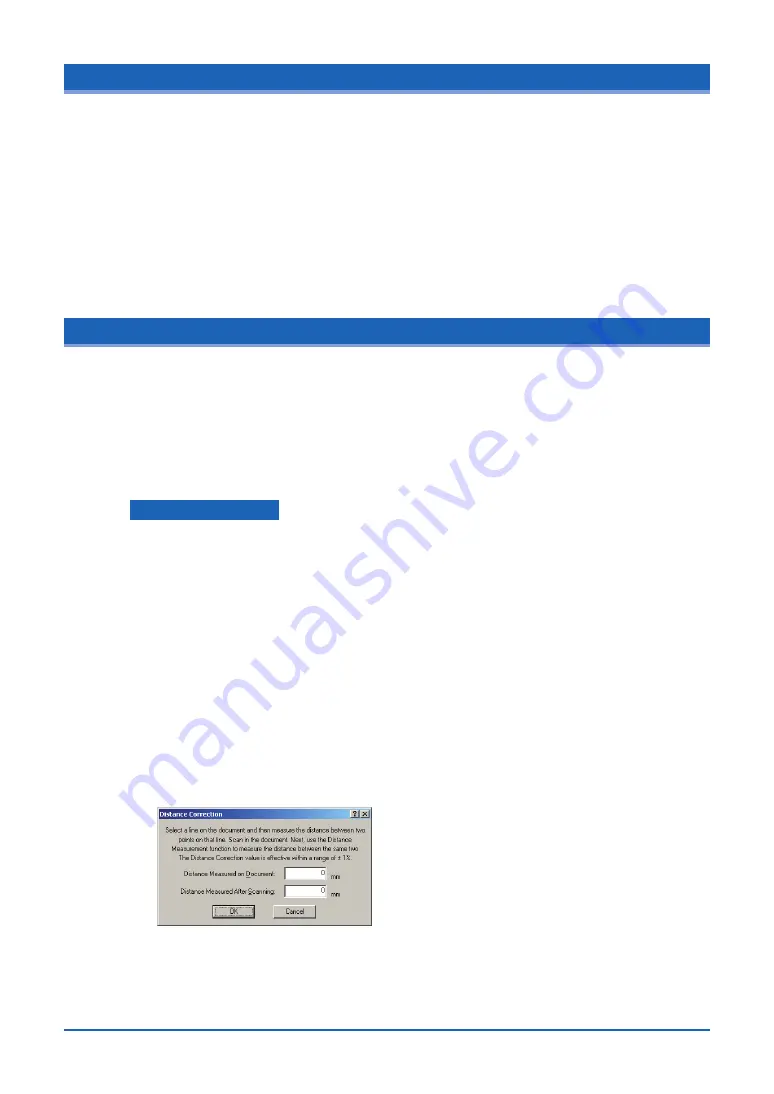
(5) Click on the [Distance Correction] button in the [Adjust] screen to open the [Distance
Correction] screen.
(6) Enter the value “x” (distance on the document) and the value “y” (distance after the scan
has taken place) in this screen The values entered here must be within the distance
correction range (
±
1%).
(7) Click the [OK] button to calculate the correction value. The distance will be corrected the
next time a document is scanned.


