3-4
CHAPTER 3. CRAFT ROBO CONTROLLER
CH 2. CONNECTION AND PREPARATION
CH 2. CONNECTION AND PREPARATION
Appendix A. Standard Specifications
Appendix A. Standard Specifications
3.3
Starting up the Craft ROBO Controller
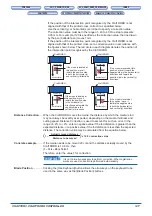
Press the Standby switch on the Craft ROBO to turn on the power, and check that the standby switch lamp is
lit (blue).
Check that the Craft ROBO and your computer are connected by a USB cable.
The Craft ROBO Controller can be started up in either of the following two ways:
(1) Starting up from the Windows [Start] menu
The Craft ROBO Controller can be started up from the Windows [Start] menu. To start it up,
select "Start"
→
"(All) Programs"
→
"Craft ROBO"
→
"Craft ROBO Controller".
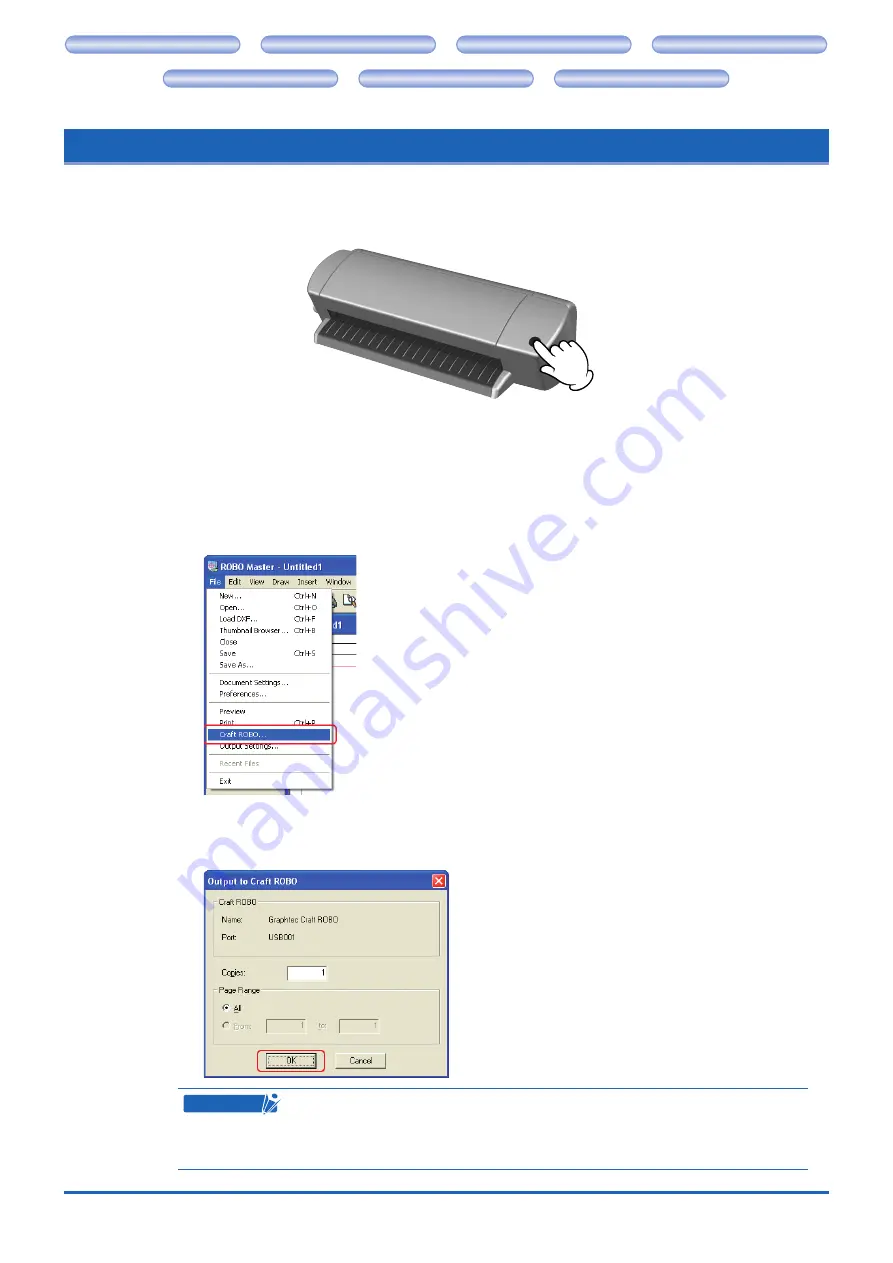
(2) Starting up from Craft ROBO-compatible software (such as ROBO Master)
(a) Click [Craft ROBO] in the File menu of ROBO Master.
(b) The "Output to Craft ROBO" window will open. Click [OK] to start up the Craft ROBO
Controller. When the Craft ROBO Controller is started up from the ROBO Master software,
the [Cut] button is displayed, enabling output from the Controller.
CHECKPOINT
The above procedure is an example using the ROBO Master software. The Craft
ROBO can also be started up from other compatible software applications. Please
refer to the user's manual provided with each software application for the start-up
procedure.

