Graf HERKULES Instruction For Installation And Maintenance Download Page 1


HERKULES 


DE 

Anleitung für Einbau und Wartung GRAF                     
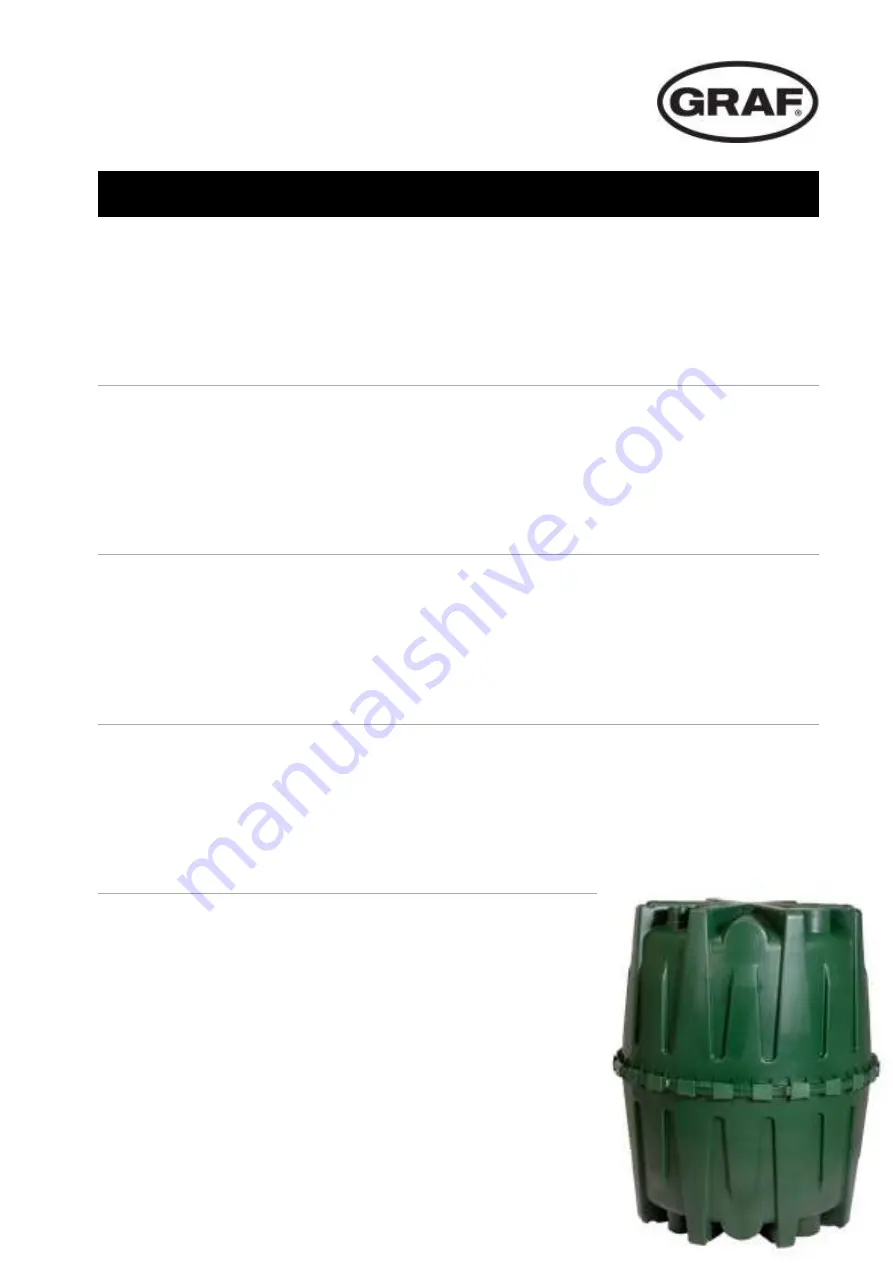
Regenwasserspeicher Herkules  

>> Seite 1-7 

EN 

Instructions for installation and maintenance of 
Graf Herkules tank 1600 litres 

>> Page 8-14


FR 

Notice d’installation et d’entretien 
du réservoir Hercule 1600 L  

>> Page 15-21 

ES 

Instrucciones para la instalación y mantenimiento 
del tanque HERKULES  

>> Página 22-28


IT 

Istruzioni per l’installazione e la manutenzione dei 
serbatoi per acqua piovana Herkules di GRAF 

>> Pagina 29-35


Summary of Contents for HERKULES

Page 1: ...ntenance of Graf Herkules tank 1600 litres Page 8 14 FR Notice d installation et d entretien du réservoir Hercule 1600 L Page 15 21 ES Instrucciones para la instalación y mantenimiento del tanque HERKULES Página 22 28 IT Istruzioni per l installazione e la manutenzione dei serbatoi per acqua piovana Herkules di GRAF Pagina 29 35 ...

Page 2: ...nzufordern Eine Überprüfung der Behälter auf eventuelle Beschädigungen hat unbedingt vor dem Versetzen in die Baugrube zu erfolgen Fehlende Anleitungen können Sie unter www graf info downloaden oder bei GRAF anfordern Inhaltsübersicht 1 ALLGEMEINE HINWEISE 2 1 1 Sicherheit 2 1 2 Kennzeichnungspflicht 2 2 EINBAUBEDINGUNGEN 2 2 1 oberirdische Aufstellung 2 2 2 unterirdische Montage 2 3 TECHNISCHE DA...

Page 3: ...schriftlich oder bildlich zu kennzeichnen DIN 1988 Teil 2 Abs 3 3 2 um auch nach Jahren eine irrtümliche Verbindung mit dem Trinkwassernetz zu vermeiden Auch bei korrekter Kennzeichnung kann es noch zu Verwechslungen kommen z B durch Kinder Deshalb müssen alle Brauchwasser Zapfstellen mit Ventilen mit Kindersicherung installiert werden 2 Aufstell Einbaubedingungen 2 1 oberirdische Aufstellung Die ...

Page 4: ...mail graf info www graf info 3 35 3 Technische Daten 1315 1560 145 210 4 0 0 22 5 295 440 Ø200 Ø75 Ø110 ...

Page 5: ...dem Öffnen der Anschlüsse müssen alle Bohr bzw Sägespäne aus dem Behälter entfernt werden 5 2 Montage Behälter Der Behälter besteht aus zwei baugleichen Halbschalen Zur Montage wird die eine Schale mit der geschlossenen Seite auf einen ebenen Untergrund gestellt Anschließend wird die Profildichtung mit der geriffelten Seite stopfend in die umlaufende innere Nut gedrückt Bevor die 2 Halbschale aufg...

Page 6: ...nach DIN 4124 anzulegen Der Baugrund muss waagerecht und eben sein und eine ausreichende Tragfähigkeit gewährleisten Die Tiefe der Grube muss so bemessen sein dass die max Erdüberdeckung siehe Punkt 2 Aufstell Einbaubedingungen über dem Behälter nicht überschritten wird Für die ganzjährige Nutzung der Anlage ist eine Installation des Behälters und der wasserführenden Anlagenteile im frostfreien Be...

Page 7: ...n und KG Rohren bauseits zu stellen Die Öffnungen sind ausschließlich mit dem GRAF Spezialkronenbohrer in der entsprechenden Größe zu bohren Es ist darauf zu achten dass der Abstand zwischen den Behältern mind 800 mm beträgt Die KG Rohre müssen mind 200 mm in die Behälter hineinragen Werden mehr als zwei Behälter miteinander verbunden muss neben der unteren Verbindung auch eine obere Verbindung zu...

Page 8: ...Wichtig Das Leerrohr ist an einer Öffnung oberhalb des max Wasserstandes anzuschließen Um eine Be bzw Entlüftung des Behälters zu schaffen muss ein DN 100 KG Rohr an einer freien Öffnung angeschlossen und steigend zur Entlüftungsstelle Entlüftungsabschluss Art Nr 369017 verlegt werden Der Zusammenschluss mit Entlüftungen anderer Bauwerke ist nicht zulässig 7 Montage Tankdom DN 200 Der Tankdom ist ...

Page 9: ...equested from us immediately The tank must be checked for any damage prior to insertion into the trench under all circumstances Missing instructions can be downloaded on www graf info or can be requested from GRAF Table of contents 1 GENERAL NOTES 9 1 1 Safety 9 1 2 Identification obligation 9 2 INSTALLATION CONDITIONS 9 2 1 Overground assembly 9 2 2 Underground installation 9 3 TECHNICAL DATA 10 ...

Page 10: ... labelled with the words No drinking water in writing or visually DIN 1988 part 2 section 3 3 2 in order to avoid an accidental connection to the drinking water network even after years Even when there are correct labels irritations are possible e g through children That is why all tapping points of process water have to be installed with child proof valves 2 Installation conditions 2 1 Overground...

Page 11: ...mail graf info www graf info 10 35 3 Technical data 1315 1560 145 210 4 0 0 22 5 295 440 Ø200 Ø75 Ø110 ...

Page 12: ... from the tank 5 2 Installation tank The tank consists of two half shells that are identical in construction In order to install the tank one of the shells is put on level ground with the closed side pointing downwards Afterwards the profile gasket is pushed into the circumferential inner groove with the corrugated side astringent Before adding the second half shell the gasket and the groove of th...

Page 13: ...ording to DIN 4124 The construction site must be horizontal and plane and must guarantee sufficient load bearing capacity The depth of the trench must be dimensioned so that the max earth coverage see point 2 Installation conditions above the tank is not exceeded To use the system throughout the entire year it is necessary to install the tank and those parts of the system which conduct water in th...

Page 14: ...l bit drill Order No 332001 in the corresponding size It has to be paid attention to the distance between the tanks not falling below 800 mm The plastic tubes used for underground installation have to extend into the tanks at least 200 mm If more than two tanks are connected a connection on the upper side for ventilation purposes has to be made along with the connection on the lower side 6 2 7 Ins...

Page 15: ... be as short as possible Important The empty conduit has to be connected to a recess above the max water level In order to create ventilation for the tank a DN 100 plastic tube for underground installation has to be connected to the free recess and routed in an ascending manner discharge end point Order No 369017 Connection to ventilation systems of other buildings is inadmissible 7 Installation t...

Page 16: ...ce manquante doit nous être réclamée sans délai Avant de positionner la cuve dans la fosse il est important de vérifier que celle ci n a pas été endommagée Les notices manquantes peuvent être téléchargées sur www graf info ou être demandées auprès de la société GRAF Sommaire 1 GÉNÉRALITÉS 16 1 1 Sécurité 16 1 2 Obligation de marquage 16 2 CONDITIONS D INSTALLATION 16 2 1 Installation en aérien 16 ...

Page 17: ...iter toute confusion toutes les canalisations et sorties d eau de pluie doivent être signalées par la mention écrite ou en image Eau non potable pour éviter même par erreur tout raccord au réseau d eau potable Toutes les sorties doivent être équipées de vannes sécurité enfant 2 Conditions d installation 2 1 Installation en aérien Les réservoirs doivent être posés sur un sol compact et parfaitement...

Page 18: ...mail graf info www graf info 17 35 3 Données techniques 1315 1560 145 210 4 0 0 22 5 295 440 Ø200 Ø75 Ø110 ...

Page 19: ...ser le joint ainsi que la rainure de la coque supérieure à l aide de la graisse fournie Posez la première coque sur la seconde de façon à ce que la jonction d enclenchement se fasse dans la seule position possible alignez les parties pleines en face des creux en face des deux flèches Pour cette opération nous vous conseillons d être au minimum 2 personnes car il ne faut surtout pas écraser le join...

Page 20: ...mise en place de la cuve Prévoir un minimum de 500 mm autour de la cuve et 500 mm de toute construction Ne pas placer la cuve au pied d une pente ou d un talus La pression exercée par la terre ou par les écoulements d eau à cet endroit peuvent endommager la cuve Le terrain doit être plan il doit avoir une résistance à la charge de la cuve La profondeur de la fosse doit être calculée de manière à c...

Page 21: ...fournir par le client Les perçages sont à réaliser à l aide de la scie cloche GRAF Veiller à ce que les réservoirs soient espacés de 800 mm les uns des autres Les tuyaux PVC doivent être insérés au minimum de 200 mm dans les cuves Dans le cas où plus de deux réservoirs doivent être jumelés un jumelage haut doit être réalise en plus du jumelage bas pour jouer le rôle d évent et de ventilation 6 2 7...

Page 22: ...évus sur le haut du réservoir et se terminer par une Cheminée d évent DN 100 Réf 369017 Le raccordement à l évent d une autre installation est interdite 7 Montage de la cheminée d évent DN 200 Placer la cheminée d évent sur l un des manchons DN 200 Elle peut être raccourci par le dessus mais ne doit en aucun cas être rallongé L extrémité de la cheminée d évent est constituée par le regard de visit...

Page 23: ...tarle Se debe realizar una revisión de los tanques por si hubiera daños antes de la colocación en la fosa de obra En caso de no disponer de las instrucciones de montaje las puede descargar en www graf info o solicitarlas a Graf Índice de contenido 1 GENERAL NOTES 23 1 1 Seguridad 23 1 2 Obligación de señalización 23 2 CONDICIONES DE INSTALACIÓN 23 2 1 Colocación superficial 23 2 2 Montaje subterrá...

Page 24: ...r escrito con las palabras No es agua potable o mediante símbolos para prevenir incluso después del transcurso de algunos años el enlace erróneo con la red de agua potable Incluso en caso de una señalización correcta puede surgir el riesgo de confusiones p ej por parte de niños Por lo tanto deben equiparse todos los sitios de extracción de agua de servicio con válvulas que cuentan con seguros para...

Page 25: ...mail graf info www graf info 24 35 3 Datos técnicos 1315 1560 145 210 4 0 0 22 5 295 440 Ø200 Ø75 Ø110 ...

Page 26: ... los siguientes elementos Tubos que forman la instalación Tubo de entrada al depósito Rebosadero y conexión al desagüe Después de taladrar los agujeros de conexión elimine todas las rebabas del depósito 5 2 Montaje del depósito El depósito consta de dos partes de igual forma y sección Para el montaje se coloca una escudilla con el lado cerrado sobre la superficie plana En seguida presione la junta...

Page 27: ...a DIN 4124 El terreno debe estar horizontal y plano y contar además con suficiente capacidad de carga La profundidad de la fosa debe estar dimensionada de tal manera que no se pueda sobrepasar el cubrimimiento máximo véase el punto 2 Condiciones de instalación sobre el tanque Para la utilización del equipo durante todo el año se requiere la instalación del tanque y de las piezas conductoras de agu...

Page 28: ...ito por medio de las juntas especiales GRAF y los tubos de plástico a disponer por parte del cliente Las aberturas deben perforarse exclusivamente con el taladro especial GRAF en el tamaño respectivo Código 332001 Hay que tener en cuenta que la distancia entre los depósitos debe comprender por lo menos 800 mm Los tubos de plástico deben estar introducidos en los depósitos cuando menos 200 mm Si se...

Page 29: ... por encima del nivel de agua máximo Para conseguir una ventilación apropiada del depósito debe conectar un tubo de plástico DN 100 a una entrada libre y ascendente al respiradero respiradero Código 369017 No se permite la conexión con respiraderos de otras construcciones 7 Montaje de la tapa de registro del tanque DN 200 Ponga la tapa de registro del tanque con el manguito sobre uno de los agujer...

Page 30: ...canti Prima di procedere alla posa interrata occorre verificare che i serbatoi non siano danneggiati Istruzioni mancanti si puo caricare dal sito internet www graf info o richiedere dalla Graf Indice dei contenuti 1 AVVERTENZE GENERALI 30 1 1 Sicurezza 30 1 2 Obbligo di etichettatura 30 2 CONDIZIONI DI INSTALLAZIONE 30 2 1 Installazione fuori terra 30 2 2 Installazione interrata 30 3 DATI TECNICI ...

Page 31: ... Acqua non potabile DIN 1988 parte 2 par 3 3 2 per evitare anche dopo anni il collegamento accidentale alla rete dell acqua potabile Anche in presenza di una etichettatura corretta sono possibili errori ad es da parte dei bambini Pertanto tutti i rubinetti dell acqua devono essere provvisti di valvole con protezione per bambini 2 Condizioni di installazione 2 1 Installazione fuori terra I serbatoi...

Page 32: ...mail graf info www graf info 31 35 3 Dati tecnici 1315 1560 145 210 4 0 0 22 5 295 440 Ø200 Ø75 Ø110 ...

Page 33: ...tubo vuoto Afflusso Scarico Dopo l apertura dei collegamenti rimuovere la segatura e i trucioli della trapanatura dal serbatoio 5 2 Montaggio del serbatoio Il serbatoio è composto da due semigusci identici Per il montaggio il semiguscio con il lato chiuso viene posizionato su un sottofondo piano La guarnizione a profilo deve quindi essere premuta con il lato corrugato nella scanalatura perimetrale...

Page 34: ... di carico sufficiente Eseguire lo scavo in modo da non superare l interramento max ved punto 2 Condizioni di installazione sopra il serbatoio Per poter utilizzare l impianto tutto l anno è necessario installare il serbatoio e i componenti dell impianto che convogliano l acqua al riparo dal gelo Di norma uno scavo con profondità di ca 800 mm è protetto dal gelo Informazioni precise a riguardo sono...

Page 35: ...atoio utilizzando le guarnizioni speciali GRAF e i tubi KG forniti dal cliente I fori dovranno essere praticati esclusivamente con lo speciale trapano a corona GRAF e nella misura corrispondente tenendo conto di una distanza minima tra i serbatoi di 800 mm I tubi KG devono penetrare nei serbatoi per almeno 200 mm Se si collegano più di due serbatoi oltre al collegamento inferiore occorre creare un...

Page 36: ...mportante il tubo vuoto dovrà essere collegato a un foro al di sopra del livello massimo dell acqua Per consentire l areazione e lo sfiato del serbatoio un tubo KG DN 100 dovrà essere collegato a un foro libero e portato in salita al punto di sfiato chiusura di sfiato n art 369017 Non è consentito il collegamento con gli sfiati di altri impianti 7 Montaggio pozzetto passo d uomo DN 200 Il pozzetto...

Reviews: