• featuring Click Connect ™
• que incluye Click Connect ™
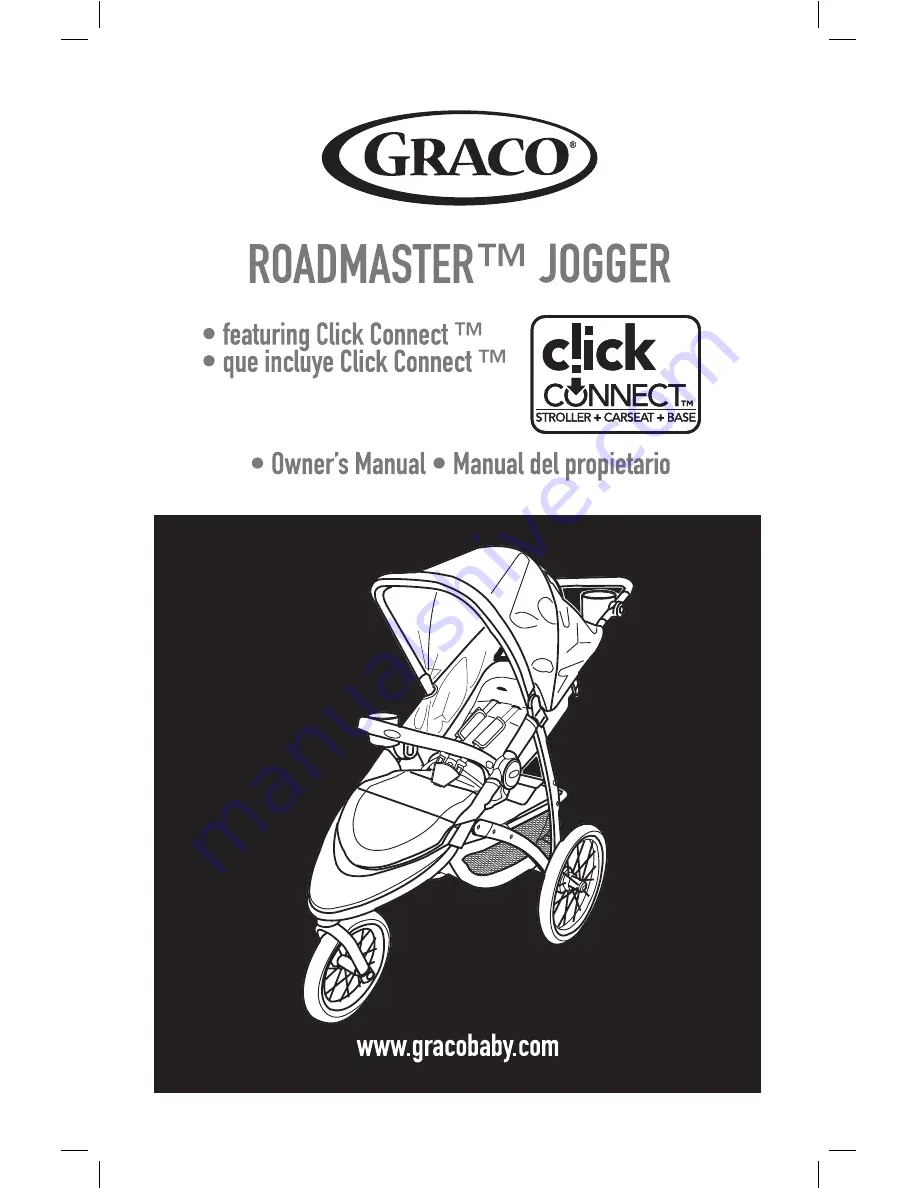
FAST ACTION FOLD™ JOGGER
• Owner’s Manual • Manual del propietario
NWL0000603927F 4/17
Page 1: ... featuring Click Connect que incluye Click Connect FAST ACTION FOLD JOGGER Owner s Manual Manual del propietario NWL0000603927F 4 17 ...
Page 2: ...Features Características Pages Páginas 4 7 Pages Páginas 8 9 3 A To Open Stroller Abrir el cochecito 3 B Front Wheel Rueda delantera 3 C Rear Wheels Las ruedas traseras 3 D Basket Assembly Ensamblaje de la canasta 3 E Canopy Capota 3 F Arm Bar Bandeja para niños 3 G Cup holders Apoyavasos 3 Assembly Ensamblaje Pages Páginas 10 20 ...
Page 3: ...niño 4 C To Recline Seat Cómo reclinar el asiento 4 D Brakes Frenos 4 E Swivel Wheel Rueda giratoria 4 F Removing Wheels Cómo sacar las ruedas 4 G To Adjust Handle Para ajustar la manija 4 H To Use Tether Cómo usar la correa 4 J To Attach Graco Infant Car Seat Cómo instalar el asiento de automóvil para bebé Graco 4 K To Attach Graco Infant Car Seat to StrollerFrame Para sujetar el asiento de autom...
Page 4: ...a care when going up or down a step or curb USE OF THE STROLLER with a child weighing more than 50 lb 22 7 kg or taller than 45 in 114 3 cm will cause excessive wear and stress on the stroller Use the stroller with only one child at a time TO PREVENT TIPPING do not place more than 1 lb 0 45 kg in the cup holders TO AVOID BURNS never put hot liquids in the parent s tray TO PREVENT A HAZARDOUS UNSTA...
Page 5: ...er Before running jogging or walking fast LOCK the front wheel from swiveling CHECK the tire pressure before using the stroller DO NOT use air compressor to inflate tire ONLY use hand pump CHECK the tire pressure before using the stroller DO NOT use air compressor to inflate tire ONLY use hand pump USING GRACO INFANT CAR SEAT WITH STROLLER TO AVOID INJURY TO YOUR CHILD THIS STROLLER IS ONLY COMPAT...
Page 6: ... instrucciones de ensamblaje podría resultar en lesiones serias o la muerte USAR EL COCHECITO con un niño que pesa más de 50 libras 22 7 kg o más alto de 45 pulgadas 114 3 cm causará un desgaste y tensión excesiva en el cochecito Use el cochecito solamente con un niño por vez PARA PREVENIR QUE SE TUMBE no ponga más de 0 45 kg 1 libra en los apoyavasos PARA EVITAR QUEMADURAS nunca ponga líquidos ca...
Page 7: ...o caminar con rapidez TRABE la rueda delantera para que no gire VERIFIQUE la presión del neumático antes de usar el cochecito NO utilice el compresor de aire para inflar el neumático SOLO utilice la bomba manual USO DEL ASIENTO DE AUTOMÓVIL PARA BEBÉ GRACO CON EL COCHECITO PARA EVITAR LESIONES A SU NIÑO ESTE COCHECITO SOLAMENTE ES COMPATIBLE CON LOS ASIENTOS DE AUTOMÓVIL PARA BEBÉ GRACO SNUGRIDE C...
Page 8: ...8 2 A ROADMASTER JOGGER Use Positions Posiciones del uso del ROADMASTER JOGGER ...
Page 9: ...your product If any parts are missing call Customer Service 1 800 345 4109 NO TOOLS REQUIRED Verifique que tenga todas las piezas de este modelo ANTES de armar su producto Si falta alguna pieza llame a Servicio al Cliente 1 800 345 4109 NO REQUIERE HERRAMIENTAS All models Todos los modelos 2X 2X OR O ...
Page 10: ... protective cover to prevent damage to floor surface Antes de armarlo asegúrese de poner el cochecito sobre un pedazo de cartón u otro tipo de protección para prevenir el daño a la superficie del piso 1 Abra la traba de almacenamiento 1 Open storage latch 2 Levante la manija del cochecito hacia arriba 2 Lift handle of stroller up ...
Page 11: ...ed open every time you open the stroller and before continuing with the rest of the assembly steps 3 VERIFIQUE que el cochecito esté completamente abierto y trabado cada vez que lo abre y antes de continuar los pasos de ensamblaje restantes SNAP CRAC ...
Page 12: ...nd could result in serious injury DO NOT use air compressor to inflate tire ONLY use hand pump VERIFIQUE la presión del neumático antes de usar el cochecito NO INFLE los neumáticos por encima de la presión máxima recomendada que se indica en el costado del mismo Inflarlo demasiado podría causar que la rueda y o el neumático reviente y causar serias lesiones NO utilice el compresor de aire para inf...
Page 13: ... attached by pulling on wheel assembly 2 VERIFIQUE que la rueda esté apretadamente sujetada tirando del ensamblaje de la rueda 1 Attach front wheel to stroller as shown 1 Sujete la rueda delantera al cochecito como se indica SNAP CRAC ...
Page 14: ... y sufrir una lesión WARNING Choking Hazard Remove and immediately discard protective end cap from each wheel DO NOT remove rear wheels unless replacing them Child could fall on exposed rear axle and be injured 2X 1 Saque y deseche inmediatamente la tapa de protección de cada rueda 1 Remove and immediately discard protective end cap from each wheel 2 Sujete las ruedas traseras al cochecito como se...
Page 15: ...assemblies 3 D Basket Assembly Ensamblaje de la canasta 2 Sujete la canasta al tubo trasero abrochando los 3 broches como se indica 2 Attach the basket to the rear tube by fastening the 3 snaps as shown 1 Sujete las dos correas del respal do del asiento al cubo de plástico en la canasta 1 Attach the 2 seat back straps around the plastic hub in the basket ...
Page 16: ...Empuje los montantes de la capota hacia los montantes del armazón hasta que se traben en posición Your stroller comes with one of the two types of canopy shown below To install the canopy 1 Push the canopy mounts onto the frame mounts until the canopy is locked in position SNAP CRAC SNAP CRAC Canopy 1 Canopy 2 Capota 1 Capota 2 ...
Page 17: ...en ambos costados como se indica 3 Connect the hook and loop fasteners on both sides as shown 4 Enhebre las correas a través de la manija y luego sujete el sujetador de gancho y bucle en ambos costados 4 Thread the straps through the handle then fasten the hook and loop fasteners on both sides SNAP CRAC ...
Page 18: ... forward to open canopy Empuje hacia atrás para cerrar la capota Push backwards to close canopy Tire la aleta hacia adelante para abrirla y hacia atrás para cerrar la ventana de la capota Pull flap forward to open and backward to close canopy window ...
Page 19: ...para los brazos en el cochecito si hay un niño en el cochecito 1 Instale la Barra para los brazos A Alinee la barra para los brazos y el armazón B Empuje la barra para los brazos hacia los montantes hasta que se trabe en posición como se indica 1 Install the arm bar A Align the arm bar and Frame B Push the arm bar onto the mounts until it locks in position as shown A B SNAP CRAC 2 CHECK that arm b...
Page 20: ...l cochecito y la barra del brazo 1 A cup holder can be attached to mounts on either side of stroller handle and the arm bar 2 Para sacarlos oprima hacia arriba el apoyavasos El apoyavasos se puede lavar en el lavaplatos rejilla superior solamente 2 To remove press up on cup holder Cup holder is dishwasher safe Top Rack Only ...
Page 21: ... Abra el bolsillo de la correa de pliegue y separe la correa de pliegue como se indica A Desde el costado del asiento tire las correas de pliegue hacia afuera B 2 Open the fold strap pocket and separate the fold strap as shown A From the side of the seat pull the fold straps out B 1 Saque la capota 1 Remove the canopy A B B ...
Page 22: ... of the set pad and locate the seat strap From the bottom of the seat unfasten the seat strap and remove it from the frame 4 Desabroche las correas traseras del asiento desde ambos costa dos del cochecito y sáquelas del armazón 4 Unsnap the rear seat straps from both sides of the stroller and remove from frame 5 Desabroche las dos correas del respaldo 5 Unsnap the 2 seat back straps ...
Page 23: ... Destrabe los 12 broches y saque el asiento del armazón 6 Unfasten the 12 snaps and remove the seat from the frame 7 Vuelva a conectar la correa de pliegue como se indica 7 Reconnect the fold strap as shown ...
Page 24: ...24 8 Instale la capota opcional 8 Install the canopy optional ...
Page 25: ...25 To Attach the Seat Cómo sujetar el asiento 1 Saque la capota 1 Remove the canopy 2 Separe la correa de pliegue como se indica 2 Seperate the fold strap as shown ...
Page 26: ...hadilla del asiento A mientras busca en el interior del bolsillo de la correa de pliegue para tirarlas hacia adentro B Mientras está en el interior del bolsillo enganche las correas juntas como se indica C 4 Insert the fold straps into the slots on both sides of the seat pad A while reaching inside the fold strap pocket and pulling them in B While inside the pocket hook the straps together as show...
Page 27: ...r los bucles y luego tire para tensionarlas y sujete el conector de gancho y bucle 5 From under the seat pad thread the ends of front seat straps through the loops then pull tight and fasten the hook and loop connector 6 Abroche el resto de los broches al armazón 6 Fasten the rest of the snaps to the frame ...
Page 28: ...e indica 7 Insert and fasten the rear seat straps through the loops on each side as shown 9 Instale la capota opcional 9 Install the canopy optional 8 Sujete las dos correas del respal do del asiento al cubo de plástico en la canasta 8 Attach the 2 seat back straps around the plastic hub in the basket ...
Page 29: ...rness Arnés de 5 puntos 1 Para abrirlo oprima el botón de la hebilla para liberar las correas de la cintura 1 To open press button on buckle to release the waist straps 2 Para cerrarlo deslice los conectores de las correas del hombro en las correas de la cintura y póngalos en la hebilla 2 To close slide shoulder strap connectors onto waist straps and insert into buckle ...
Page 30: ...er and waist for tighter adjustment To change shoulder harness slots see page 33 Use slide adjuster at shoulder and waist for further adjustment Repeat on other side Utilisez le régulateur coulissant à l épaule et à la taille pour un ajustement plus précis Répétez de l autre côté Use el ajuste deslizable en el hombro y la cintura para hacer ajustes adicionales Repita el proceso del otro lado ...
Page 31: ...rreas de la cintura 1 To open press button on buckle to release the waist straps 2 Deslice los conectores de la correa para los hombros de las correas para la cintura 2 Slide shoulder strap connectors off of waist straps 3 Saque las correas del hombro del cochecito 3 Remove shoulder straps from stroller ...
Page 32: ...to harness buckle as shown 5 Use el ajustador deslizable de la cintura para ajustarlo más apretadamente 5 Use slide adjuster at waist for tighter adjustment 6 Para abrirlo oprima el botón de la hebilla para liberar las correas de la cintura 6 To open press button on buckle to release the waist straps ...
Page 33: ...que estén más cerca a la altura del hombro del niño Use el ajustador deslizable para realizar ajustes adicionales Adjusting Shoulder Harness position Ajustar la posición del arnés para los hombros Anclaje del arnés del hombro niño grande Shoulder harness anchor larger child Anclaje del arnés del hombro niño pequeño Shoulder harness anchor smaller child Ajustador deslizable Slide adjuster ...
Page 34: ...e ADVERTENCIA Cuando realiza ajustes al asiento del cochecito asegúrese de que la cabeza brazos y piernas del niño estén alejados de las piezas móviles del asiento y el armazón del cochecito 1 Para reclinarlo empuje el botón y tire el asiento hacia abajo 1 To recline push button down and pull down the seat 2 Para levantarlo tire ambas correas hacia arriba 2 To raise pull both straps up ...
Page 35: ...push stroller ADVERTENCIA VERIFIQUE que los frenos estén activados tratando de empujar el cochecito 1 Empuje los frenos hacia abajo para trabarlos 1 Push down on brake to lock brakes 2 Empuje los frenos hacia arriba para destrabarlos 2 Push up on brake to unlock brakes ...
Page 36: ... from swiveling ADVERTENCIA PELIGRO DE CAÍDA si se tumba Antes de correr trotar o caminar con rapidez TRABE la rueda delantera para que no gire 1 Las ruedas giratorias delanteras se traban para usarlas en superficies desparejas como césped piedras o grava 1 Front swivel wheel locks for use on uneven surfaces such as grass stones or gravel ...
Page 37: ...own Rear Wheels Las ruedas traseras 1 Para sacar la rueda empuje el botón y tire de la rueda Repita el procedimiento en la otra rueda 1 To remove wheel push button and pull wheel off Repeat with the other wheel WARNING DO NOT remove rear wheels unless replacing them Child could fall on exposed rear axle and be injured ADVERTENCIA NO saque las ruedas traseras a menos que las cambie El niño podría c...
Page 38: ...G To Adjust Handle Para ajustar la manija To adjust handle press buttons on both sides of handle and rotate handle Para ajustar la manija oprima los botones en ambos costados de las manijas y gire la manija ...
Page 39: ...tether strap to lie over top of the handle DO NOT hang items on the tether strap 4 H To Use Tether Cómo usar la correa de sujeción To use tether 1 Remove tether from the pocket in the basket and attach to your wrist as shown Para usar la correa 1 S áquela del bolsillo de la canasta y sujétela a su muñeca como se indica 2 Fold over the tether pocket flap and fasten the flap to the fastening strip o...
Page 40: ...ler for jogging while carrier is in stroller Para los modelos que no vienen con un asiento de automóvil para bebé se puede comprar uno por separado ADVERTENCIA Use solamente un asiento de automóvil GRACO SnugRide Click Connect con este cochecito Este cochecito solamente es compatible con los asientos de automóvil para bebé Graco SnugRide con Click Connect Úselo solamente con los asientos de automó...
Page 41: ... Instale la barra para los brazos 1 Recline the stroller seat back to its lowest position Install the arm bar 2 CHECK that arm bar is securely attached by pulling on arm bar 2 VERIFIQUE que la barra para los brazos esté instalada correctamente tirando de la barra para los brazos ...
Page 42: ... de automóvil y levante el asiento de automóvil fuera del cochecito 4 To remove car seat squeeze release handle at back of car seat and lift car seat out of the stroller SNAP CLIC SNAP CLIC Mounts Montantes 2 Insert car seat into stroller and push down on car seat until the latches snap into the Click Connect mounts 2 Inserte el asiento de automóvil en el cochecito y empuje el asiento de automóvil...
Page 43: ... de automóvil para bebé Graco al armazón del cochecito 1 Instale la barra para los brazos 1 Install the arm bar 2 CHECK that arm bar is securely attached by pulling on arm bar 2 VERIFIQUE que la barra para los brazos esté instalada correctamente tirando de la barra para los brazos ...
Page 44: ...ant car seat is securely attached by pulling up on it 4 VERIFIQUE QUE el asiento de automóvil para bebé esté debidamente instalado conectado con firmeza tirando hacia arriba de la misma Mounts Montantes SNAP CLIC SNAP CLIC 3 Insert car seat into stroller and push down on car seat until the latches snap into the Click Connect mounts 3 Ponga el asiento para automóvil en el cochecito y empuje el asie...
Page 45: ... niño juegue con la manija de plegarlo 3 Pull strap up 3 Tire la correa hacia arriba 4 Storage latch will engage and stroller will rest on the rear wheels and handle 4 La traba de almacenamiento se activará y el cochecito se apoyará en las ruedas traseras y la manija 1 Para plegarlo la manija debe estar trabada en la posición más vertical Cerrar la capota 1 To fold handle must be in the most uprig...
Page 46: ...old handle must be in the most upright locked position 2 Tire la correa hacia arriba 2 Pull strap up 3 Storage latch will engage and stroller will rest on the rear wheels and handle 3 La traba de almacenamiento se activará y el cochecito se apoyará en las ruedas traseras y la manija ...
Page 47: ... sand and salt from mechanisms and wheel assemblies NO LAVE EL ASIENTO A MÁQUINA Se debe limpiar solamente con un jabón suave teniendo cuidado de no empapar el material NO USE BLANQUEADOR PARA LIMPIAR EL ARMAZÓN DEL COCHECITO use solamente jabón de uso doméstico y agua tibia NO USE BLANQUEADOR ni detergentes DE VEZ EN CUANDO INSPECCIONE EL COCHECITO para verificar si hay tornillos flojos piezas ro...
Page 48: ...rios o para obtener información sobre la garantía en los Estados Unidos por favor comuníquese con nosotros en To register your Graco product from within the U S A visit us online at www gracobaby com productregistration We currently do not accept product registrations from those living outside the United States of America Para registrar su producto Graco desde dentro de los EE UU visítenos en líne...