Read all instructions BEFORE assembly and USE of product.
KEEP INSTRUCTIONS FOR FUTURE USE.
See back page for quick set up guide.
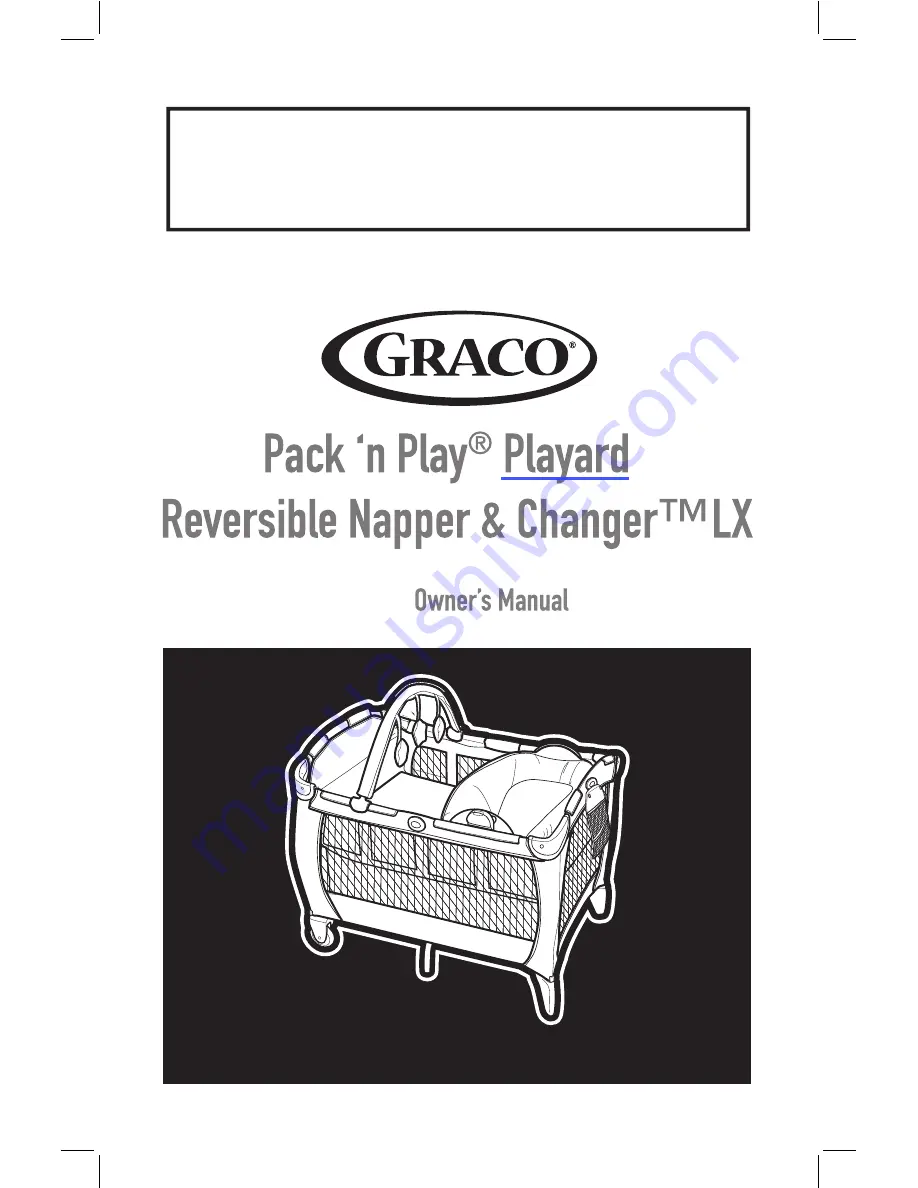
Pack ‘n Play
®
Playard
Reversible Napper & Changer™LX
Page 1: ...Read all instructions BEFORE assembly and USE of product KEEP INSTRUCTIONS FOR FUTURE USE See back page for quick set up guide Pack n Play Playard Reversible Napper Changer LX...
Page 2: ...roduct when your child reaches 35 inches 89 cm in height weighs more than 30 lb 14 kg or is able to climb out Do not modify playard or add any attachments that are not listed in the owner s manual inc...
Page 3: ...uffocation NEVER use a water mattress with the playard Avoiding Strangulation Hazards Strings and cords can cause strangulation Keep strings and cords away from child NEVER place the playard near a wi...
Page 4: ...S ALL MODELS This model may not include some features shown below Check that you have all the parts for this model BEFORE assembling your product If any parts are missing call Customer Service No tool...
Page 5: ...Setup 3 Pull up on side rails in middle above push button until all four sides are locked DO NOT push center down yet 1 Disconnect straps holding mattress around playard 2 Remove mattress from around...
Page 6: ...e rigid If not pull up again until they are rigid If top rails do not latch lift the center of the floor higher CHECK that fabric covers corners 5 Hold one end of the unit up and push the center of th...
Page 7: ...holes and attach to hook and loop patch on bottom of playard 8 Pull the four snap straps on corners of playard mattress through bottom of playard Wrap around the tube and fasten snap onto the tube Rep...
Page 8: ...alled including four metal tubes eight clips and mattress pad before using Do not modify bassinet or add any attachments that are not listed in the owner s manual DO NOT store the bassinet in the play...
Page 9: ...he mattress pad from the bottom of the playard to use inside your bassinet 2 Make sure to fasten the bassinet clips to the playard Always press down on the left side of the clip then the right as show...
Page 10: ...at with other set of bars CHECK Tubes MUST be assembled before placing mattress pad in bassinet 4 Insert the mattress pad soft side up into the playard making sure the hook and loop patches on bottom...
Page 11: ...l the center of the playard floor up with the tab in the middle of the playard Center of floor must be halfway up before top rails will unlock 1 Release snap straps and hook and loop straps on bottom...
Page 12: ...on the button located on the side of the top rail to release the two tubes c Push down d Repeat on all four rails until all tubes are released If top rails do not unlatch DO NOT FORCE Lift the center...
Page 13: ...4 Do not force If unit will not fold look for a partially latched top rail Squeeze the latch button to release the rail...
Page 14: ...4 B To Cover 1 Cover unit with handle out 2 Zip together...
Page 15: ...Y use the pad provided by the manufacturer NEVER place extra padding under or beside infant When trapped between product and adjacent surfaces Only use in bassinet when it is securely attached NEVER u...
Page 16: ...on the floor bed counter or other surfaces Do not use changing table as a sleeping or play area Weight limit for the changing table is 15lb 6 8kg Do not use the changing table as extra storage Strang...
Page 17: ...WARNING To prevent serious injury or death DO NOT REMOVE FOAM ADVERTENCIA NOTE Napper changer should always be attached opposite the wheels...
Page 18: ...sing in this orientation If not in this orientation follow steps 1 3 Tube opening 1 Press button and pull up to unlock and rotate as shown 1 2 2 Rotate until tube opening is on the bottom then press d...
Page 19: ...sert the long end of the tube into the button housing as shown 5 The metal button should be facing out when snapped in place as shown SNAP 6 With the napper side up insert the button housing tube as s...
Page 20: ...ull up on the flap with the 2 straps and insert the tube into the opposite side of the napper changer 8 Insert the button housing tube as shown The metal button should be facing out when snapped in pl...
Page 21: ...9 Secure the tubes on both ends of the napper changer as shown 10 Secure the tubes on both ends of the napper changer as shown SNAP SNAP...
Page 22: ...Napper changer should always be attached opposite the wheels 12 The tabs on the sides of the napper will snap in place as shown SNAP SNAP 13 Push down on the inside of napper changer until it clicks i...
Page 23: ...per Mode 1 Press button and pull up to unlock and rotate to the napper side 2 Push down on the inside of napper until it clicks into place Check that napper is securely attached by pulling up on it SN...
Page 24: ...r place baby face down on the changing table 1 Press button on housing and pull up to unlock and rotate to the changer side 2 Push down on the inside of changer until it clicks into place Check that c...
Page 25: ...1 Pull up on bassinet clip to detach it from the playard 2 Press button and pull up on napper changer to release Repeat steps 1 2 on the opposite side 3 Remove the napper changer...
Page 26: ...d knees Recommended use from birth to 5 months Toys are not intended to be mouthed by the baby and should be positioned clearly out of reach of the baby s face and mouth Always attach all provided fas...
Page 27: ...of toybar into center connector 2 Insert assembled toybar parts into toybar fabric 3 Attach other end of toybar to center connector 4 Attach toy to toybar with hook and loop tape 5 Attach toybar to p...
Page 28: ...out of child s reach Remove the bag when child is able to pull himself up in the Pack N Play NEVER use on inside of unit Child may use as a step to climb out or reach items in bag TO AVOID SERIOUS IN...
Page 29: ...EACH you MUST clean sand off your playard including the feet before packing it into cover Sand in top rail lock may damage it TO CLEAN PLAYARD use only household soap or detergent and warm water TO WA...
Page 30: ...Guide 1 2 3 2 Lift rail up slightly press button and lower rail Repeat on all 4 sides See page 16 1 Pull red tab up to unlock Stop when you hear it click See page 15 3 Wrap mattress around play yard S...
Page 31: ...NAP Quick Set Up Guide 1 2 2 Push center of playard down until you hear a click See page 9 1 Pull up on all 4 sides and snap into place Do not push center of Playard down until top rails are locked Se...