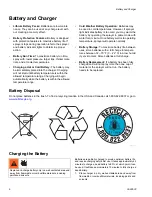
Battery and Charger
3A2853C
7
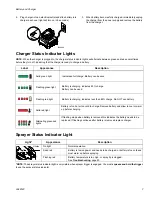
2.
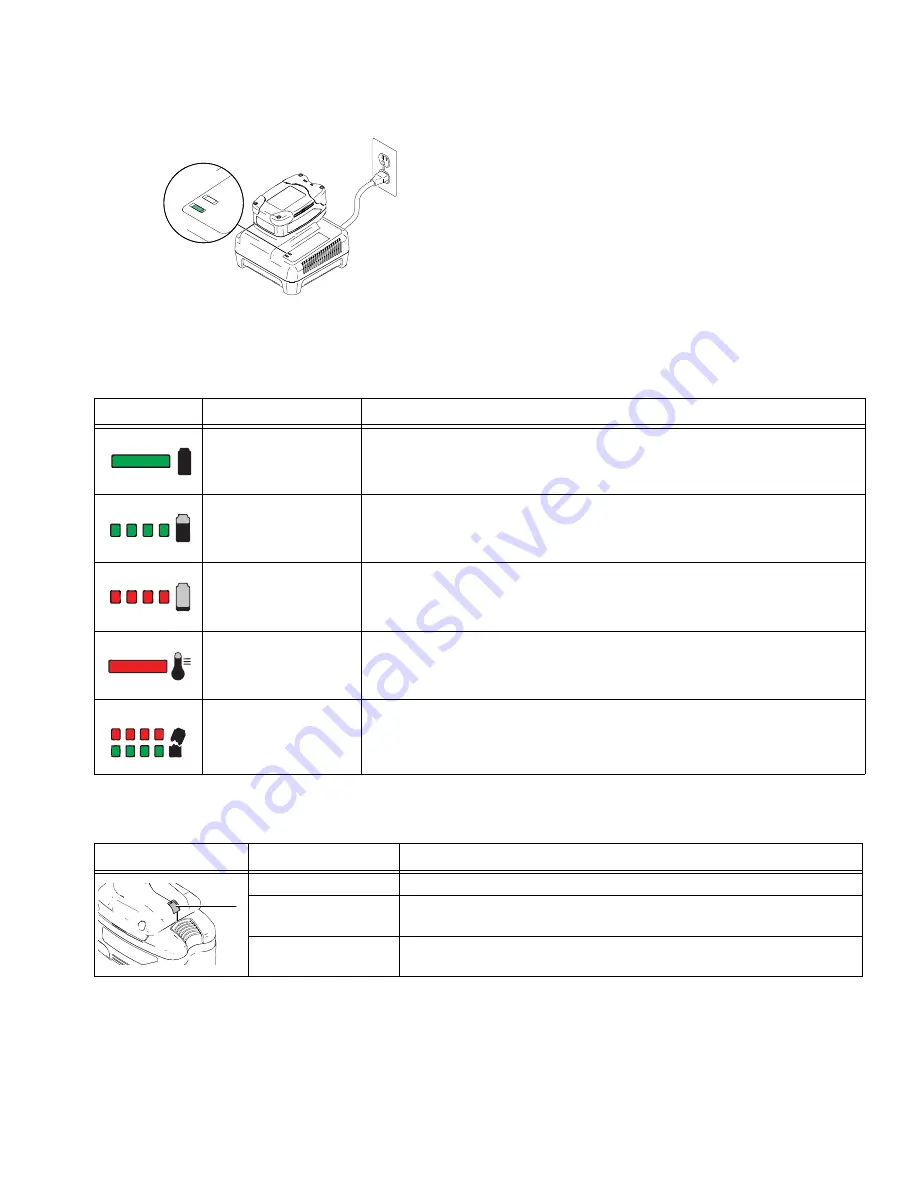
Plug charger into an electrical outlet and slide battery into
charger as shown (light will turn on in 5 seconds).
3.
When battery becomes fully charged, immediately unplug
the charger from the power supply and remove the battery
from the charger.
Charger Status Indicator Lights
NOTE:
When the charger is plugged in, the charger status indicator lights will alternate between green and red several times
before they turn off, indicating that the charger is ready to charge a battery.
Sprayer Status Indicator Light
*NOTE:
The sprayer status indicator light is only visible when sprayer trigger is engaged. You must
squeeze and hold the trigger
to see the sprayer status indicator.
ti14990a
Label
Appearance
Description
Solid green light
Indicates a full charge. Battery can be used.
Flashing green light
Battery is charging, indicates 80% charge.
Battery can be used.
Flashing red light
Battery is charging, indicates less than 80% charge. Do NOT use battery.
Solid red light
Battery is too hot or too cold to charge. Remove battery and allow to cool or warm
up before charging.
Alternating green/red
lights
If flashing stops when battery is removed this indicates the battery needs to be
replaced. If flashing continues after battery is removed replace charger.
ti25925a
ti25926a
ti25927a
ti25928a
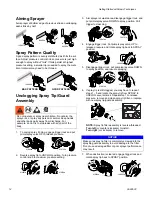
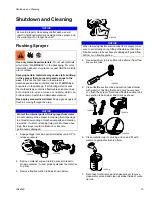
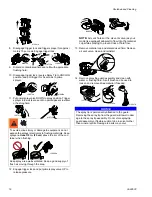
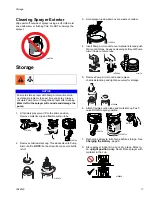
ti25929a
Light*
Appearance
Description
No light
Normal operation.
Solid red
Battery is low on power and needs to be charged, or battery is too cold and
must warm up before spraying.
Flashing red
Battery temperature is too high, or spray tip is clogged.
See
Troubleshooting
, page 25.
ti18884a
Summary of Contents for 16N664
Page 33: ...Notes 3A2853C 33 Notes...


