Hi, I’m Sona.
Setup and walkthrough guide
Page 1: ...Hi I m Sona Setup and walkthrough guide ...
Page 2: ...Table of Contents 05 06 08 12 16 18 Welcome Activating a New User Working with Apple iOS Working with Android Renaming Your Cameras Timezone Change ...
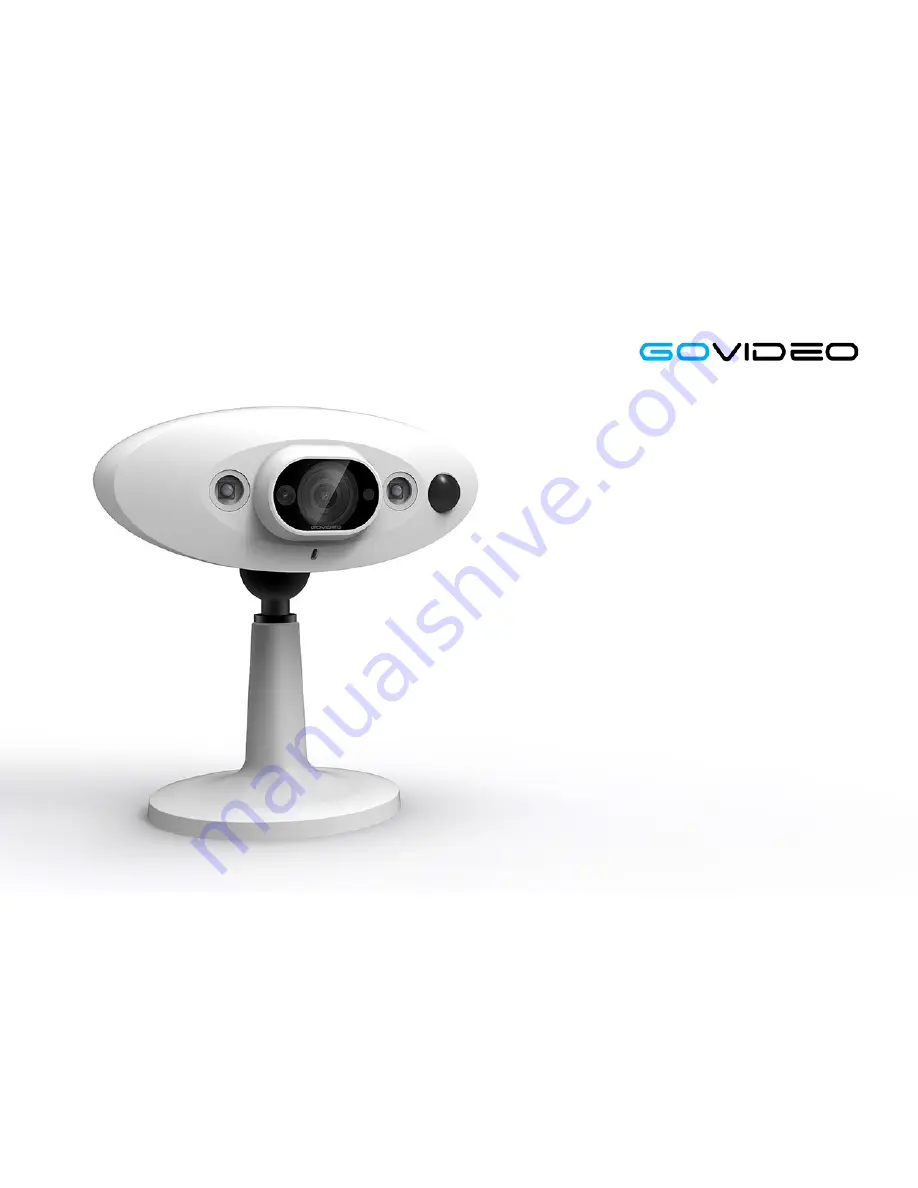
Page 3: ...ieces from their plastic bags 2 Set camera on top of the stand 3 Plug the power cord into the back of the camera 4 Plug the power cord into the power plug 5 Plug the power plug into an outlet 6 Wait 1 minute The LED should slow flash red 1 camera 1 power cord 1 stand 1 power plug If the camera is not slow flashing green press the reset button for 3 seconds See the diagram Looking from underneath t...
Page 4: ... sent to the email address you provided Open this email to view the 4 digit activation code Enter this code into the GoVideo app Select Continue Step 5 At this point you are logged into the GoVideo app and can view a list of cameras that are currently linked to your account Step 4 Choose a nickname for the phone tablet being used This selected nickname will be used to identify and distinguish what...
Page 5: ... this screen and can skip this step Enter the WiFi password for the WiFi network you want to connect to and then select Next Note You can select the eye icon in the password box to reveal the password to ensure it has been entered correctly If your iPhone iPad is not connected to the WiFi network you want to connect the camera to please do so now Once connected to the desired WiFi network select N...
Page 6: ...igated back to the GoVideo App select the Next button to connect the camera to the WiFi network Note If your first try fails to connect the camera please wait 30 seconds and try again Some customer s routers require 30 seconds before this step can be completed Note If the WiFi password is incorrect the camera will not be connected to the WiFi network and you will not see live video stream If you d...
Page 7: ...ed on in your Android device you will not see this screen and can skip this step Step 4 Select the WiFi network you want to connect the camera to and then select Next Step 5 Enter the WiFi password for the WiFi network you want to con nect to and then select Next Note You can select the eye icon in the password box to reveal the password to ensure it has been entered correctly Before you can begin...
Page 8: ...ed to the camera so it can be added to the WiFi network Before you can begin GoVideo cameras can only be connected to 2 4GHz WiFi networks Please ensure your phone tablet is connected to the same 2 4GHz network that you want to connect your GoVideo camera to Working with Android Note If the WiFi password is incorrect the camera will not be connected to the WiFi network and you will not see live vi...
Page 9: ...amera information page select the edit icon in the top right corner of the screen Step 4 Enter the desired camera name and then select Save Step 5 Once the camera name is saved the app will return to the Cameras screen On the Cameras screen you will see the new name of the camera displayed Prerequisites The customer has acti vated the account and connected the camera to the internet Renaming your ...
Page 10: ...n Setup select Camera Settings Step 3 In the Camera Settings page select Time Zone Step 4 Use the up and down arrows to select the time zone that the camera is in When finished press the back arrow in the top left corner until you are back to the camera list Prerequisites Customer has activated the account and connected the camera to the internet Timezone Change ...
Page 11: ...866 511 0000 www GoVideo com ...