8
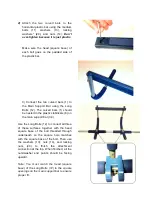
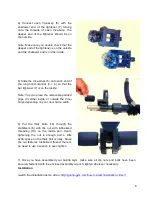
4) Connect each Vice-Grip (5) with the
shallower end of the tightener (7) turning
onto the threads of each Vice-Grip. The
deeper end of the tightener should be on
the outside.
Note: Make sure you double check that the
deeper end of the tightener is on the outside
and the shallower end is on the inside.
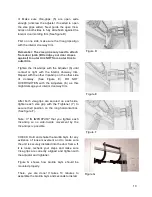
5) Slide the Vise-Grips (5) onto each end of
the long horizontal bar (3 + 4) so that the
bar tightener (7) is on the inside.
Note: You can place the removable padded
grips (9) either inside or outside the Vice-
Grips depending on your door frame width.
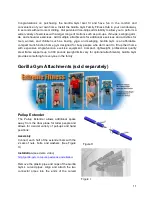
6) Put the thick bolts (18) through the
stabilizers (8) with the nut with rubberized
threading (19) on the inside part. Hand-
tightening the nut is enough and a little
extra space on the thick bolt is okay. Since
the nut features rubberized thread, there is
no need to use a wrench to over-tighten.
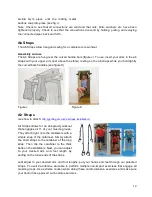
7) Once you have assembled your Gorilla Gym, make sure all the nuts and bolts have been
securely fastened with the enclosed assembly wrench, tighten wherever necessary.
Installation
(watch the installation demo video:
http://gorilla-gym.com/how-it-works/installation-video/
)


