Instruction Manual
High Definition Personal
Video Recorder Digital
Satellite Receiver
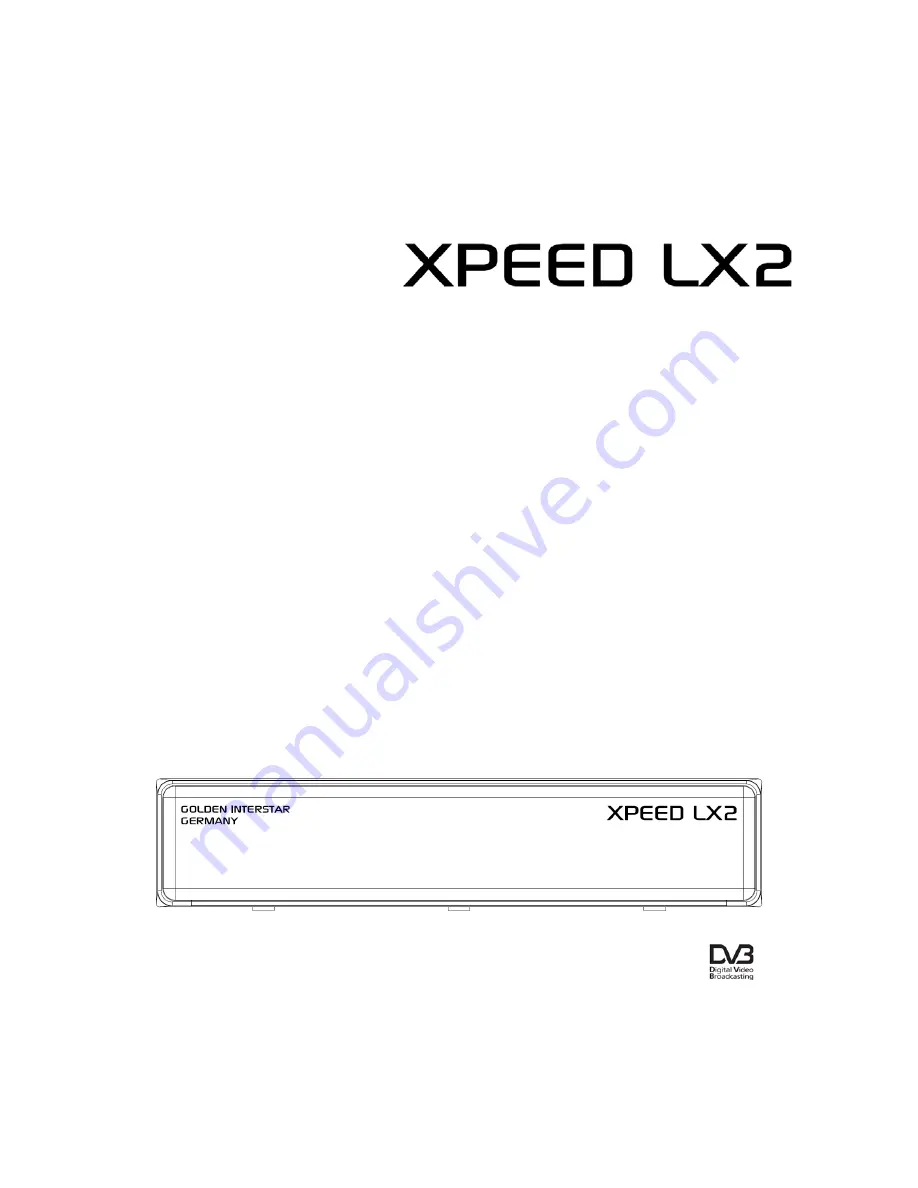
The XPEED LX2digital receiver is fully compliant with the international
Digital Video Broad-casting (DVB) standard, and thus is able to receive
digital broadcasts of that standard.


