Black
Cyan
Magenta
Yellow
Code:
GEN2300ES IM
Date:
080219
Edition:
04
Op:
DJ
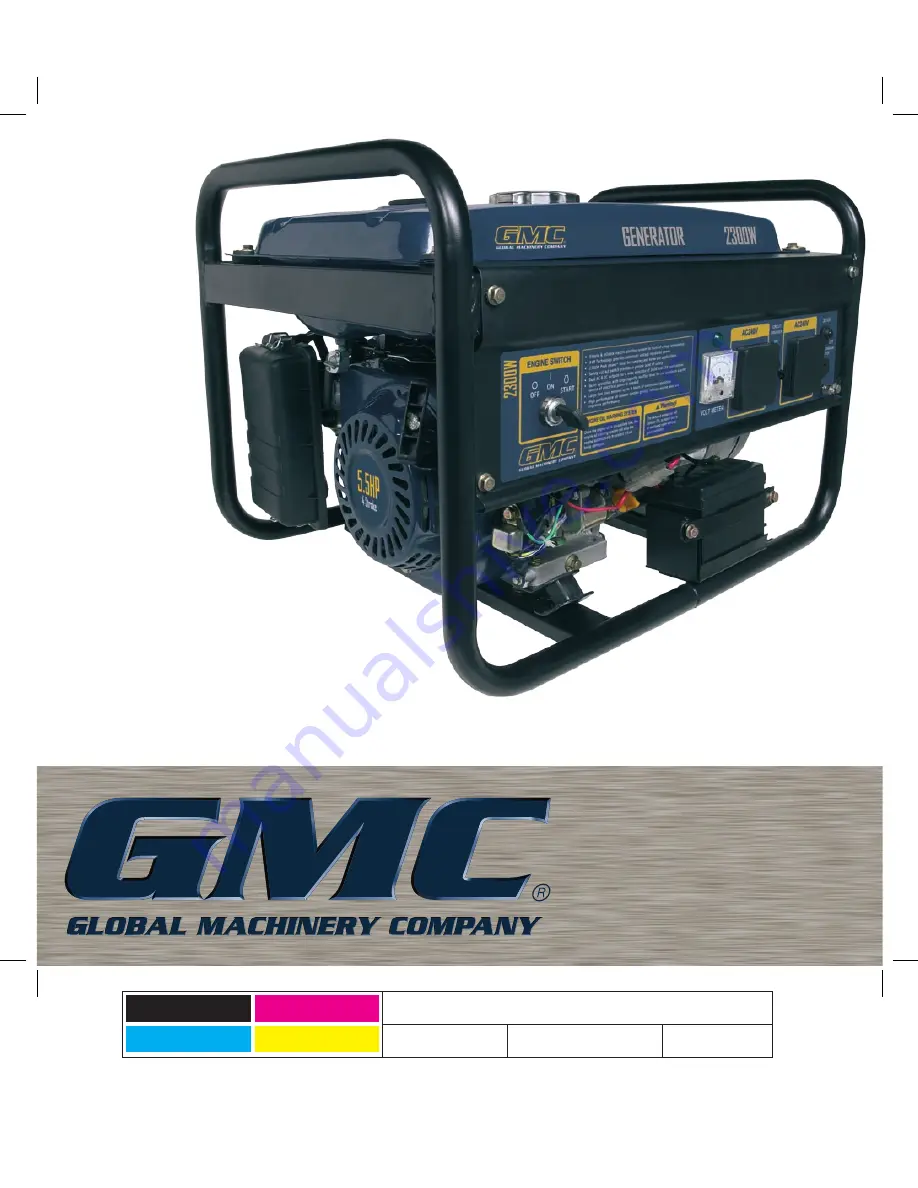
2300W
AVR PETROL
GENERATOR
WITH ELECTRIC KEY START
GEN2300ES INSTRUCTION MANUAL
Page 1: ...Black Cyan Magenta Yellow Code GEN2300ES IM Date 080219 Edition 04 Op DJ 2300W AVRPETROL GENERATOR WITHELECTRICKEYSTART GEN2300ES INSTRUCTION MANUAL ...
Page 2: ...lease refer to our website www gmcompany com For prompt service we suggest you log your service request online www gmcservice com au Should you not have access to the internet please contact our service department on 1300 880 001 Australia or 0800 445 721 New Zealand 2 Warranty 2 Introduction 3 Environmental protection 3 Scope of product 3 Description of symbols 3 Specifications 3 Safety instructi...
Page 3: ...en to the local recycling centre and disposed of in an environmentally safe way Scope of product This product is suited for home camping and caravan applications It will allow you to power outdoor lights power tools and recharges your car battery Note For sensitive equipment like computers sound systems televisions microwaves etc it is highly recommended to have a surge protector connected to the ...
Page 4: ...or use reduces the risk of electric shock Personal safety Stay alert watch what you are doing and use common sense when operating a power tool Do not use a power tool while you are tired or under the influence of drugs alcohol or medication A moment of inattention while operating power tools may result in serious personal injury Use safety equipment Always wear eye protection Safety equipment such...
Page 5: ...l s operation If damaged have the power tool repaired before use Many accidents are caused by poorly maintained power tools Keep cutting tools sharp and clean Properly maintained cutting tools with sharp cutting edges are less likely to bind and are easier to control Use the power tool accessories and tool bits etc in accordance with these instructions and in the manner intended for the particular...
Page 6: ...d charge conductive surfaces in contact with the generator Place generator on low conductivity surface such as a concrete slab ALWAYS operate generator a minimum of 2 meters from any conductive surface Use of worn damaged or ungrounded extension cords Contact with worn or damaged extension cords could result in electrocution Use of ungrounded cordsets could prevent operation of circuit breakers an...
Page 7: ...Engine speed has been factory set to provide safe operation Tampering with the engine speed adjustment could result in overheating of attachments and could cause a fire Never attempt to speed up the engine to obtain more performance Both the output voltage and frequency will be thrown out of standard by this practice endangering attachments and the user Inadequate ventilation for generator Materia...
Page 8: ...erator in clean dry well ventilated area Never operate unit in enclosed areas such as garages basements storage sheds or in any location occupied by humans or animals Keep children pets and others away from area of operating unit Risk of unsafe operation Hazard What could happen How to prevent it Operation of generator in careless manner All sources of energy include the potential for injury Unsaf...
Page 9: ...ing operation These parts are covered by guarding to prevent injury Never operate generator with guarding or cover plates removed Avoid wearing loose fitting clothing or jewellery which could be caught by moving parts Risk from lifting Hazard What could happen How to prevent it Lifting a very heavy object Serious injury can result from attempting to lift too heavy an object When lifting always kee...
Page 10: ...ot stand close to the unit whilst it is in operation Ensure bystanders also keep their distance Ground earth your generator Ensure that the generator has been ground by using an earth lead Simply connect one end of the Earth lead to the generator where marked and the other end should be pressed into the ground Ensure the generator has oil Before commencing the generator ensure that the unit has be...
Page 11: ...inal 7 Oil filler cap 8 AC sockets 9 DC socket 10 Key start ignition 11 Oil drain 12 Tap extension fuel filter 13 Air filter cover 14 Choke lever 15 Spark plug 16 Fuel drain 17 Muffler 18 Exhaust 19 DC plug 20 Fuel valve 21 Voltmeter 22 Battery 23 Recoil starter 16 15 2 3 1 9 5 6 4 14 8 13 20 12 20 19 11 21 10 17 18 7 22 23 ...
Page 12: ...dmit dust dirt water or other foreign objects into the fuel Wipe off spilt fuel thoroughly before starting engine Ensure you DO NOT fuel the generator in close proximity to any open flames Checking the engine oil The motor of this generator is not filled with oil Prior to starting the motor ensure the crank case is filled with SAE 30 4 stroke oil Damage to the motor is not covered under warranty i...
Page 13: ...from the tank to the motor 5 Once you hear the motor operating release the key to allow the position to move from START to ON Fig F 6 Push the choke lever 14 back to the position towards the front of the generator This position will switch the choke off Starting the engine manually Note Follow steps 1 to 3 of the Starting the engine with key start section 4 Turn the key start ignition 10 clockwise...
Page 14: ...ies Charging the battery 1 Disconnect the leads from the battery 2 Fully loosen the battery fluid filler caps 3 Fill the battery cells with distilled water to the upper limit if the battery is empty 4 Measure the specific gravity fluid by using a hydrometer and calculate the charging time in accordance with the table shown 5 For a fully charged battery the specific gravity range shall be within 1 ...
Page 15: ...ur when various loads are connected and disconnected It is NOT recommended to connect any electronic equipment to the generator without a voltage or surge protector Computers televisions and stereo equipment can be very sensitive to the input supply and could be damaged if protective equipment is not used in conjunction with this generator This also includes caravans where electronic equipment is ...
Page 16: ...enerator accordingly 5 When re connecting appliances reduce the load to that which previously overloaded the generator Generator maintenance Your generator should be kept clean and dry at all times The generator should not be stored or operated in environments that includes excessive moisture dust or any corrosive vapours If these substances are on the generator clean with a cloth or soft bristle ...
Page 17: ...lace if necessary Valve clearance Check and adjust when engine is cold Fuel line Check fuel hose for crack or damage Replace if necessary Exhaust system Check for leakage Retighten or replace gasket if necessary Check muffler screen Clean replace if necessary Carburetor Check choke operation Starting system Check key start ignition operation Decarbonisation More frequently if necessary Fittings fa...
Page 18: ...e removing the oil drain cock 11 so that the oil can be completely drained 4 Check the oil drain cock 11 gasket oil filler cap 7 and O ring If damaged have these replaced 5 Reinstall the oil drain cock 11 6 Add engine oil to the upper level Recommended 4 stroke engine oil is SAE 30 CAUTION Check that no foreign material debris dust enters the crankcase Air filter It is very important to maintain a...
Page 19: ...amp back from the end of the hose by approx 25mm Slide the fuel hose off the outlet of the tap 20 Fig O 3 Loosen the lock nut locking the tap 20 on to the tank Fig P Unscrew the tap from the tank and withdraw the tap from the tank Be careful not to lose the small seal on the thread of the tap 4 Unscrew the tap extension fuel filter 12 Fig Q Note This filter can be cleaned in petrol to remove any b...
Page 20: ...may cause damage to internal parts 2 Some maintenance products and solvents may damage the plastic parts these include products containing benzene trichloroethylene chloride and ammonia 3 Use a vacuum to clean air inlet and outlet louvres of the alternator 4 Take special care to keep the ventilation inlets outlets free from obstruction cleaning with a soft brush followed by a compressed air jet wi...
Page 21: ...t off valve 6 Unit loaded during start up 6 Remove load from unit 7 Spark plug wire loose 7 Attach wire to spark plug No electrical output 1 Faulty receptacle 1 Have service centre replace receptacle 2 Circuit breaker kicked out 2 Depress and reset 3 Worn Brushes 3 Have service centre replace brushes 4 Faulty power cord 4 Replace cord Repeated circuit breaker tripping 1 Overload 1 Reduce load 2 Fa...
Page 22: ...22 ...
Page 23: ...23 ...
Page 24: ...ew Zealand 7am 7pm 7days a week AEST Please note that if repair or replacement is required you must provide a valid original purchase receipt You will need the following details at hand to log your service request Personal details First Last name address pick up address contact phone numbers email address Product details Product number date of purchase retailer bought from State postcode receipt n...