How To…
6
Google Earth Map – this allows you to overlay a Google Earth map of the area where your experiment was conducted
with the data from the sensors in that experiment. You must have an Internet connection for this to work properly.
Data is displayed as colored dots, with different colors representing different measurements. If multiple sensors were
used, touch the legend on the far right to select which set of data to display. Touch an individual dot to see a pop up
with the exact measurement for that data point.
Use the Labdisc Sensors
When using any of the Labdisc sensors, be sure to rotate the outer ring so that the sensor is exposed to the environment
during the experiment unless otherwise noted.
Ambient Temperature Sensor
No additional set up is needed for the Ambient Temperature sensor. This sensor is best when used for data collections
longer than 30 minutes. Because it is an internal sensor, it may take up to 15 minutes to equalize to the environmental
temperature. The Ambient Temperature sensor is primarily used for long term, environmental temperature
measurements. The Ambient Temperature sensor can be set to measure in either Celsius or Fahrenheit. To set this, use
the configurations menu on the Labdisc or your computer.
Barometric Pressure Sensor
No additional set up is needed for the Barometer, but be sure that the outer ring of the Labdisc is rotated to a fully open
position to ensure that the sensor is exposed to the environment. Barometric pressure is measured in millibars (mb).
Standard sea level pressure is 1013.23 mb
Colorimeter
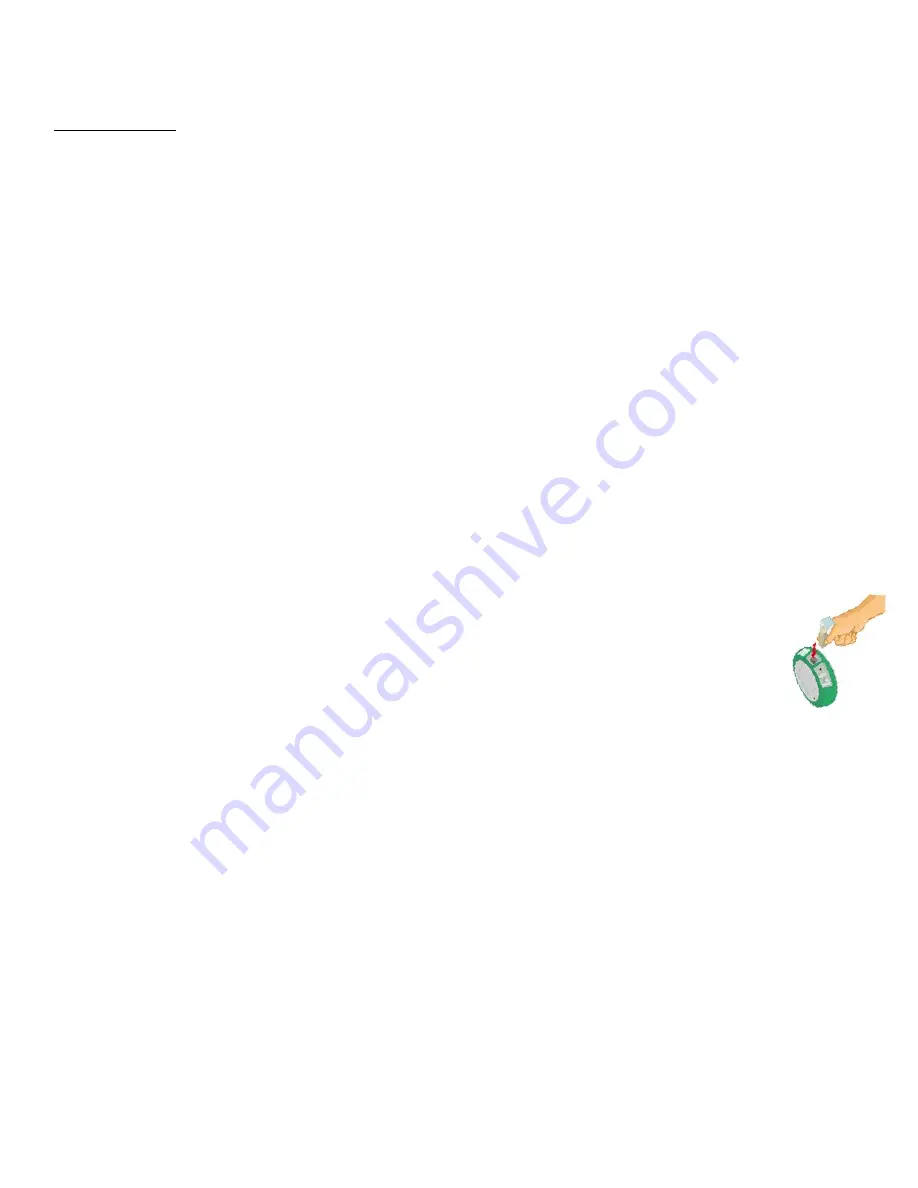
Before each use, calibrate the colorimeter with the solvent you will use during the experiment to help minimize
experimental error. To calibrate, fill the cuvette ¾ full with solvent (often distilled water) and place the
cuvette in the output. Press and hold the colorimeter button on the Labdisc until you hear a long beep.
When finished the calibration, remove the cuvette from the colorimeter. To take a data reading, fill the
cuvette ¾ full with solution from the sample. Be sure to ALWAYS hold the upper part of the cuvette to
avoid leaving fingerprints on the cuvette. Insert the cuvette into the appropriate space and, keeping the
top of the cuvette pointed upwards; rotate the outer protective ring shut over the cuvette.
Dissolved O2 Sensor
Prior to first use, unscrew the membrane module at the bottom of the electrode. Rinse the membrane module with
distilled water and blot dry. Completely fill the membrane module with dissolved oxygen electrolyte solution for
Galvanic DO Probes. Rinse the internal anode/cathode element with distilled water and blot dry. Screw the membrane
module onto the end of the electrode being careful not to over tighten. Rinse with distilled water. Attach the Dissolved
O
2
sensor to the input bracket by inserting and turning ¼ turn. Use an aquarium pump to bubble air through 100 ml of
water in a 150 ml beaker to completely saturate the water with oxygen, stirring gently with the DO sensor. Keep the
sensor at a 20
◦
angle to avoid trapping air bubbles in the sensor. After 20 minutes, hold the Labdisc DO2 key down for 3
seconds until you hear a long chirp. The Labdisc should read 8.25 mg/l with is the reading for water saturated with
oxygen at room temperature. To use, insert the sensor into the liquid sample and stir slowly and continuously until the
value on the Labdisc stays constant. Dissolved O
2
is measured in milligrams per liter (mg/l)
External Temperature Sensor
Plug the External Temperature sensor into the outlet in the Labdisc and insert the tip (at least 2cm) into the item/area
where temperature is being measured. The External Temperature sensor is suitable for taking environmental
temperatures as well as the temperature of liquids and loosely packed solids like soil or sand. The External Temperature


