Page 126 | 167
Apply a template to multiple routers
If you have created a template, then want to apply this template to multiple
routers. This procedure is similar to that applied to a single router. On
the
Device List
page, multiple select routers, then click
Bulk Action
,
click
Modify Configuration
item. It will pop up a dialog
Configure batch
modification
.
On the top right corner of the dialog, you can choose a template that has
already created. Then click
Apply
button on the bottom right corner.
It will pop up another dialog to review the configuration of the template,
scroll down to the bottom to click the
Confirm
button, it will load the
configuration of template overwrite to this time modification.
Click
Apply
button, please note that the router will restart to take effect
after click the
Apply
button.
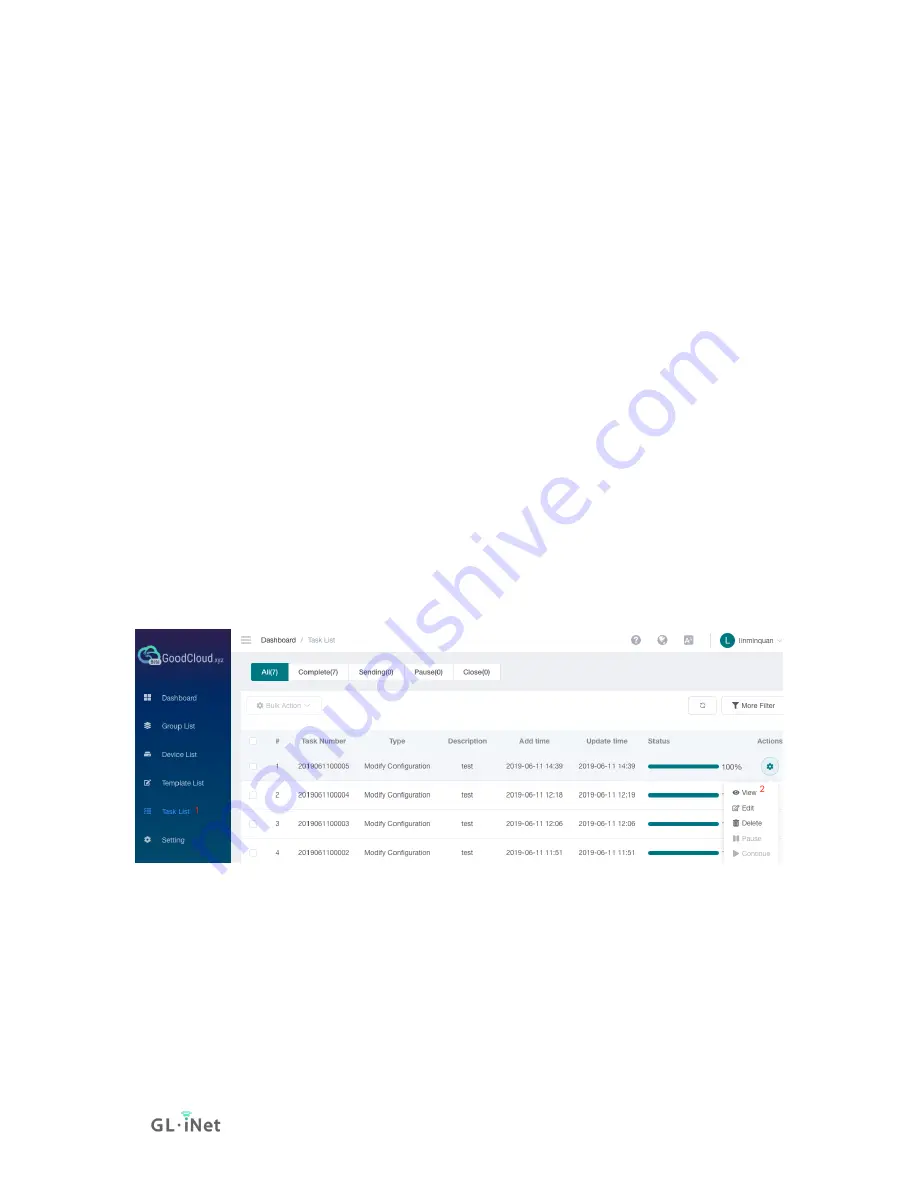
Task List
At task list page, it shows the execution result of the configuration
template.
Note: This feature is only available to business users.
You can view the execution result of each device and configuration.
Summary of Contents for GL-AXT1800
Page 1: ...Slate AX GL AXT1800 USER MANUAL ...
Page 7: ...Page 2 167 1 1 Specification ...
Page 8: ...Page 3 167 1 2 PCB Pinout ...
Page 12: ...Page 7 167 After the initial setup you will enter the web Admin Panel of the router ...
Page 15: ...Page 10 167 ...
Page 34: ...Page 29 167 ...
Page 35: ...Page 30 167 Guest WiFi ...
Page 40: ...Page 35 167 ...
Page 45: ...Page 40 167 ...
Page 53: ...Page 48 167 2 Select protocol max server count of each location locations then click Apply ...
Page 58: ...Page 53 167 5 Go to VPN Dashboard to enable the connection ...
Page 61: ...Page 56 167 2 Apply the configuration ...
Page 66: ...Page 61 167 Advanced Configuration ...
Page 76: ...Page 71 167 Give a descriptive name and paste the configuration click Apply to continue ...
Page 77: ...Page 72 167 Or you can add configuration by fill in each item click Item Mode ...
Page 78: ...Page 73 167 ...
Page 79: ...Page 74 167 4 Go to VPN Dashboard to enable the connection ...
Page 84: ...Page 79 167 Set More is for advanced settings ...
Page 85: ...Page 80 167 Click Apply to continue It will generate a profile ...
Page 94: ...Page 89 167 Click Processed to xxxxxxx glddns com unsafe to continue ...
Page 95: ...Page 90 167 Then it will access the web Admin Panel ...
Page 96: ...Page 91 167 ...
Page 111: ...Page 106 167 Device info WiFi Modify all WiFi settings Router status ...
Page 134: ...Page 129 167 ...
Page 136: ...Page 131 167 ...
Page 138: ...Page 133 167 When a disk is found Set up Samba Toggle to enable Samba click Apply ...
Page 141: ...Page 136 167 That is it The access link can be found in Shared Link ...
Page 145: ...Page 140 167 That is it The access link can be found in Shared Link ...
Page 148: ...Page 143 167 Enter the Samba access link Then click Next ...
Page 149: ...Page 144 167 Give a name of this location Click Next ...
Page 150: ...Page 145 167 Click Finish ...
Page 160: ...Page 155 167 ...
Page 164: ...Page 159 167 Manual DNS DNS Proxy ...


