Getting started
17
© 2010 GIGA-TMS Inc.
2.4
Time Synchronization
The TR610 features time synchronization using SNTP (Simple Network Time Protocol, see
Configuring Time Synchronization
These instructions apply to the onscreen setup, based on the assumption that they will be done
immediately after
. They can also be done using the
interface.
1. Scan your master card to go into the onscreen setup, if you are not yet there.
2. Go to Setup > Date/Time > Time Server. By default, the SNTP server used is 192.43.244.18,
which is the IP address for time.nist.gov. Ordinarily, there should be no reason to change the default
value. Make sure this is the correct value, or enter another one if you wish to switch to another SNTP
server.
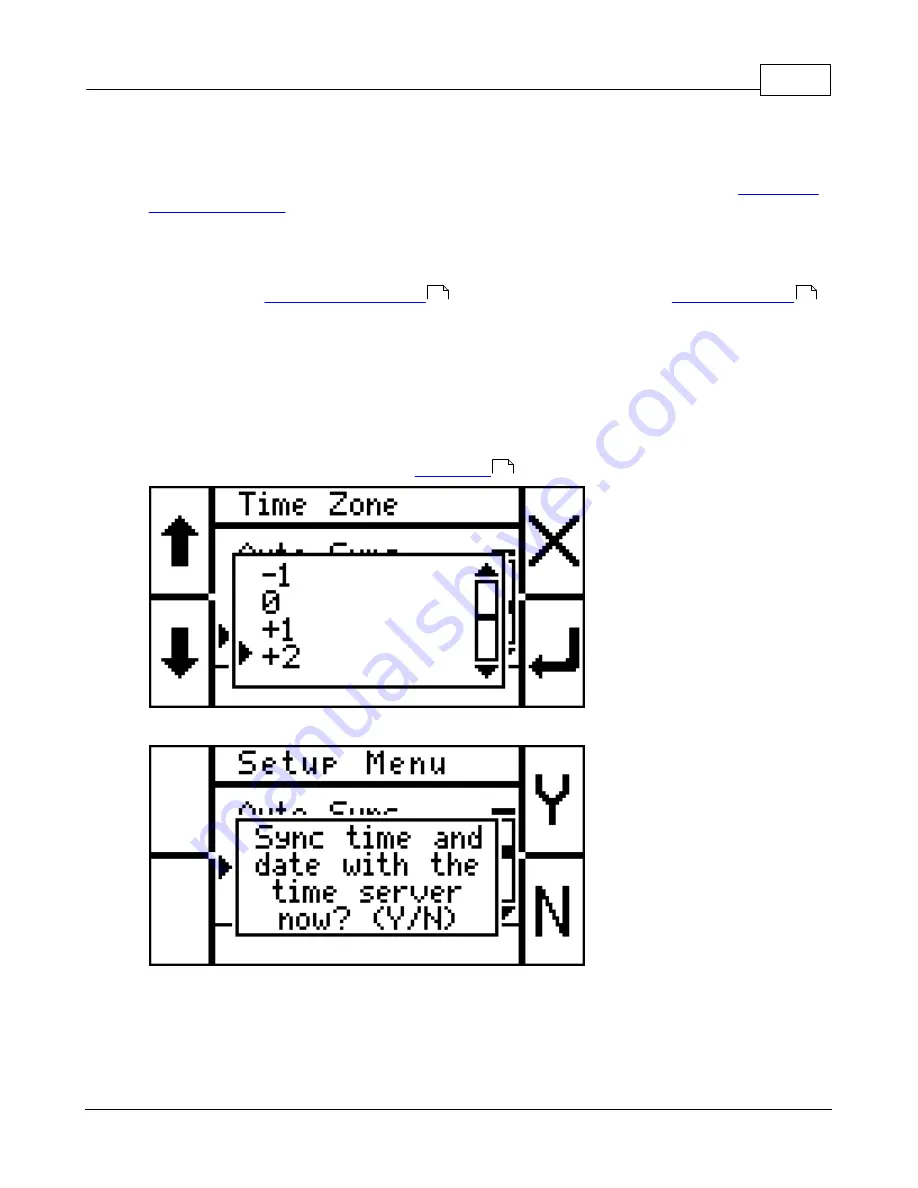
3. Go to Setup > Date/Time > Time Zone and select your current time zone (relative to UTC/GMT --
you can look for your time zone in the
section of this manual):
4. Now test it: Go to Setup Date/Time > Sync Now. You will get the following prompt:
5. Select Y (yes) and watch the screen. If all goes well, time sync should work now. If it fails for some
reason, re-check your network settings and Time Server address.
Configuring Auto-sync
Auto-sync allows the TR610 to connect to the timeserver once a day, and re-set its internal clock so
15
22
66
Summary of Contents for PROMAG TR610
Page 4: ...Part I ...
Page 7: ...Part II ...
Page 20: ...Part III ...
Page 50: ...TR610 User s Manual 50 2010 GIGA TMS Inc ...
Page 51: ...Part IV ...


