


11.2.1.3.1
L
OADING
P
RESETS
Proceed as follows:
1.
Tap on the
[Preset]
field.
2.
Tap once on the preset you want to load.
3.
Tap
[Load]
in the Feature Shelf.
The dialog closes automatically, and the new preset is active.
11.2.1.3.2
S
AVING
N
EW
P
RESETS
In preparation please check whether the
[Preset]
f
ield contains the name “
Custom Setting
”
or “
Cus-
tom Setup
”
. This indicates that values have changed and differ from those stored with the active
Trigger Bank
or
Setup
.
Trigger Preset Fields
With
Custom Setup/Setting
visible proceed as follows:
1.
Tap on the
[Preset]
field.
2.
Tap
[New]
in the Feature Shelf
3.
Name your preset using the keyboard.
4.
Confirm by tapping
[OK]
.
Hint:
A newly created trigger bank will be added to the preset library only. It is not automati-
cally stored with the active setup. To ensure that the new preset loads with the setup, you will
have to store the setup afterwards as well. If not, previous trigger banks will be remembered
the next time you load the setup.
11.2.1.3.3
D
IRECT
S
TORAGE OF
P
ARAMETER
V
ALUES
-
S
ETUPS
The G9 allows for storing parameter values directly into the setup without saving individual presets for
trigger banks. Instead of a preset name, the
Trigger bank field
will display “
Custom Setting
”
. This is
the case, when parameter values differ from an existing preset. It is still possible to save custom
settings as a preset later and make certain parameter values available for other setups as well.
Two options of direct storage are available:
a.
Overwrite an existing setup
b.
Create a new setup
If you choose direct storage of parameter values proceed as follows:
1.
Tap the
[Setup]
field to open the
Trigger Setup Selection
browser.
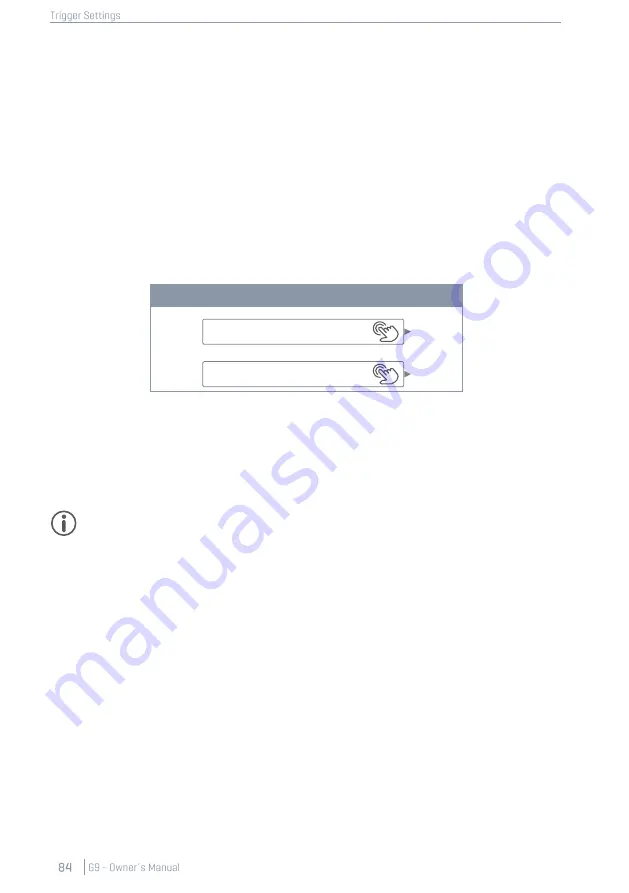
Setup
Custom Setup
Trigger Bank
Custom Setting
Summary of Contents for G9
Page 1: ...CONTENT ...
Page 2: ......
Page 3: ......
Page 4: ......
Page 5: ......
Page 6: ......
Page 7: ......
Page 8: ......
Page 9: ......
Page 10: ......
Page 46: ......
Page 70: ......
Page 86: ......
Page 97: ...The following table lists all parameters available by component ...
Page 114: ......
Page 176: ......


