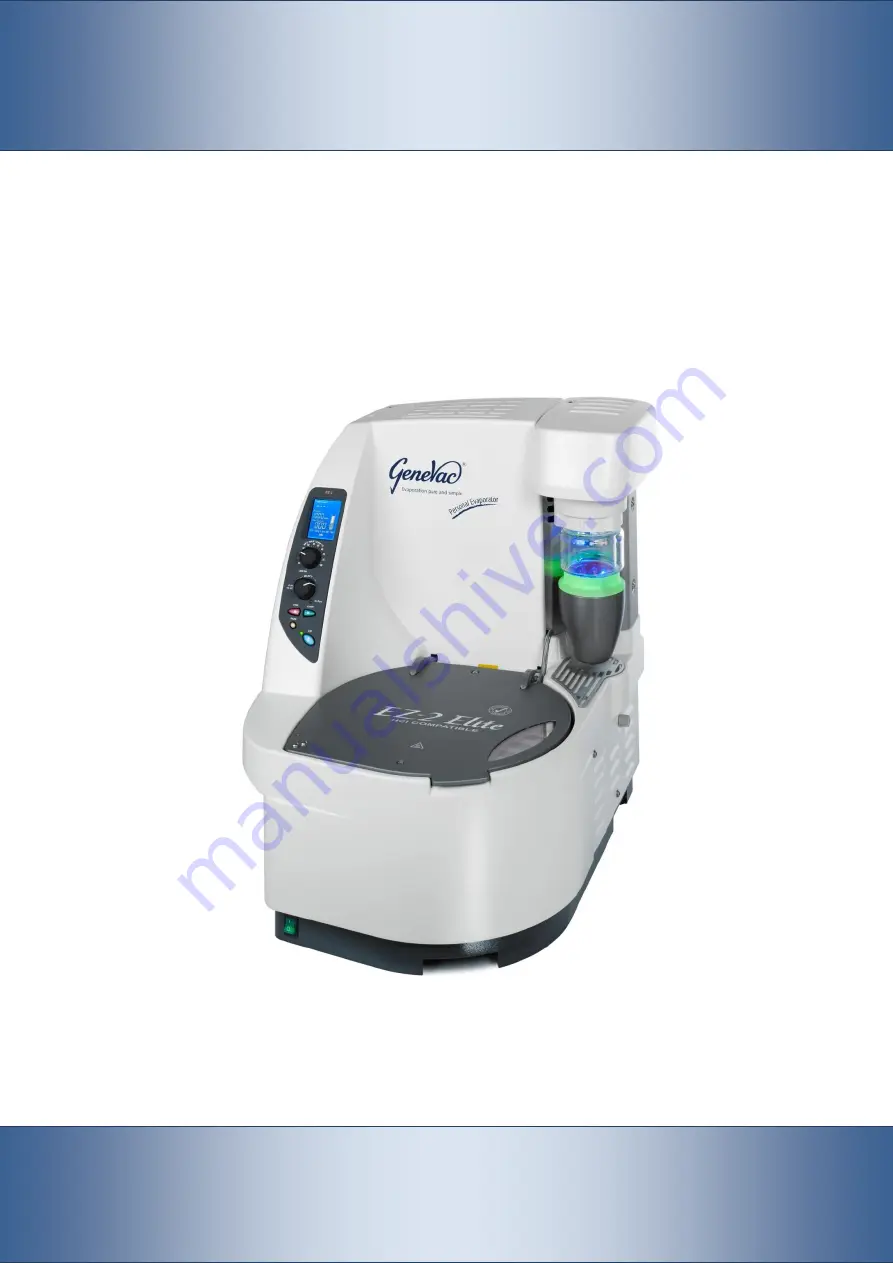
Genevac EZ-2 Elite Personal Evaporator
User Manual
Original instructions
Part number 04-6921 Issue 3-3 August
2014
Page 1: ...Genevac EZ 2 Elite Personal Evaporator User Manual Original instructions Part number 04 6921 Issue 3 3 August 2014 ...
Page 2: ......
Page 3: ...our 25 Set max temp 26 System information 26 Method ID 26 View method 26 Dri Pure 26 Wait to cool 27 Wait to heat 27 Inert Gas Purge 28 Inert gases 28 Set Password 28 Inert gas purge enable 28 Inert gas blanket 29 Disconnection 29 Maintenance 30 Recommended practice 30 System test 31 Periodic maintenance 31 General cleaning 32 Sample holders 32 IR sensor 32 Inert gas purge systems 33 Planned maint...
Page 4: ...Genevac EZ 2 Elite Personal Evaporator User Manual 2 04 6921 Issue 3 3 August 2014 Overview 1 5 6 2 3 4 11 10 9 8 7 ...
Page 5: ...intenance super high vacuum pump provides wide solvent compatibility from low to high BP 7 Rotor Compatible with a wide range of Genevac sample holders which can accommodate most common sample formats round bottom flasks up to 500 ml in volume tubes up to 160 mm in length custom reaction blocks and shallow or deepwell microplates EZ 2 is also compatible with the revolutionary Genevac Sample Genie ...
Page 6: ...ot start or restart a system without checking it is evenly loaded Do not place objects on top of the evaporator Check the condenser has been drained before starting the evaporator Take care when removing the condenser jar It is heavy when full of solvent Inspect the condenser jar frequently Do not use it if it is cracked or damaged in any way Do not allow the condenser jar to fill above the MAX li...
Page 7: ...to the safety earth conductor For systems with multiple power leads each lead requires a separate earth connection and must be plugged into a separate power socket which is connected directly into the laboratory electrical supply do not use extension leads This equipment is an installation class II product and is intended to operate from a normal single phase supply Emergency shutdown All Genevac ...
Page 8: ... COMPATIBLE do not attempt to evaporate this class of solvent If the lid is marked HCl COMPATIBLE the system is compatible with HCl Note HCl COMPATIBLE implies only resistance to HCl vapours Any liquid spillage should be cleaned up immediately and in compliance with your local solvent spillage procedures Low auto ignition point solvents Warning Risk of vapour ignition Do not attempt to evaporate d...
Page 9: ...n shown briefly before the EZ 2 Elite powers up fully Standby mode While the system is idle press the STOP button to enter standby mode In standby mode The backlight LCD screen shows the software version The LCD screen back light is switched off The condenser is powered down The lid cannot be opened Methods cannot be viewed Settings cannot be adjusted To restart the system press any button The eva...
Page 10: ...sample temperature setting 3 SELECT control Turn and press to browse and select method options 4 Start Stop buttons Press the appropriate button once to start or stop an evaporation 5 Pause button Press once to pause and again to restart an evaporation 6 Lid LED Green LED lights up when it is safe to open the lid 7 LID unlock button Press the button once to unlock the lid 8 Dri Pure LED Yellow LED...
Page 11: ...d Note Time remaining is unknown throughout most of the evaporation when the method setting Run to AutoStop is selected 4 Method description Available methods and method parameters interacts with the SELECT control to allow the user to browse and select settings 5 Status The current status of the evaporator If a fault or error is encountered a reference number and a brief description of the proble...
Page 12: ...ppears on the display If the LID button is pressed while the evaporator is operating or during the countdown a double beep sounds and the lid remains locked The countdown also appears when the evaporator is first powered up When the countdown reaches 0 a short beep sounds and the lid LED lights up to indicate that the lid can be opened The lid also remains locked when the system is switched off or...
Page 13: ... within this user manual Start up procedure 1 Switch on the power 2 Press the START button and wait for the safety countdown to complete 3 Make sure the condenser has been drained 4 When the lid LED lights up press the LID button 5 Open the lid 6 Load the balanced sample holders onto the rotor 7 Close the lid Using the SET MAX TEMP C control set the desired maximum temperature 8 Using the SELECT c...
Page 14: ...nd the display reverts to showing the method status Once evaporation commences the EZ 2 controls the temperature of the sample holders the sample control temperature may be adjusted at any time during operation or when the EZ 2 is in idle mode Note The evaporator controls the sample holder temperature Due to evaporative cooling the actual sample temperature during evaporation may be considerably l...
Page 15: ...ers are used follow this guidance at all times Only use swings and sample holders that are approved for the system it is particularly important to check this if more than one Genevac system is in use Only use the tubes or vials that are approved for the sample holder incompatible tubes may appear to fit a holder they could be too long when loaded onto the rotor Use matched pairs of sample holders ...
Page 16: ...amples in the evaporation chamber can be subject to a centrifugal force approximately 500 times greater than gravity Balance the sample holders to within 10 g Distribute tubes in balanced configurations in the sample holders Load the sample holders carefully making sure they are located correctly on the rotor pins Place both sample holder swings onto the rotor Rotate the rotor by hand Check that a...
Page 17: ... a preset time For heatflow to function adequately 50 of the holder must be filled with samples each tube must be at least 50 full and the sample temperature selector must not be set to LAMP OFF The Heatflow method is inappropriate in situations where little or no heat is required from the IR lamp such as when small volumes of volatiles are evaporated at low temperature In this instance the system...
Page 18: ...pecific method is selected and the START button is pressed during the warm up period the EZ 2 Elite spins the rotor to perform a balance test then stops to wait for the pump to warm up before beginning the evaporation the warm up time remaining time is shown on the LCD screen The system also warms the pump when restarted from standby the warm up time is reduced proportionately if the system has on...
Page 19: ... conditions ice may form in the jar If this happens select defrost Waste solvent boiling and reflux in the condenser jar during evaporation is normal Automatic defrost and drain Condenser defrosting and draining is fully automatic and occurs at the end of every evaporation for some methods it also occurs periodically during evaporation Once an automatic defrost and drain cycle commences it should ...
Page 20: ...various modes of operation For more information refer to Troubleshooting Visual alerts Waste solvent container Check the condition of the waste solvent container waste solvent drain hose and exhaust hoses regularly Drainage of waste solvent into the waste solvent container by gravity must be unimpeded by kinks sharp bends uphill sections or other constrictions The waste solvent container must be b...
Page 21: ... at 0ºC is anticipated but bumping is not expected 100 C High BP Less volatile solvents where bumping is not expected excluding water 90 C Very Low BP Mix Mixtures of very volatile solvents where bumping may be expected Volatile component s 50 C non volatile 90 C Low BP Mix Mixtures of volatile solvents where bumping can be expected All components of mixture 50 C to 90 C Aqueous NH3 or Aqueous HCl...
Page 22: ...anol Petroleum ether pet ether Butanone MEK 1 Propanol Butyl acetate 2 Propanal IPA iso propanol tert Butyl alcohol tert butanol Propanone Acetone Chlorobenzene Pyridine Chloroform CHCl3 Sodium hydroxide aqeous NaOH Cyclohexane Tetrohydrofruran THF 1 2 Dichloroethane DCE Thionyl chloride SOCl2 Dichloromethane DCM Toluene Diethyl ether p Trichloroacetic acid TCA Diisopropyl ether DIPE Triethylamine...
Page 23: ...sentative who will be happy to assist in optimising a method Note When choosing a method the boiling point of the solvent s under vacuum is critical although a solvent has a relatively low boiling point at atmospheric pressure its behaviour under vacuum may differ For further advice on selecting and optimising methods please contact your local Genevac representative or email applications genevac c...
Page 24: ...installed prior to delivery or at any time during the life of the EZ 2 Elite File transfer The file transfer function allows new methods to be transferred to the EZ 2 via a USB data key not supplied To copy method from a USB data key to the EZ 2 1 Create a root folder called EZ2 on a USB data key and copy the method files to it 2 Plug the data key into the USB port located on the left hand side of...
Page 25: ... SELECT control to browse the available options and enter the required settings The new setting is accepted after a three second thinking time delay acceptance is confirmed by a short beep When parameters are adjusted while evaporation is in progress the following rules apply The time elapsed is not reset The method advances to a later stage if the new stage time exceeds the time already elapsed T...
Page 26: ...e allocated time or time to final stage being divided proportionately between them Note When setting the time to final stage make sure enough time has been allocated for any Dri Pure stages Options Select one of two options for time to final stage Preset May be a specific time defined within the method or may be automatic detection using HeatFlow hh mm Adjust the time setting manually How to set 1...
Page 27: ...0 to select Preset 4 Press the SELECT control to enter the setting Reduce odour The Reduce Odour function adds a repeated vent and vacuum cycle to the end of a method which purges the evaporation chamber of residual solvent vapours Select 100 mbar for low boiling point solvents select 50 mbar or 20 mbar for higher boiling point solvents Experimentation may be required to find the most effective se...
Page 28: ... press the SELECT control View method Parameters of the selected method can be viewed using the SELECT control Global parameters apply to the entire method Stage parameters apply only to the specified stage To view the current pressure inside the vacuum system or the condenser gas temperature press the SELECT control and turn untill the display shows System information then press and turn to displ...
Page 29: ...side of the evaporation chamber to assist the process During the Wait to Cool stage the rotor spins the display timer icon animates and the message Wait to Cool appears on the LCD screen Before an evaporation method commences the EZ 2 Elite checks the evaporation chamber temperature If the chamber temperature is not within a specified range the system automatically selects a Wait to Heat stage Pre...
Page 30: ...r Do not switch off the evaporator or the inert gas supply until the evaporator has stopped the condenser has been drained and samples have been removed Inert gases Nitrogen or argon which must be dry are suitable for use with the inert gas purge system Consult your Genevac representative for advice before using an alternative gas Set Password An Inert Gas Purge Password can be set to prevent unau...
Page 31: ...as Blanket activates at the end of every evaporation regardless of which method is selected The inert gas blanket is maintained by a five second inert gas puff which occurs once every two minutes Do not switch off Inert Gas Blanket until condenser draining is complete To enable inert gas blanket go to the Maintenance menu and select Inert Gas Blanket Note If both Inert Gas Blanket and Reduce Odour...
Page 32: ...lled in a fume cupboard Before use Check empty the exhaust catch pot as necessary Check drain the condenser Check the condition of sample holders and where used swings before every use To help protect the vacuum pump enable the Reduce Odour function before evaporating strong acids After use Drain the condenser after every use After evaporating strong acids clean the evaporation chamber and sample ...
Page 33: ... the vacuum fails to reach a sufficient level contact Genevac service for advice Check the condition of the exhaust hose and waste solvent drain tubes Make sure the exhaust hose takes solvent vapours away from the system safely Avoid forming U bends in the pipe as this could cause condensed solvent to gather and block the line Make sure that waste solvent drains freely The drain hose should not ha...
Page 34: ...he IR sensor using methanol or ethanol applied to a cotton bud or similar implement IR sensor IR lamp glass Clean the sample holders regularly or following any incident that involves glass breakage or solvent spillage Note The most common cause of repeat glassware breakage is fragments from a previous breakage which have become stuck to the sample holder wells Visually inspect the swings and sampl...
Page 35: ...consider the use of low auto ignition point solvents and should include provision for maintenance and testing In the unlikely event of solvent detonation occurring internal components must be checked and where necessary replaced before continuing to use the evaporator Contact Genevac Service for assistance Planned maintenance and servicing Whilst every effort is made to design and manufacture evap...
Page 36: ...mblies consists of lamp lamp holder glass and seals Warning Risk of burns The IR lamp and surrounding areas may be hot after system has been in use Allow the IR lamp to cool before proceeding IR Lamp removal 1 Open the lid 2 Isolate the EZ 2 from the mains power supply 3 Using a 4 mm Allen key unscrew three securing screws and remove the lamp access panel from the right hand side of the EZ 2 Lamp ...
Page 37: ...mp glass assembly away from the EZ 2 chamber and disengage the retaining clip on the right hand side 3 Remove the lamp glass assembly from the EZ 2 Refitting 1 Check all parts are clean and undamaged also check the sealing face of the EZ 2 chamber is undamaged 2 Fit the lamp glass assembly to the EZ 2 make sure the O rings are properly seated hold the assembly in place while refitting the lamp gla...
Page 38: ... 2 Position the new lid seal on top of the vacuum chamber wall with lip pointing towards the centre 3 Firmly work the lid seal into position using only fingers press the seal fully home Testing 1 Close the lid 2 Select System Test 3 Set the sample temperature to 60ºC 4 Press the START button 5 Ensure that the pressure drops below 500 mbar and continues to drop Note Manual pressure may be required ...
Page 39: ... Elite 5 When the screen shows START TO INSTALL STOP TO CANCEL press the START button On completion the screen shows UPDATE COMPLETE Systems without USB port For systems built before March 2014 serial numbers up to 3697 software updates can be sent on a data key Software data key To upload software 1 Switch off the EZ 2 Elite 2 Remove the EZ 2 Elite lower serial port blanking cap located on the ba...
Page 40: ...etain the packaging In the unlikely event that the EZ 2 Elite needs to be returned to Genevac the packaging can be reused Replacement packaging may be supplied but will be subject to a charge for the material and any shipping costs incurred Lifting Make sure enough people are present to share the lifting safely Carefully lift the EZ 2 Elite slightly at first to feel the weight and to find the cent...
Page 41: ...be easily accessible for emptying There must be provision to connect the exhaust PTFE hose 6 mm ID 8 mm OD to a suitable laboratory fume extraction system and to connect two power cables to mains power outlets 1 Exhaust to fume extraction 2 Condenser drain hose 3 Waste solvent container 4 Pump control cable 5 Two power cables 6 Pump exhaust hose 7 Vacuum hose Note The EZ 2 Elite may be placed in a...
Page 42: ... outlet and twist it so the outlet faces the desired direction Gas ballast Exhaust adapter Using the pump control cable electrically connect the vacuum pump to the evaporator Pump control cable Using the Klein Flange connectors and three metre vacuum pipe connect the vacuum pump to the evaporator vacuum inlet Waste solvent drain hose PTFE hose 6 mm ID 8 mm OD is supplied to form the waste solvent ...
Page 43: ...ing PTFE hose connect the pump exhaust to the waste solvent container Connect the third port of the waste solvent container to the laboratory fume extraction system Exhaust outlet To prevent drain failure or the possibility of waste solvent being drawn back up the drain hose make sure the ends of the hoses are above the maximum waste solvent level Connections to the waste solvent container should ...
Page 44: ...rator is installed each one must be connected to a suitable laboratory fume extraction system by a separate exhaust hose Genevac recommend that evaporators equipped with inert gas purge are installed by an authorised Genevac representative Final checks Before powering up refer to the following over view diagram and check all parts of the system are installed correctly Carry out a safety assessment...
Page 45: ...e condenser glass jar illuminates red if this happens contact Genevac service for advice Faults and errors In the unlikely event that an error occurs that could affect the physical condition of the evaporator or its ability to safeguard the integrity of the samples a critical error the system will stop automatically A fault number and a description of the problem appears on the LCD screen If a non...
Page 46: ...e Contact Genevac Service 18 23 24 Datakey test failed Data key failure Re programme or try different USB storage device 19 IR body temp IR sensor failure Contact Genevac Service 20 Err 20 Vibration sensing failure Contact Genevac Service 21 Chamber heat fail Fail to heat to start temp Contact Genevac Service 22 Chamber cool fail Fail to cool to start temp Contact Genevac Service 25 26 EEPROM erro...
Page 47: ...gas supply pressure too high IGP systems only Reset inert gas supply pressure regulator Refer to Technical Data Specifications 61 Gas supply low Inert gas supply pressure too low IGP systems only Check gas supply reset inert gas supply pressure regulator Refer to Technical Data Specifications 62 HeatFlow failed to arm some stages may run to time Sample volume too small sample temperature too low o...
Page 48: ...ection system to deactivate If this happens the evaporation continues for a predetermined time and then stops automatically Opening lid without power In the event of power failure the vacuum system vents automatically the rotor may take up to two minutes to stop spinning Once the rotor is stationary and the vacuum system is at atmospheric pressure inset a 2 5 mm Allen key into the hole in the lid ...
Page 49: ...ins power supply Mains power location Fuse rating Dimensions Manufacturer s description Part number 230 V 50 Hz Side 6 3 A 1 x SIBA 70 065 65 6 3 04 3587 230 V 50 Hz Rear 6 3 A 1 x SIBA 70 065 65 6 3 04 3587 120 V 60 Hz Side 10 A 1 x SIBA 70 065 65 10 04 3588 120 V 60 Hz Rear 10 A 1 x SIBA 70 065 65 10 04 3588 100 V 60 Hz Side 16 A 1 x SIBA 70 065 65 1 6 04 3766 100 V 60 Hz Rear 10 A 1 x SIBA 70 0...
Page 50: ... of the jar seal Vacuum pulls down to 500 mbar then rate slows dramatically Method includes a DriPure stage The system is operating correctly Vacuum pulls below 900 mbar but takes longer than usual or fails to achieve expected level of vacuum Condenser jar seal damaged Contact Genevac service Lamp glass cracked Stop evaporator inspect replace lamp glass assembly Refer to Maintenance section Conden...
Page 51: ...is Contact Genevac applications for advice Poor solvent recovery or excessive quantity of solvent in exhaust catch pot Incorrect method selected Check that method selected is most appropriate Condenser full Check condenser is drained after every use Vacuum leak Perform System test Condenser fuse failed Contact Genevac service Volatile solvent Contact your local Genevac agent to request special met...
Page 52: ...stant systems are built specifically to resist attack from HCl with all vulnerable parts being manufactured from inert material Inert gas purge The use of inert gas purge is mandatory for the safe evaporation of diethyl ether pentane and other low auto ignition point solvents In addition samples can be protected from reaction with elements in the air at the end of the evaporation process Infinity ...
Page 53: ... illustration shows just a few of the sample holders available Sample holders are manufactured in solid aluminium and are anodised to improve heat absorption The contact area is maximised to provide good physical support optimum heat transfer and even heat distribution for drying loads For further details of sample holders contact your local Genevac representative to request a Genevac Accessories ...
Page 54: ... conductive pollution occurs Inert gas supply requirments IGP option Max pressure 2 bar g 3 bar absolute Min pressure 1 5 bar g 2 5 bar absolute Flow rate nominal 50 litres min STP Max consumption purge cycle 250 litres Max consumption rate blanket 110 litres hour Hose length 2 5 m Connector type 3 8 BSP female Emissions Typical noise level is 69 dB A at one metre from the evaporator during normal...
Page 55: ... A technical construction file for this product is held at the above address Conformity is demonstrated by compliance to the following standards BS EN 61010 1 2010 Safety requirements for electrical equipment for measurement control and laboratory use General requirements BS EN 60204 1 2006 A1 2009 Safety of machinery Electrical equipment of machines General requirements BS EN 61326 1 2006 Electri...
Page 56: ...acuum pump failure the pump may be exchanged for a refurbished unit The owner is responsible for the exchange and return of the failed unit Failure to adhere to the above will invalidate the warranty and result in a charge being made for the cost of repairs This warranty does not cover accidental damage modification misuse or inappropriate repair by untrained personnel consumable items are covered...
Page 57: ...e protected by the following patents or patent applications 1297874 CH 1556149 6 682 631 699 18 734 6 08 1556149 FR 1196757 CH 2362590 2396575 600 07 636 9 08 1297873 CH 4465277 2351683 699 18 733 8 08 7 503 997 7 179 651 2363745 03769683 8 pending 1153278 FR 6 878 342 2395772 7 252 803 7461465 1556149 7 498 175 ...
Page 58: ...Condenser jar replaces collection jar and SpeedTrap jar Sample holder colour variation noted EZ Declaration of Conformity updated Drip plate replaces catch plate Type D or equivalent replaced type D 09 Jan 14 2 13 Ingress protection rating specification added Blue filter image changed from EZ 2 to EZ 2 Elite Weight specification increased LCD illustrations added File transfer function and 45 mbar ...
Page 59: ......
Page 60: ... at time of going to press and may be subject to change without notice Some of the features and software functions described within this user manual may not apply to equipment manufactured before this manual s publication date this includes systems that have been upgraded No part of these instructions may be reproduced in any form or be processed duplicated or distributed by electronic or optical ...